Where can I find myaffidea?
Download myaffidea on iOS & Android mobile devices or login to the web portal my.affidea.gr/web/.
Via mobile device, you can install myaffidea app from Google Play Store or App Store by typing myaffidea in the search bar. Once the installation is complete, the myaffidea app icon will appear on your mobile device, for example your mobile phone, where you can open it.
Via browser, you can log in to myaffidea by clicking the link https://my.affidea.gr/web/.
Register on myaffidea
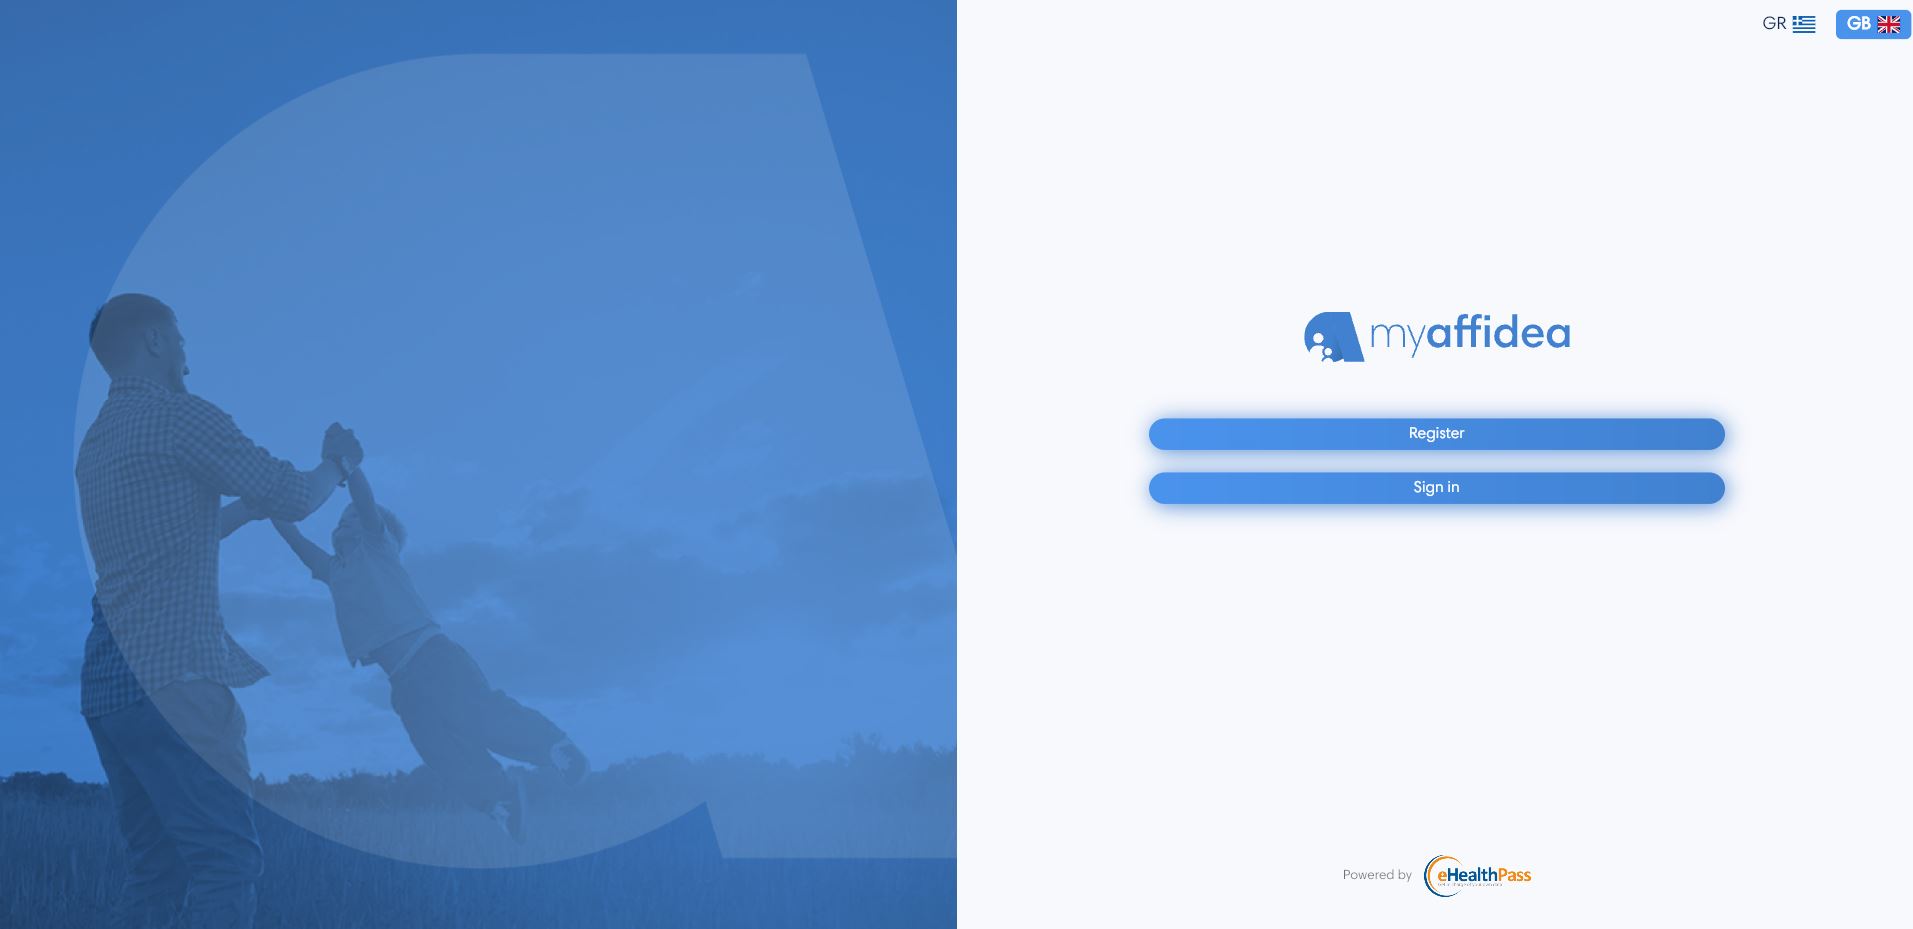
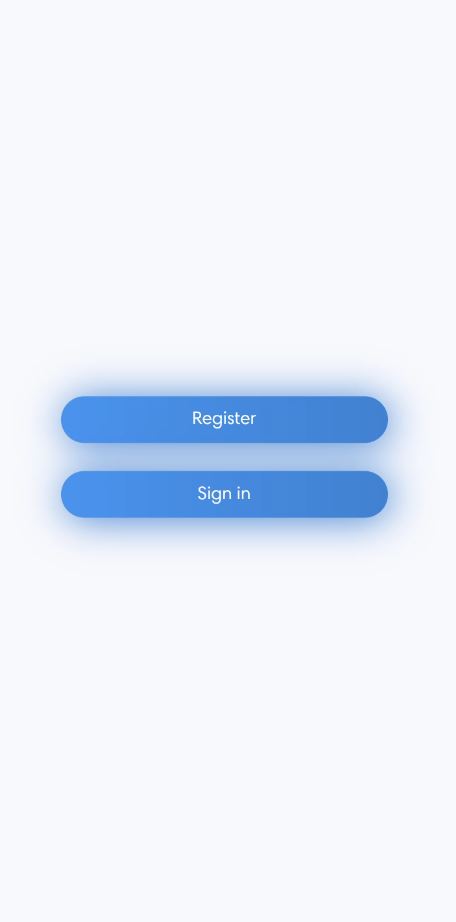
To access myaffidea features, you must create an account. In the upper right corner, the user can change the language of myaffidea to Greek or English. If you already have an account press Login, or choose Register.
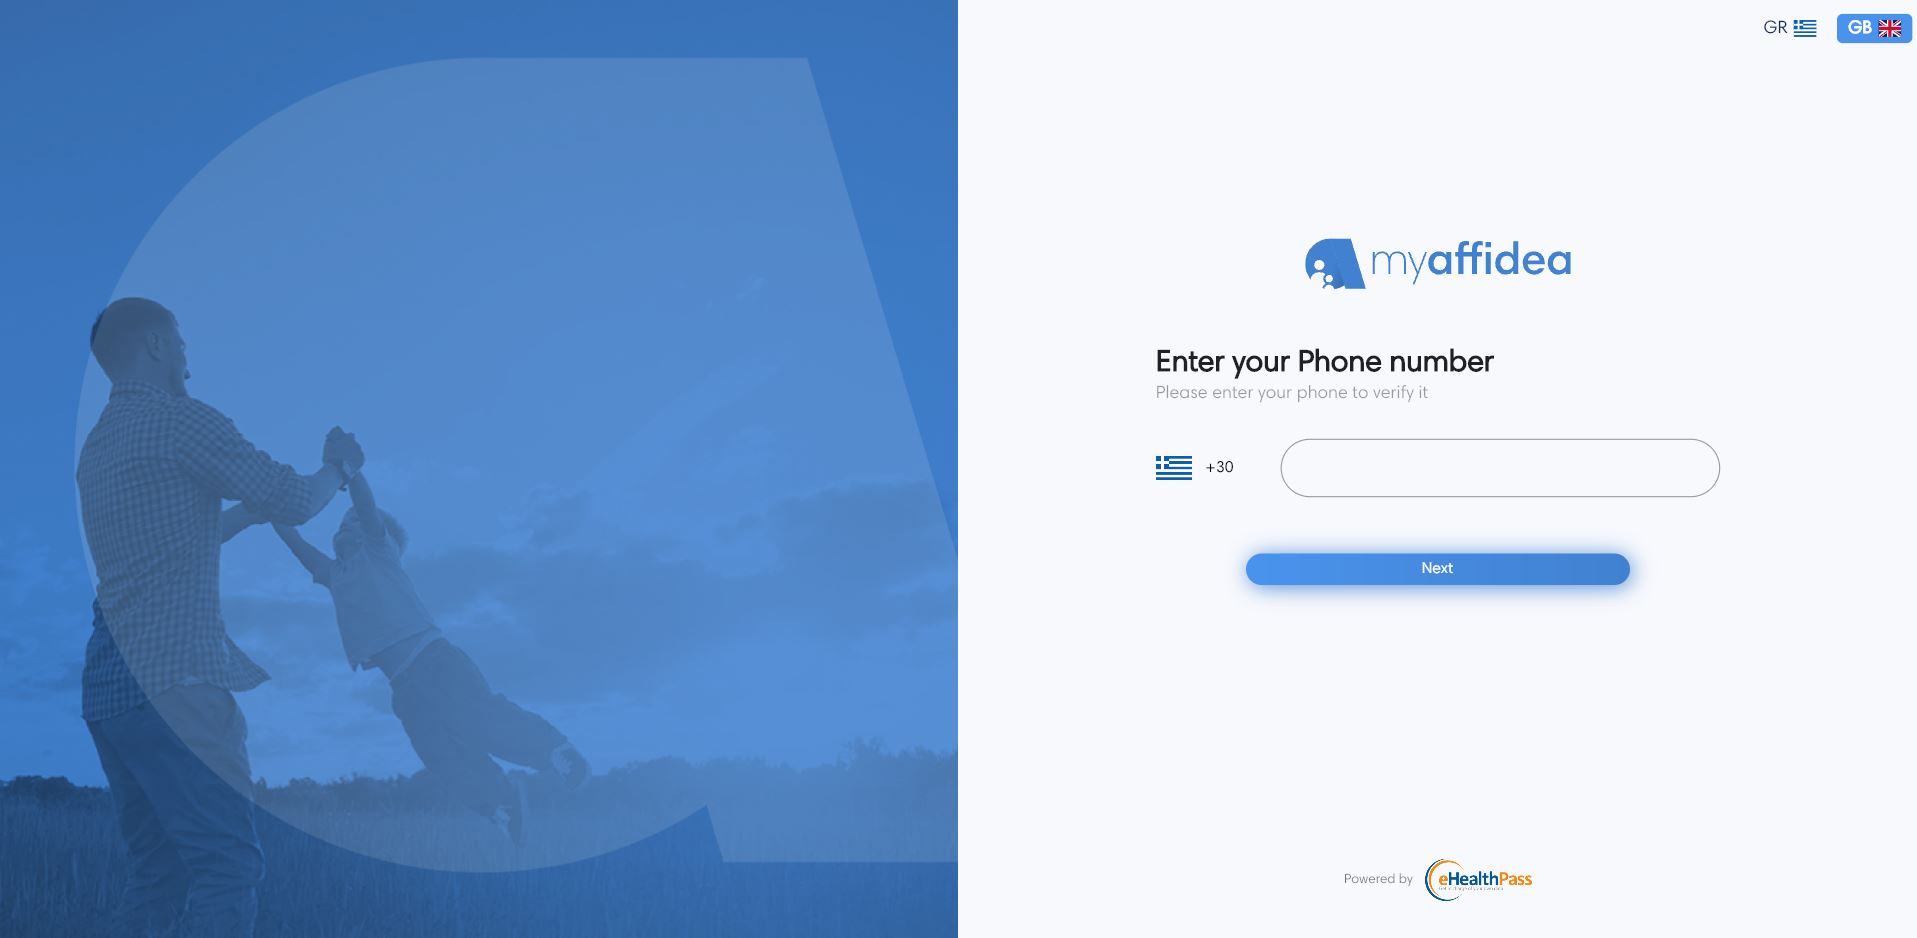
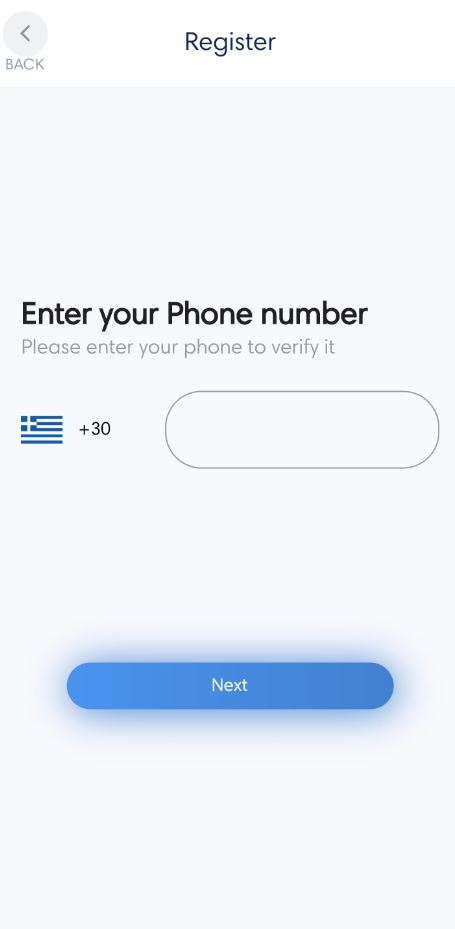
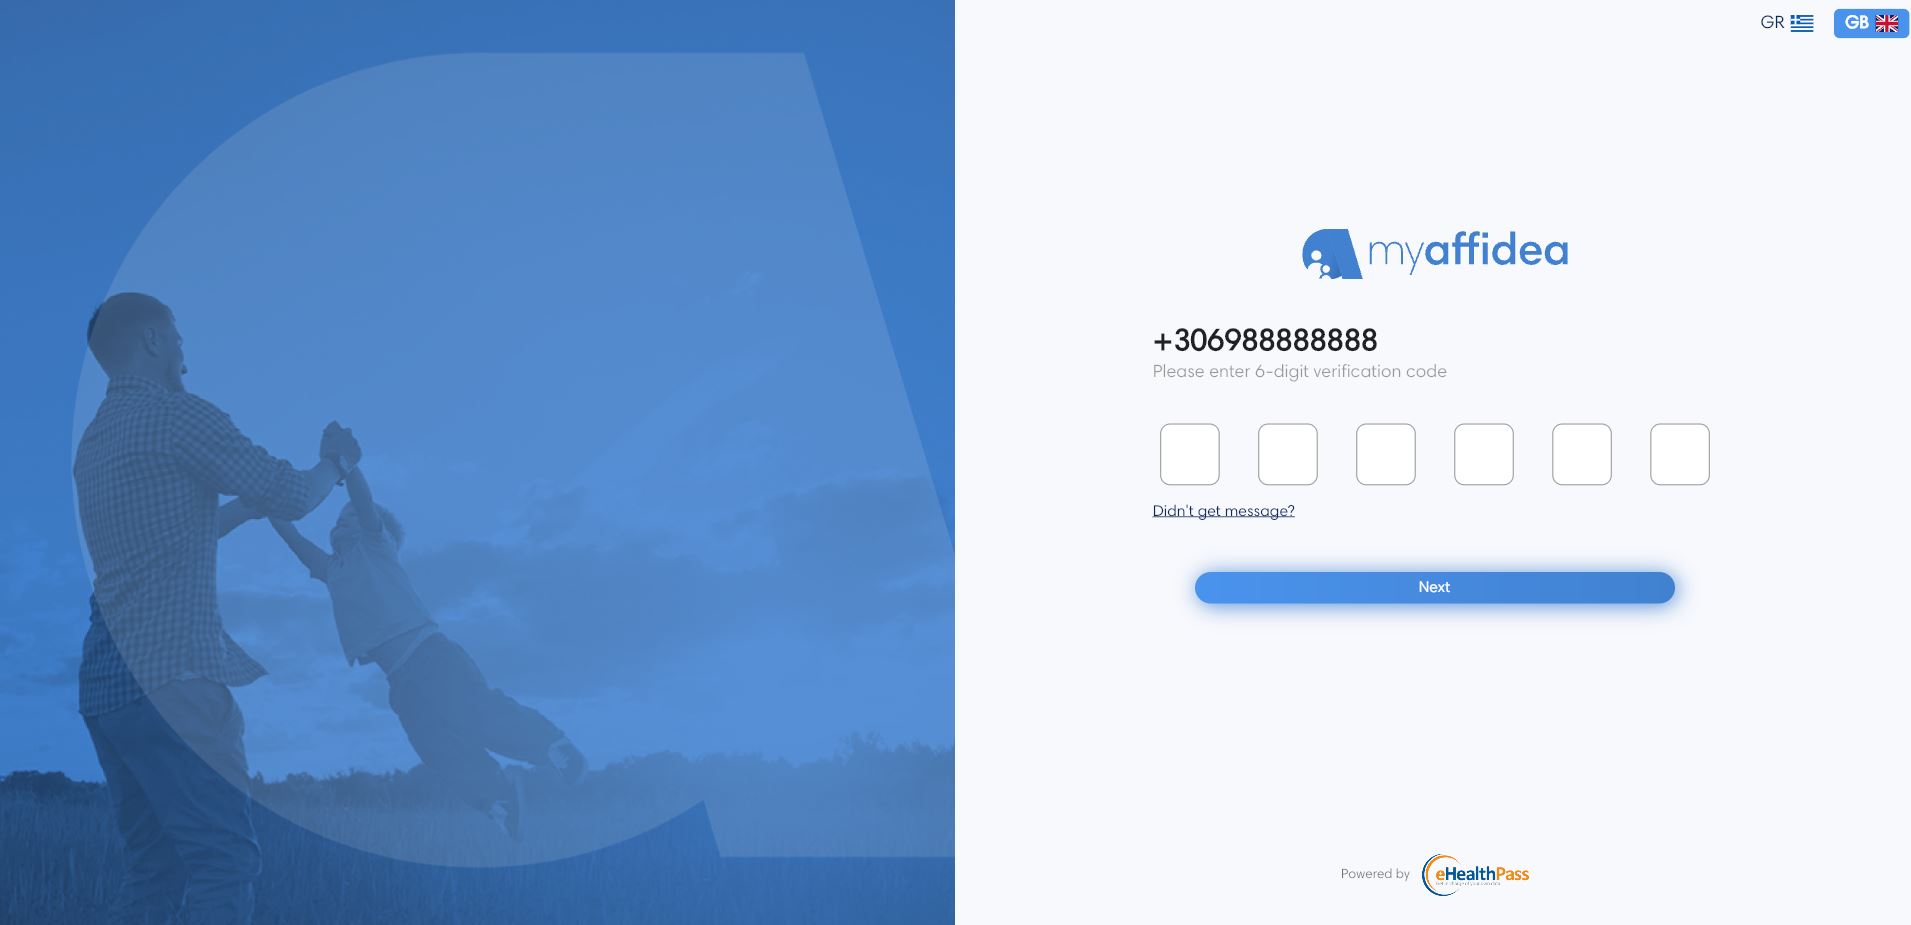
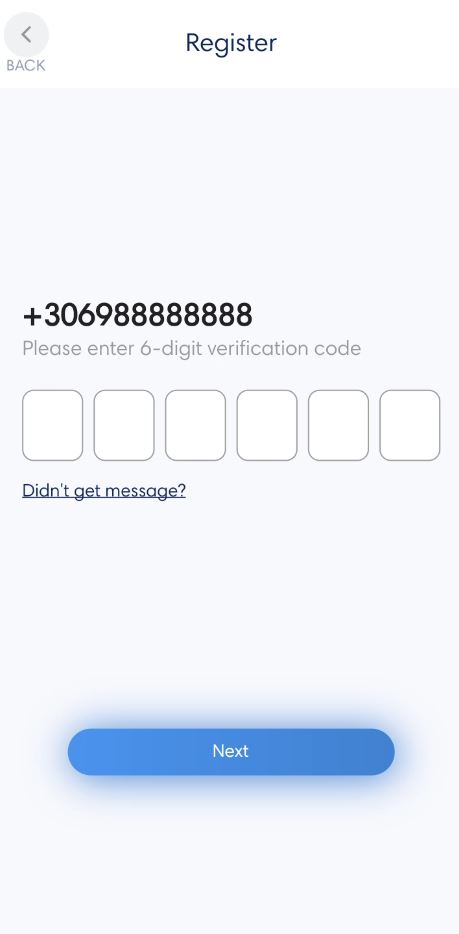
First, by pressing the Register button, you will be asked to enter your mobile phone number. After you have entered your number correctly, a message will be sent to your phone with a 6-digit security code to confirm your number. If you have not received a message, you can request a new password after 5 minutes by pressing the button Didn't receive a message?.
You can register in the following ways:
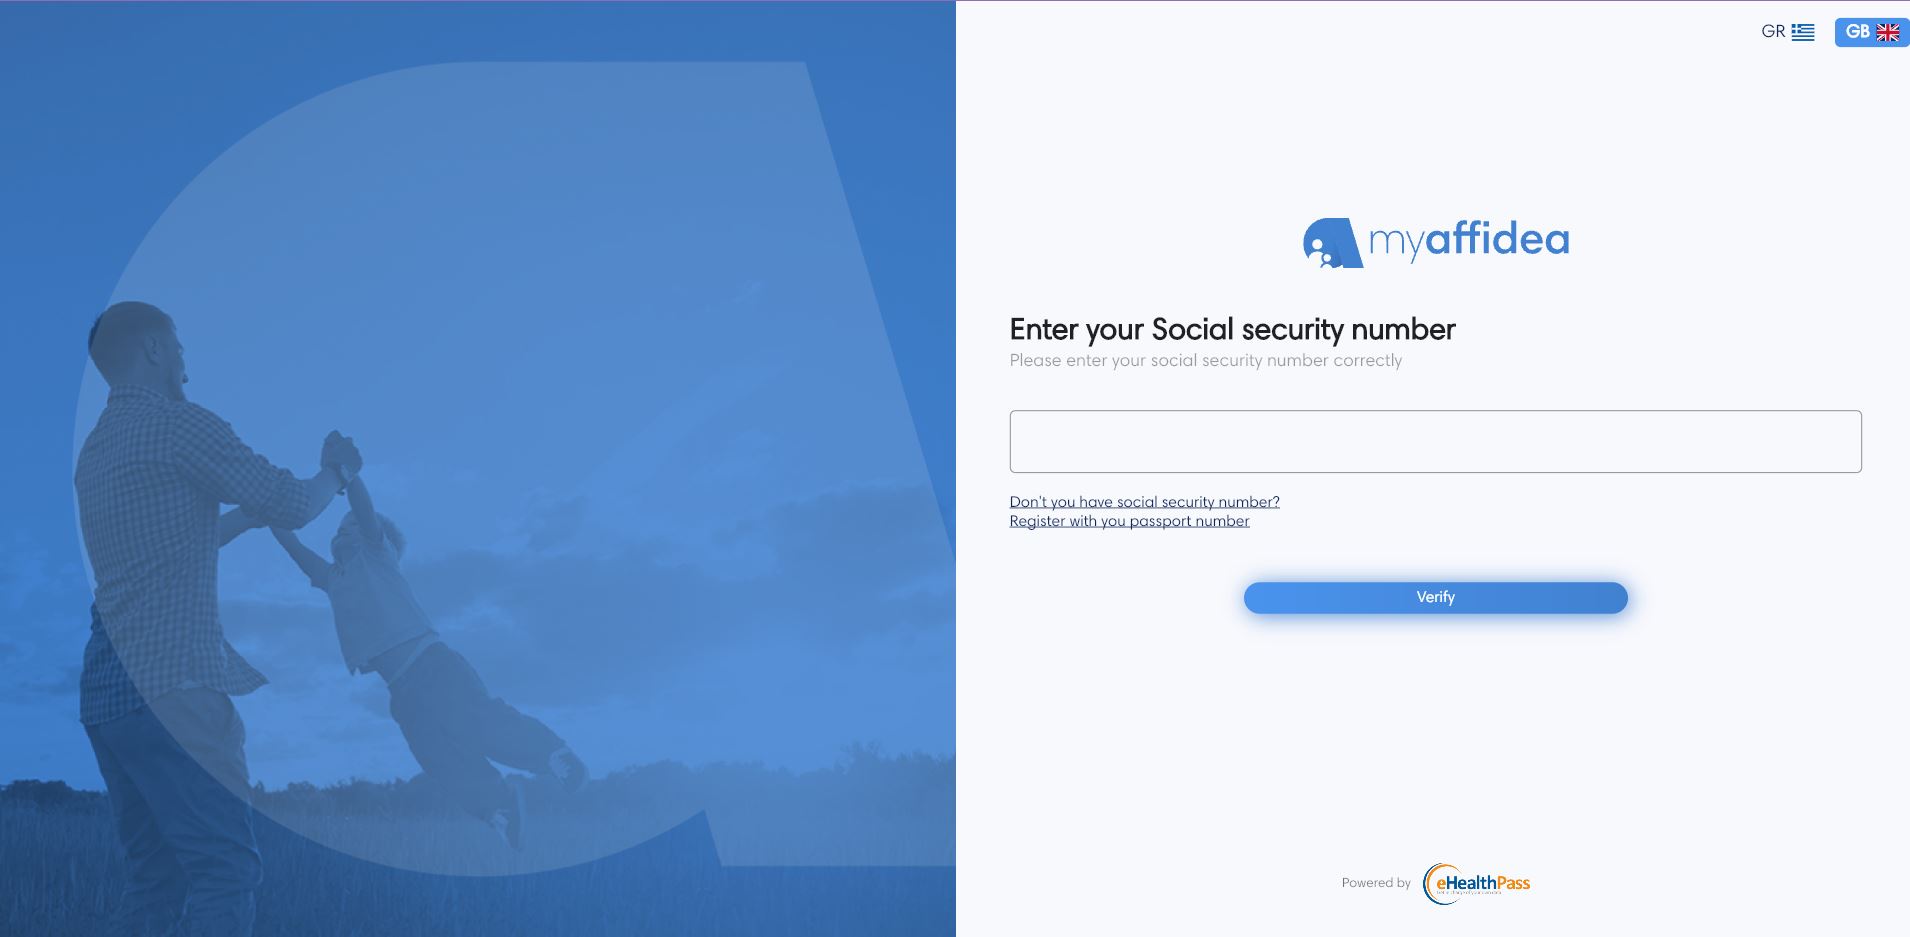
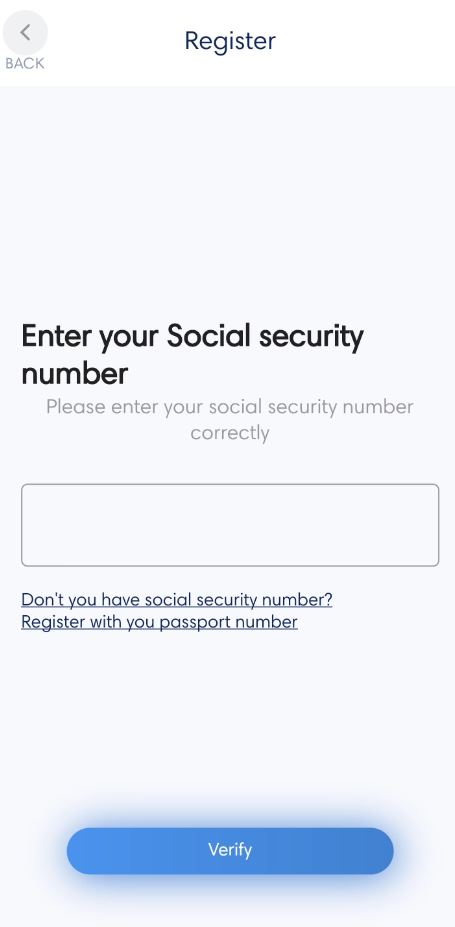
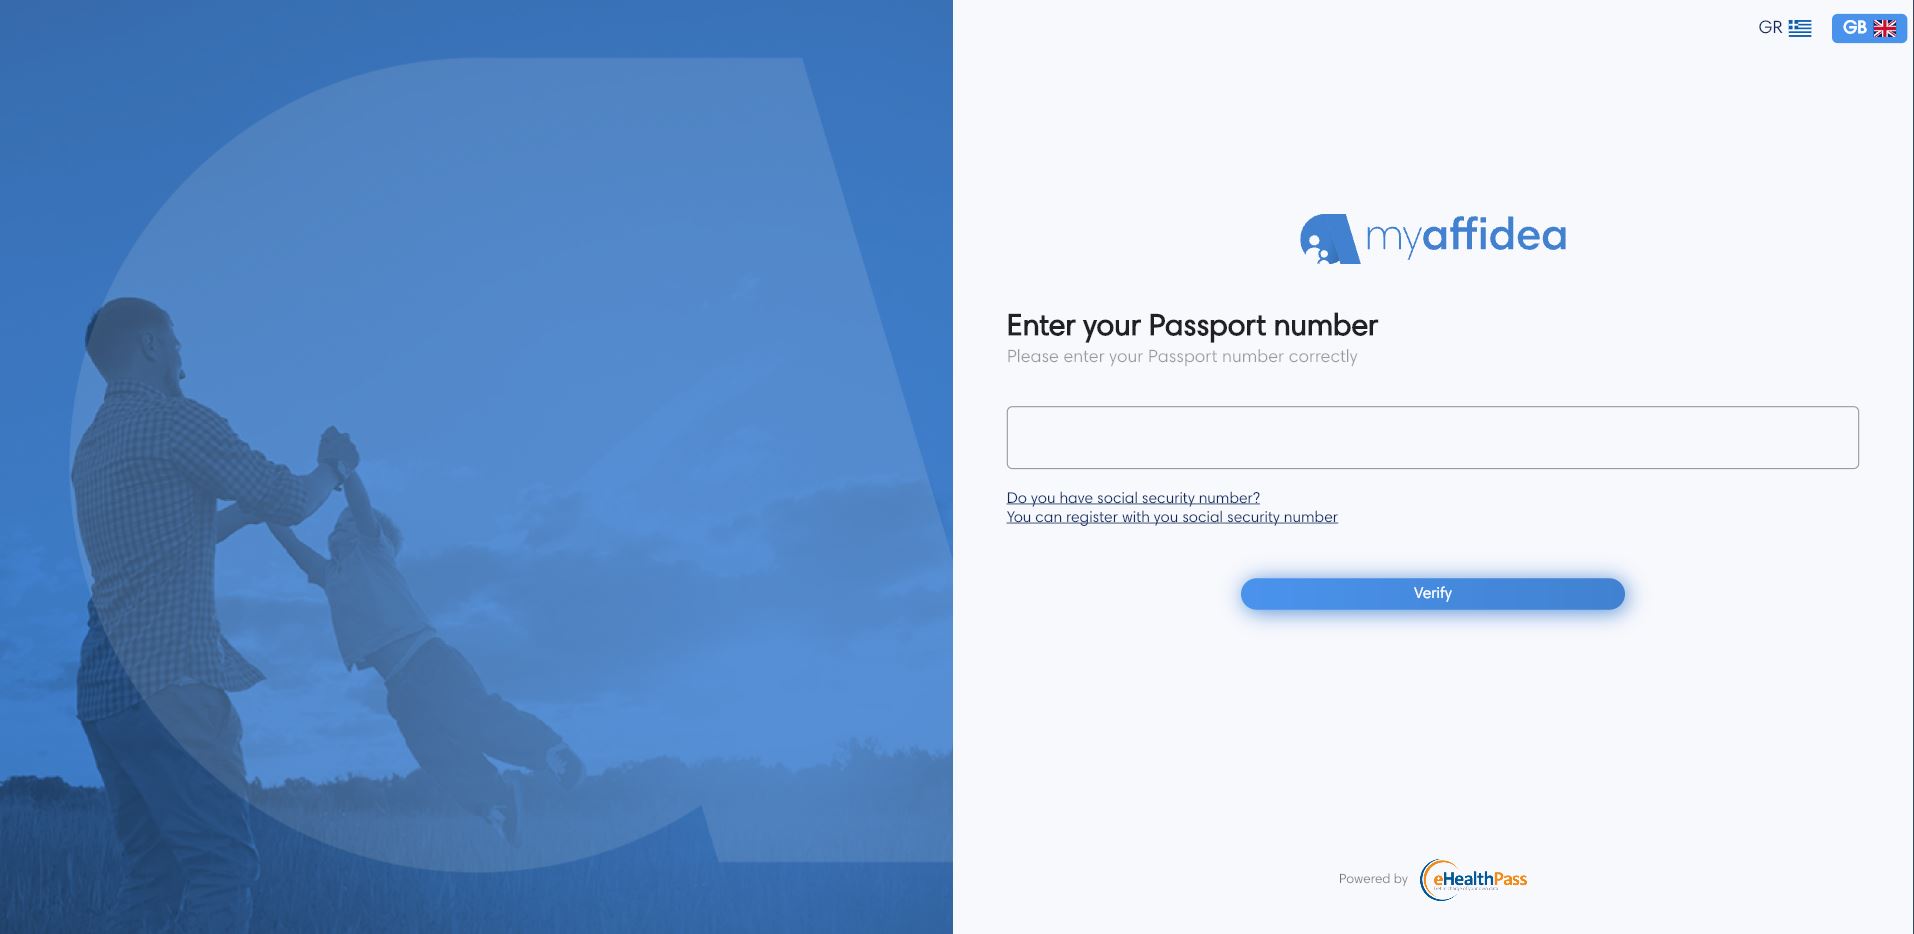
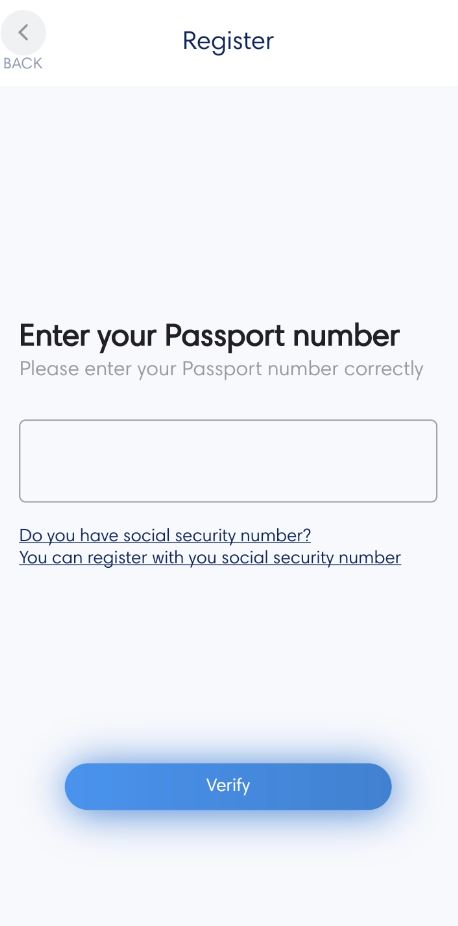
- You are already registered user in the Affidea system, and the mobile phone you had provided in Affidea is same as the one you entered in the first step. Then after phone verification, enter your AMKA or passport number, and if it is correct then the identification will be done automatically by the system.
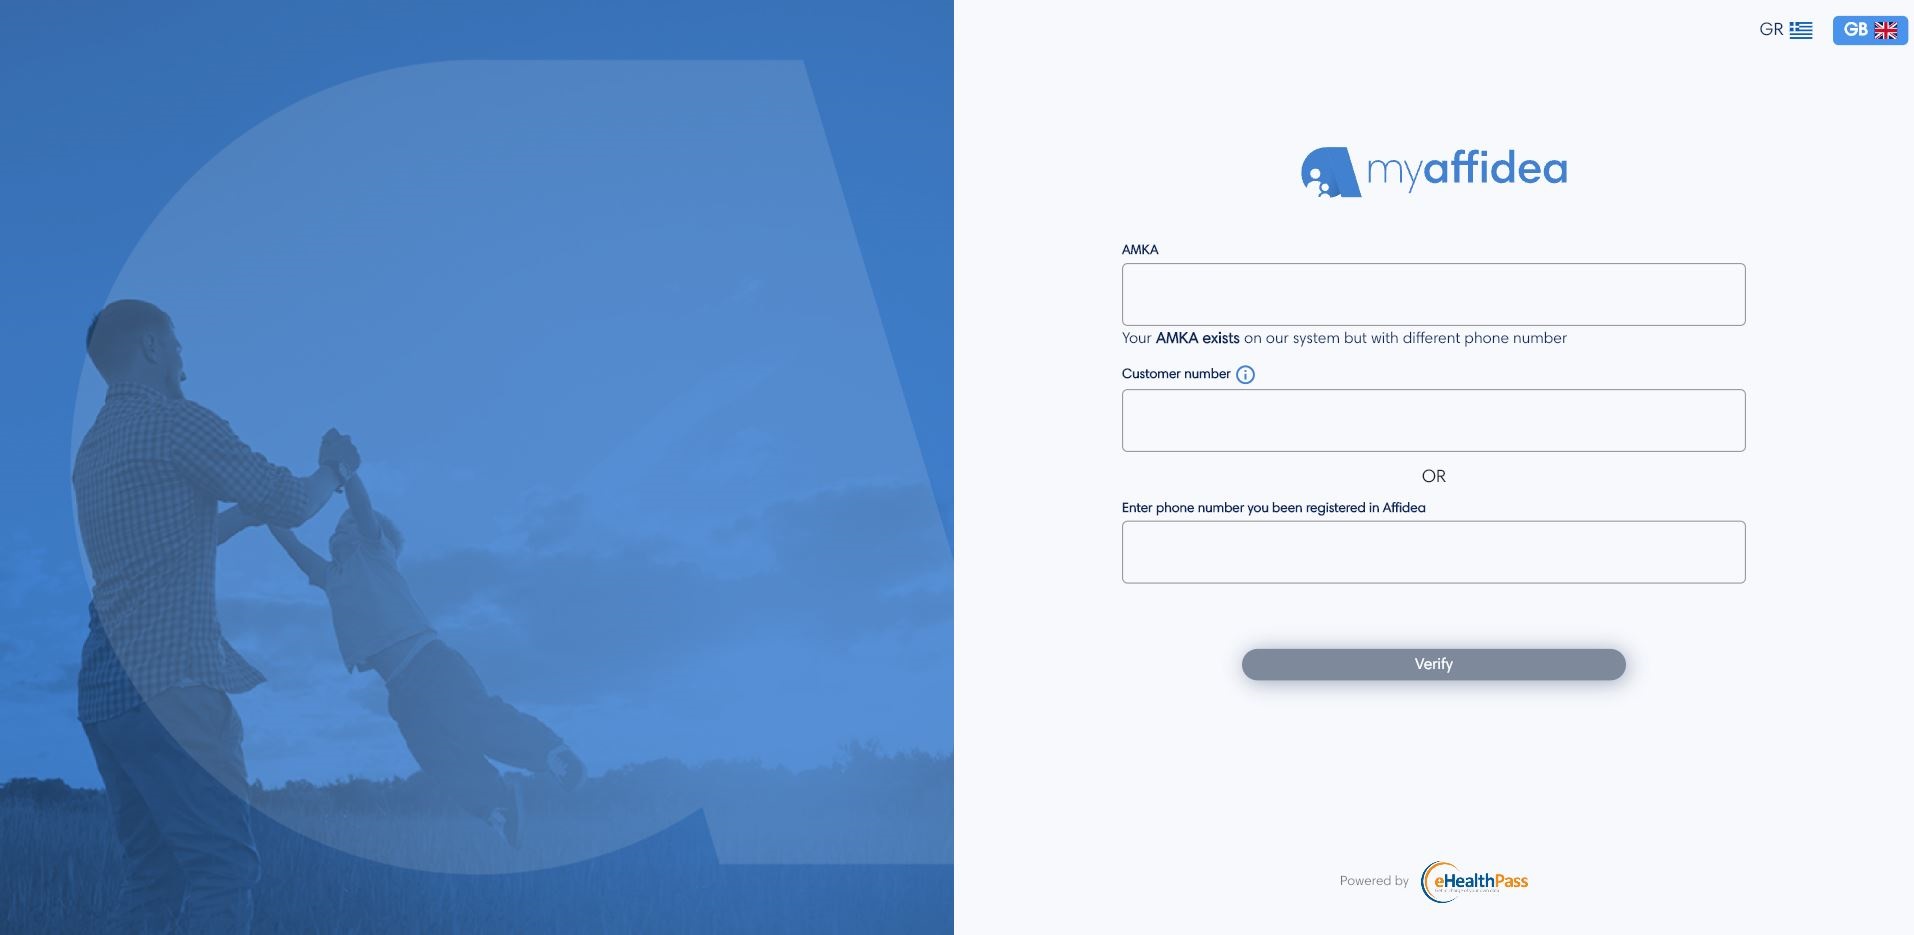
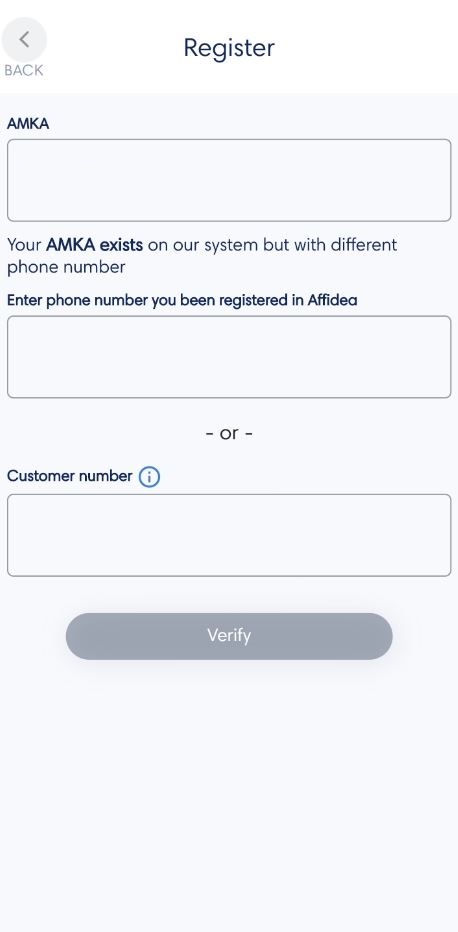
- You are already registered user in the Affidea system, but the mobile phone you had provided in Affidea is different from the one you entered in the first step. Then a message will appear to enter the mobile phone which you registered in Affidea or use the customer number to be authenticated by the Affidea system.
- You are a new user in Affidea's system. Then after verifying your mobile phone number, you will be asked to fill the registration form with your necessary personal information, as you will see below.
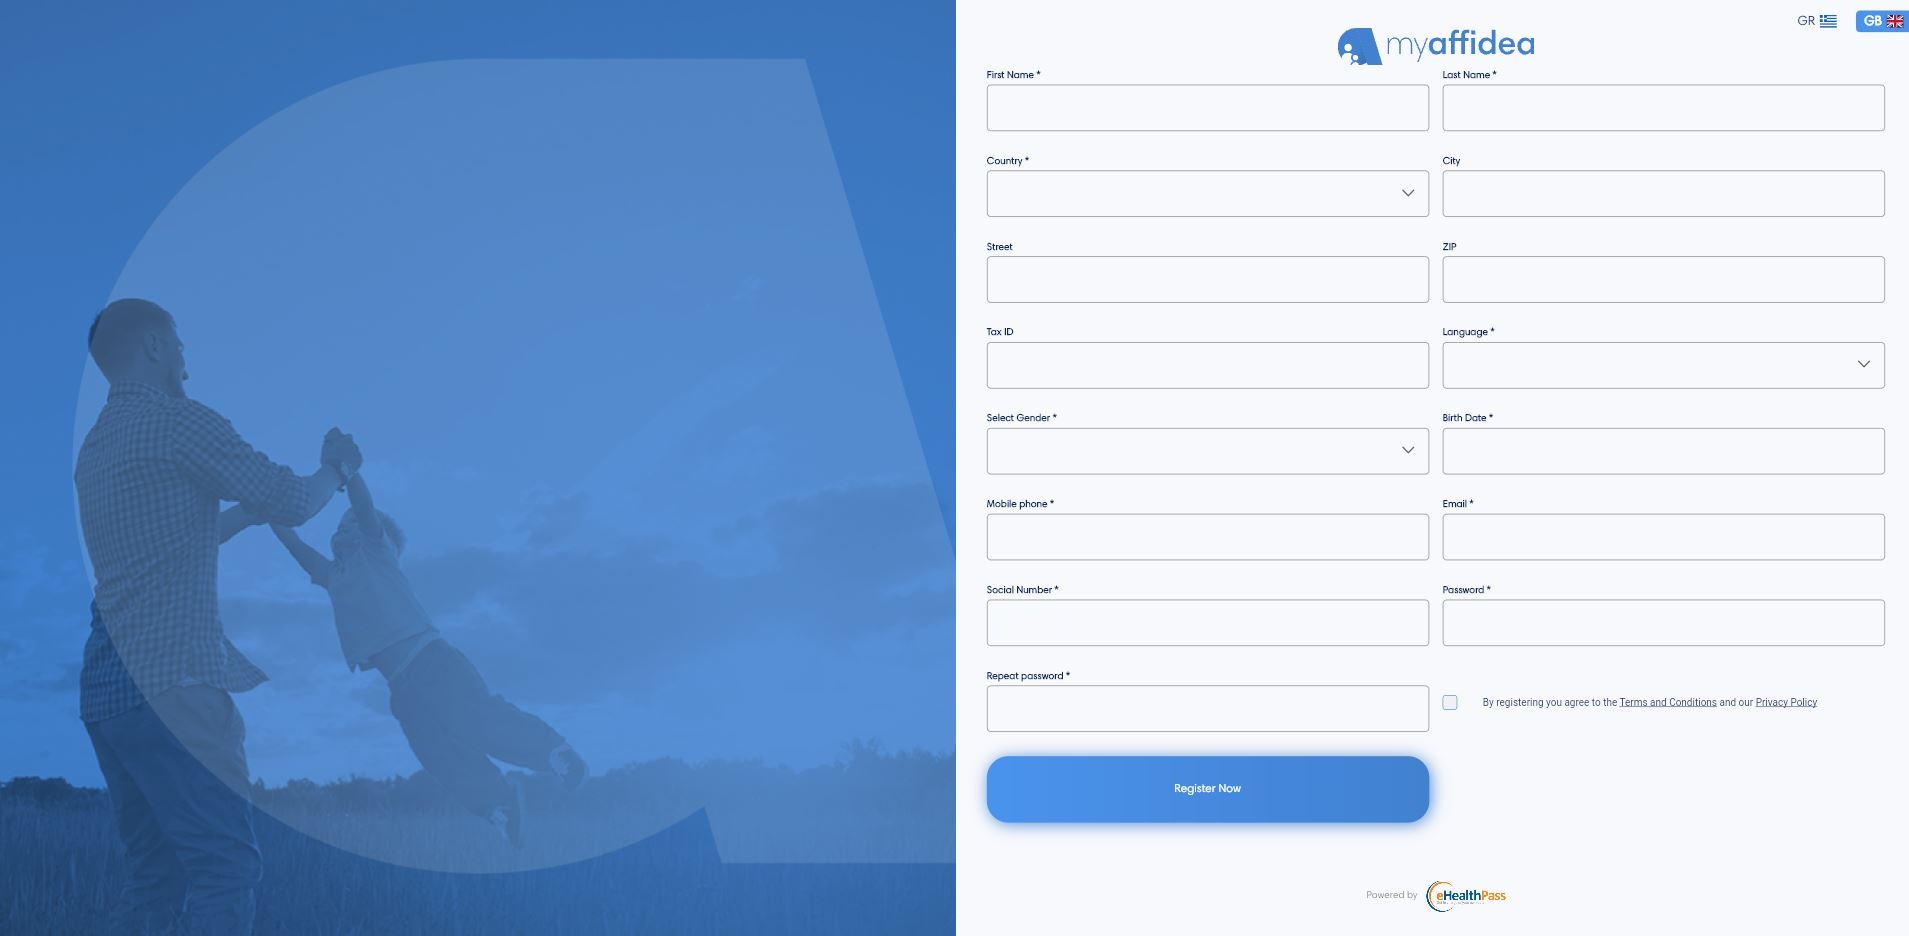
So you will be able to fill the registration form with your first and last name, your verified email and other information such as language, gender, country etc. Then enter a strong password and don't forget to hit the checkbox where you agree with the «Terms and Conditions», and the «Privacy Policy». By filling out the form you can complete the process by pressing the Next button.

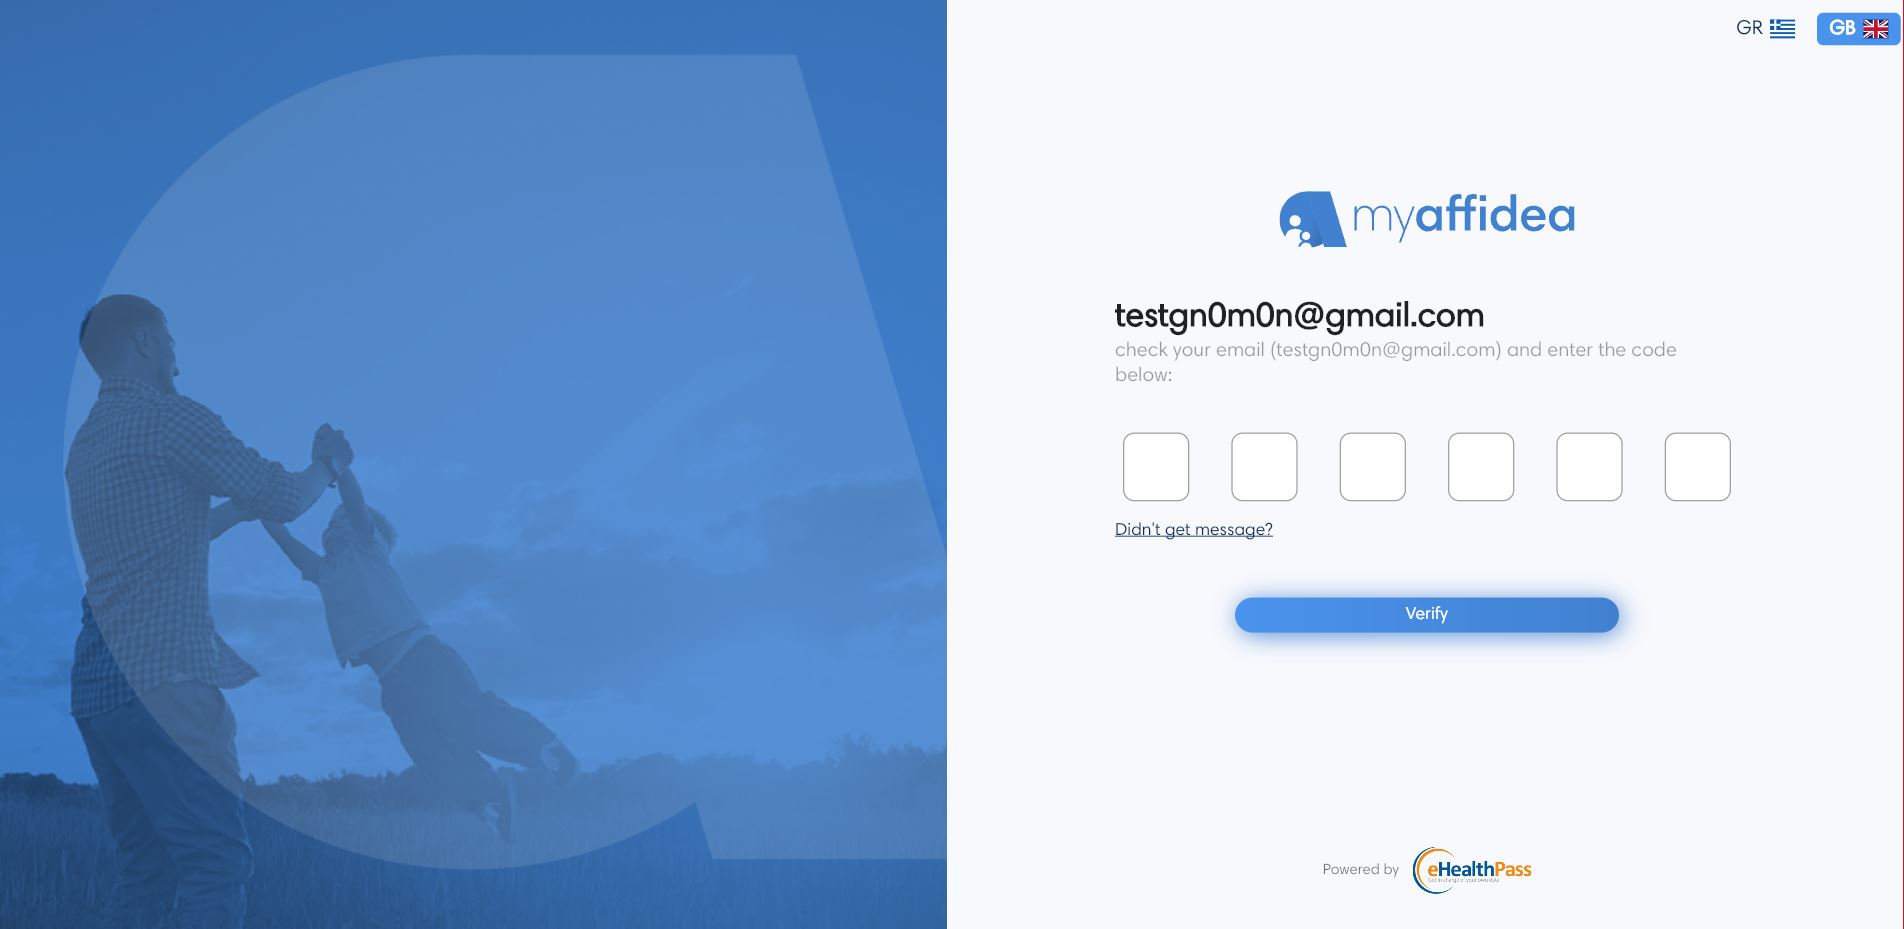
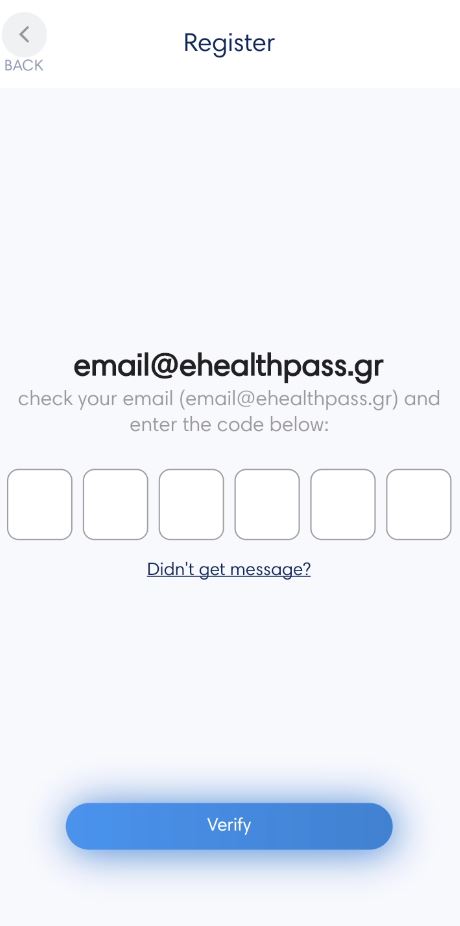
By pressing the Email confirmation you have to confirm the email you provided in the registration form. For the confirmation, you will be asked to enter a 6-digit code, which will be sent to you via email.
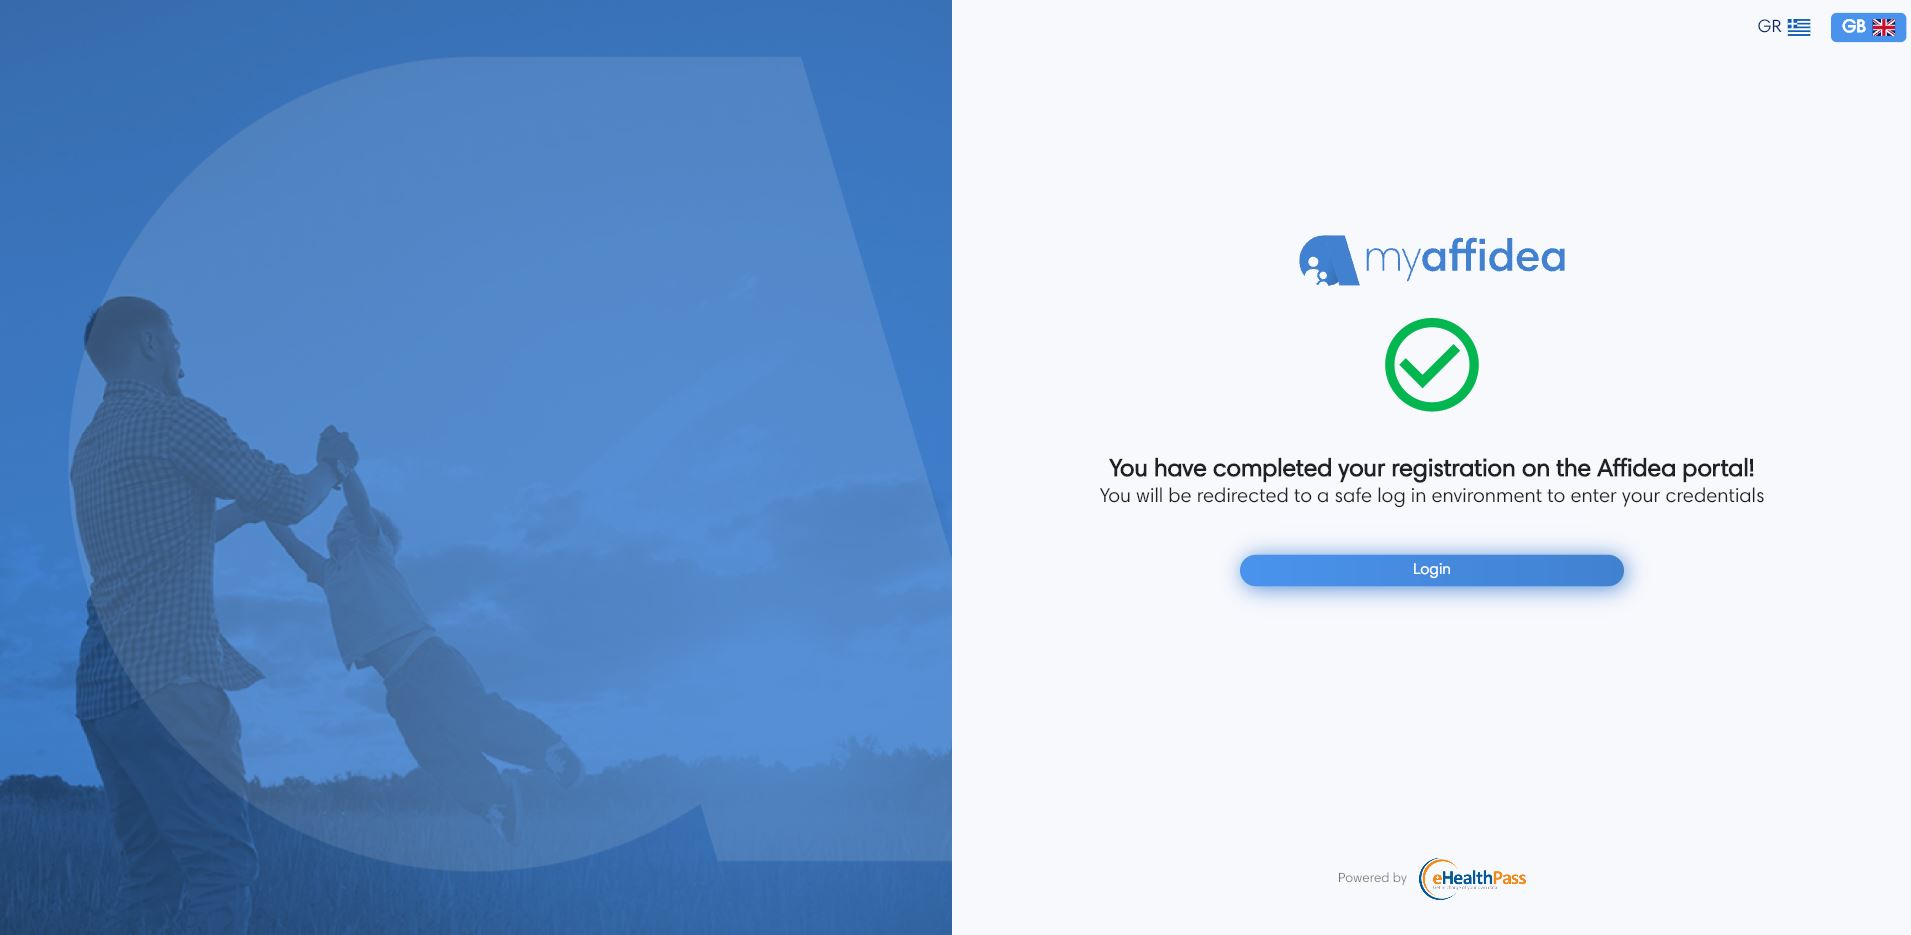
Finally, after completing all the steps successfully, you will be able to login to the account you just created.
Verification code
If you were not already registered in Affidea, then you will be given an unique verification code. The user can use myaffidea, but their medical data (eg blood tests, MRIs, etc.) will only appear on myaffidea if they have been authenticated with Affidea. This can only happen, when the user visits the Affidea organization in person with the ID or passport and the verification code. The user can find the verification code in Settings tab by login into the account.
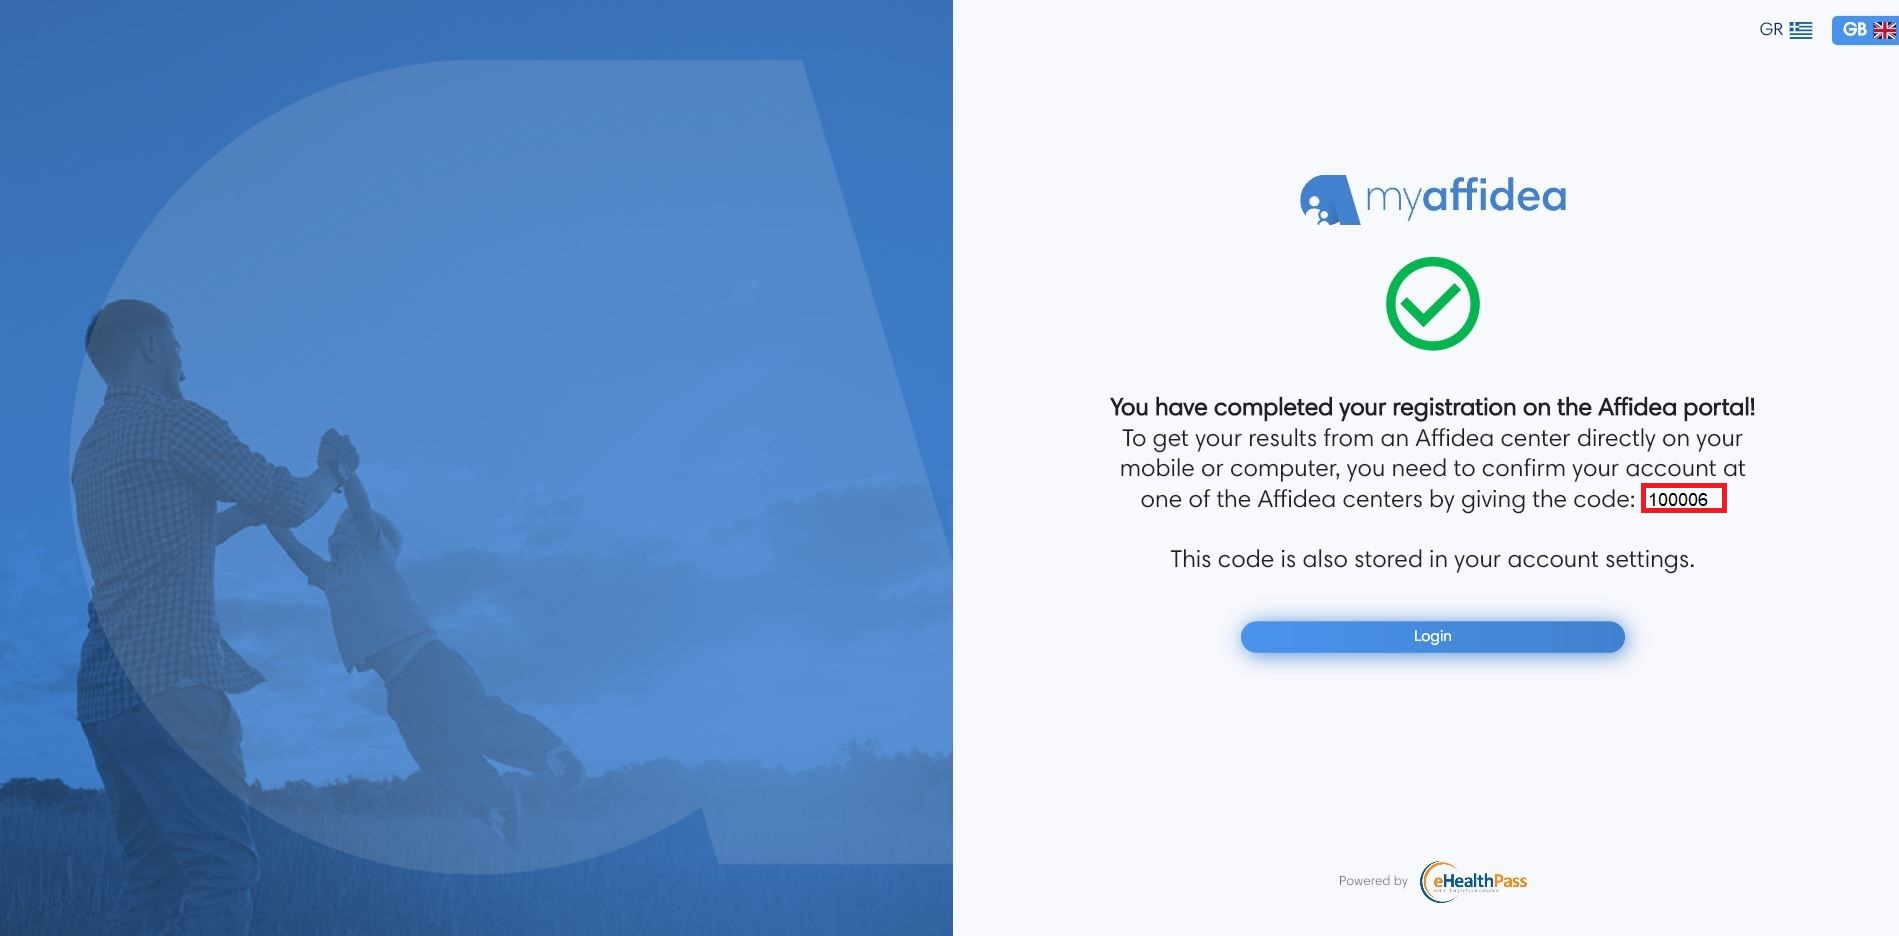
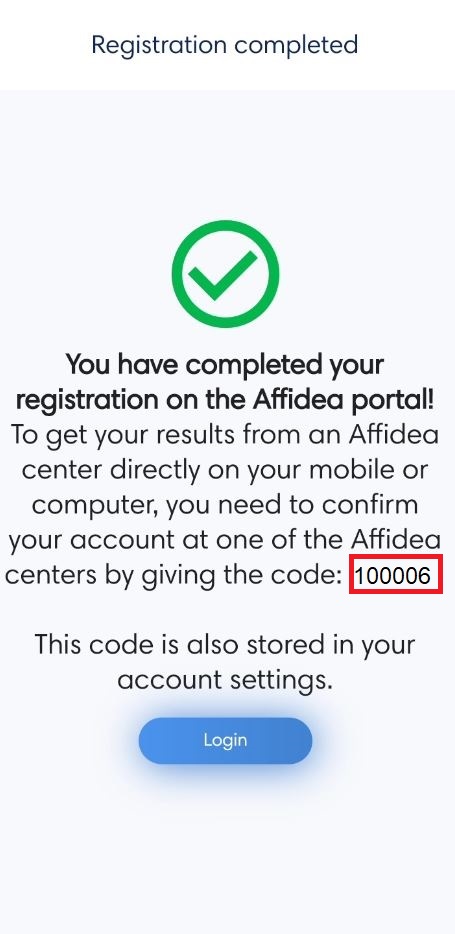
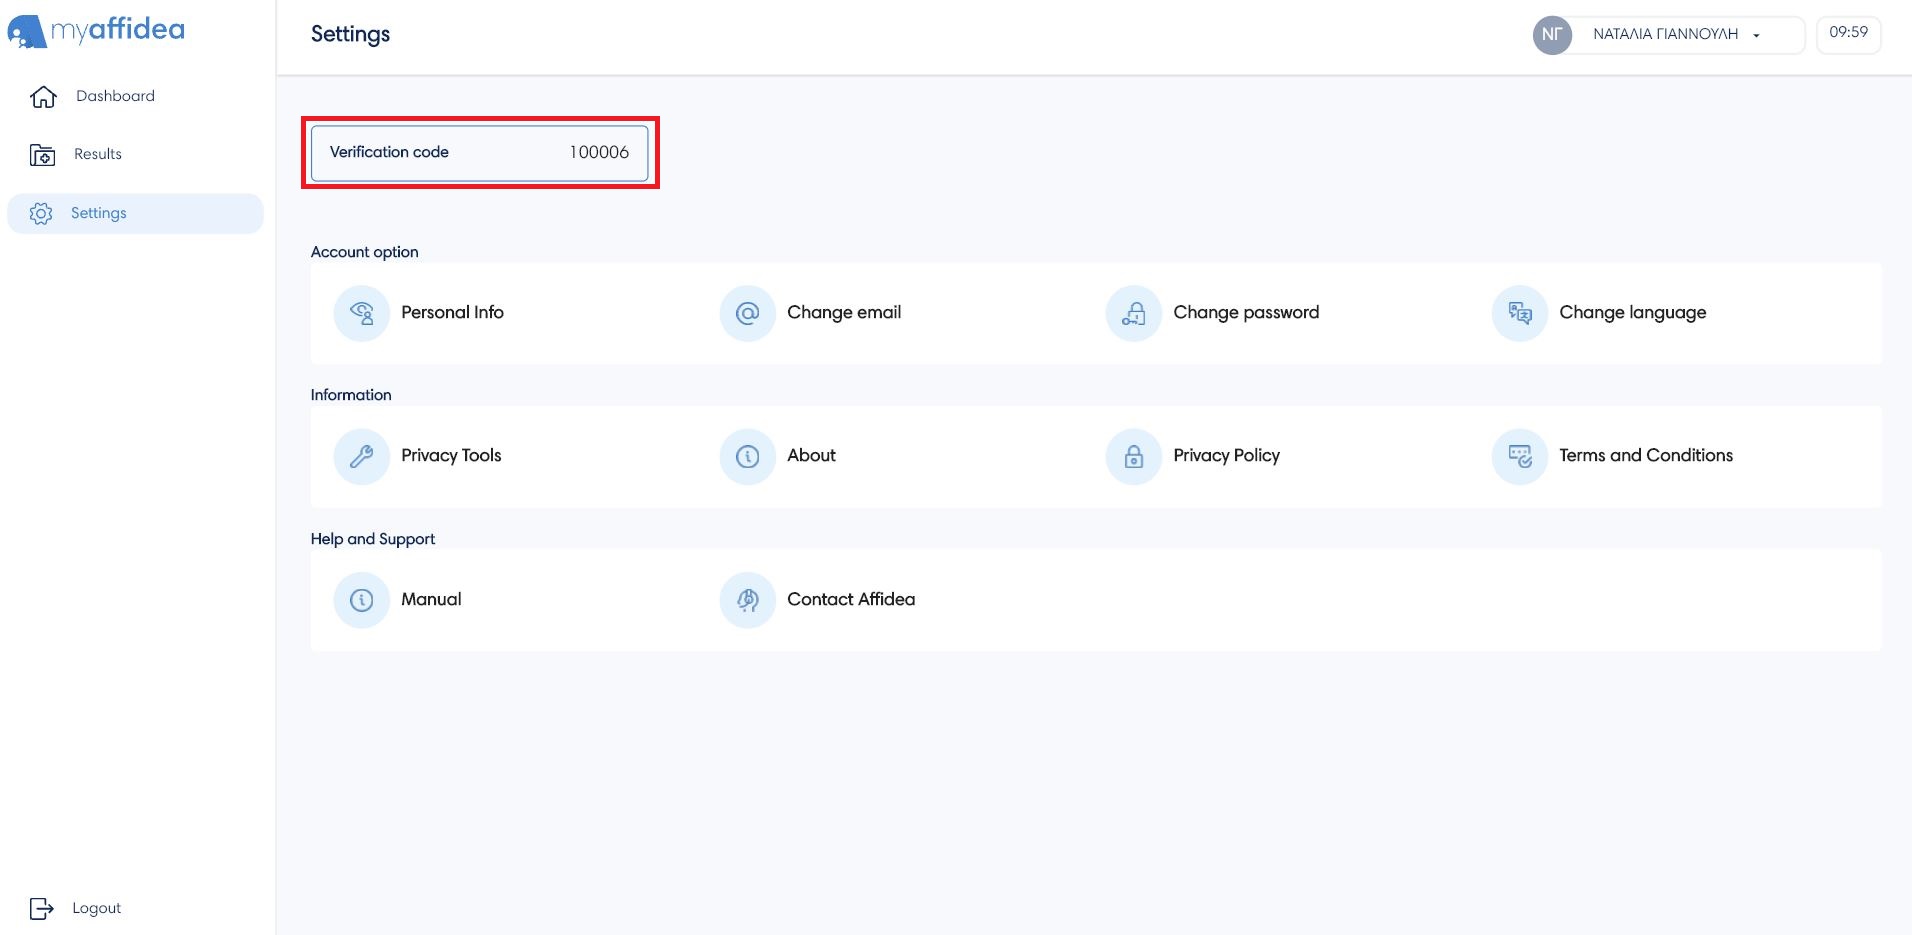
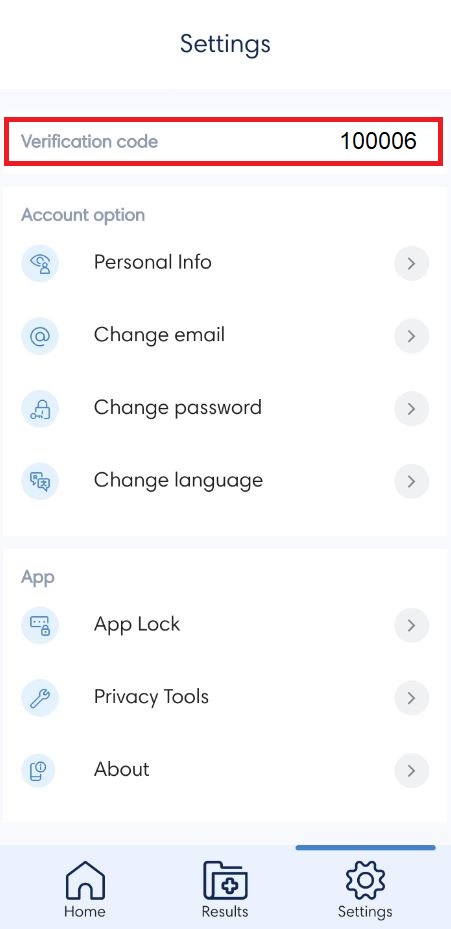
Attention: The verification code above is indicative. Do not use it.

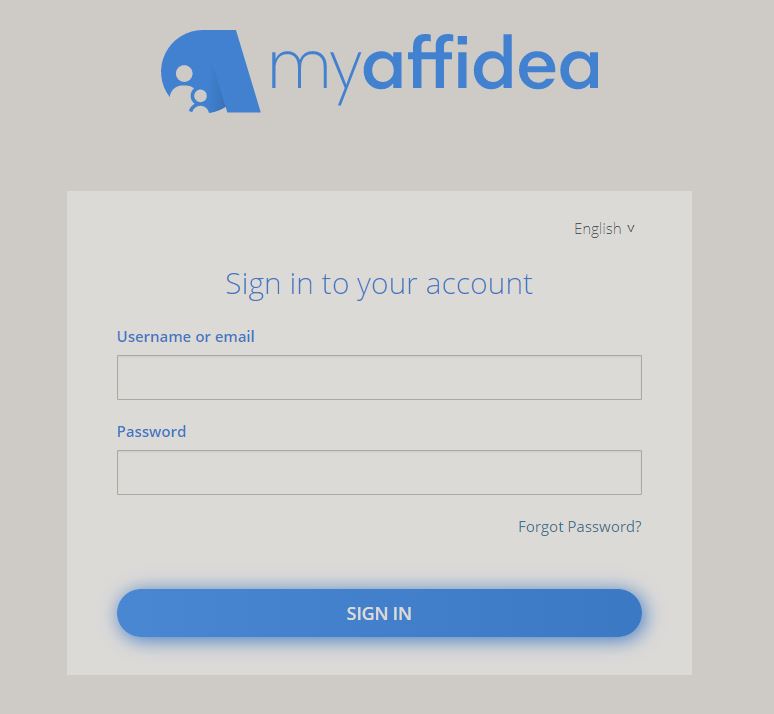
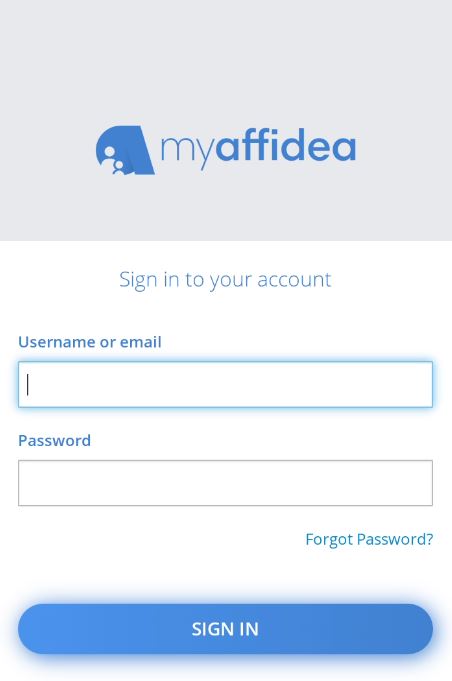
How I login into myaffidea?
Log in to myaffidea with the email and password you created during the registration, then press the Login button. To continue with the authentication, a security code will be sent to your registered mobile phone, which expires after from 10 minutes. Please do not share the security code with third parties.
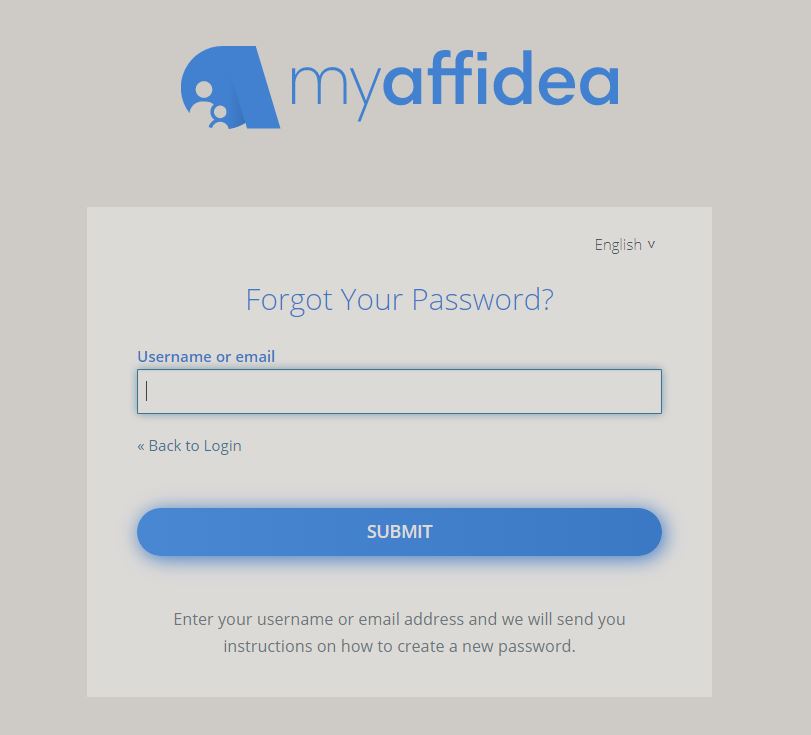
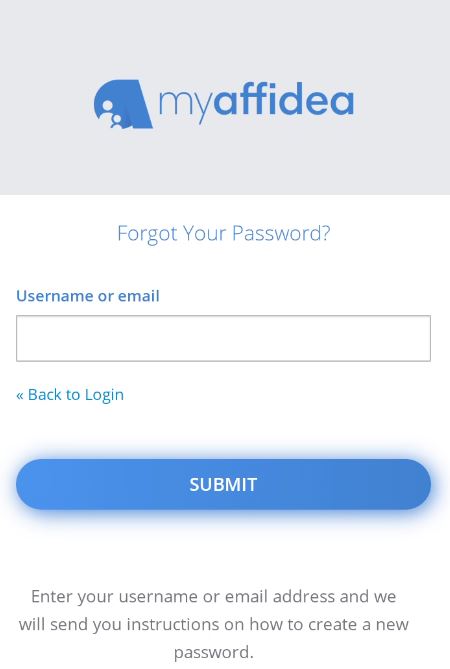
Forgot password
If, for any reason, you do not remember your password to log, you can press the Forgot Password button on the login screen. The screen you are directed to has a field where you can enter your email and a button you can press Submit. Go to your current email account and there will be instructions on how to sign in with your new password.
What can I find in myaffidea?
The Home page is the first screen the user sees after logging in to myaffidea.There is the main menu with the home page, appointments, results, my health and settings.
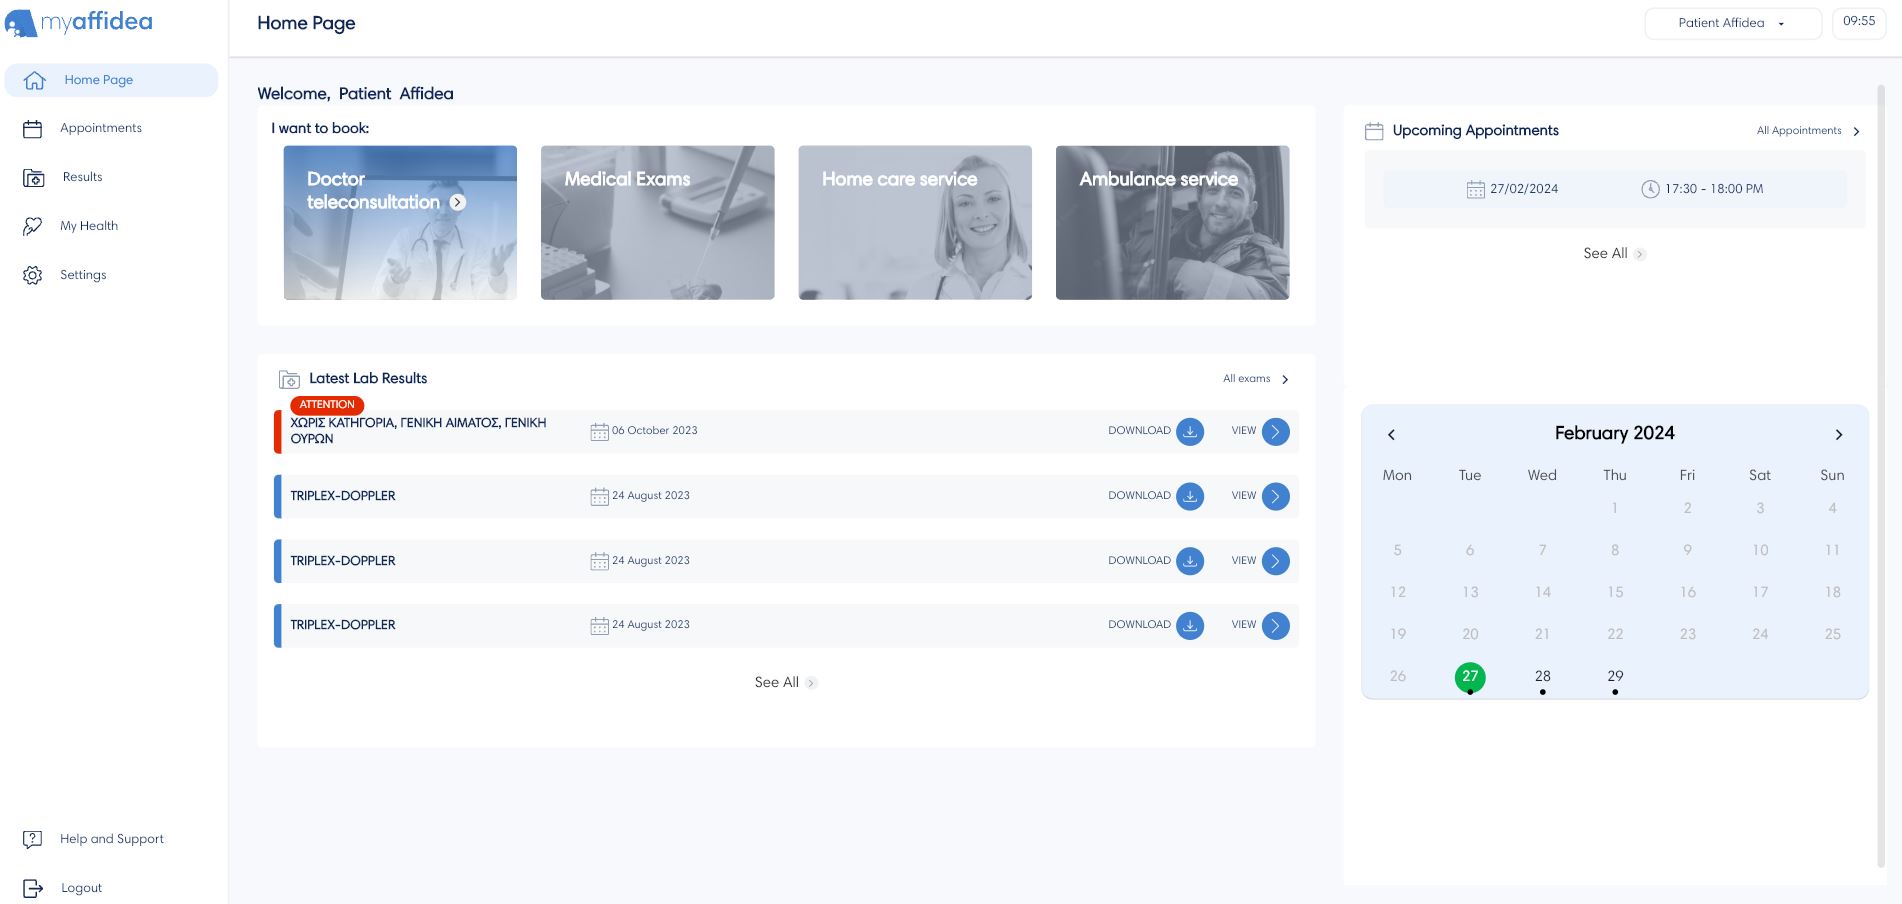
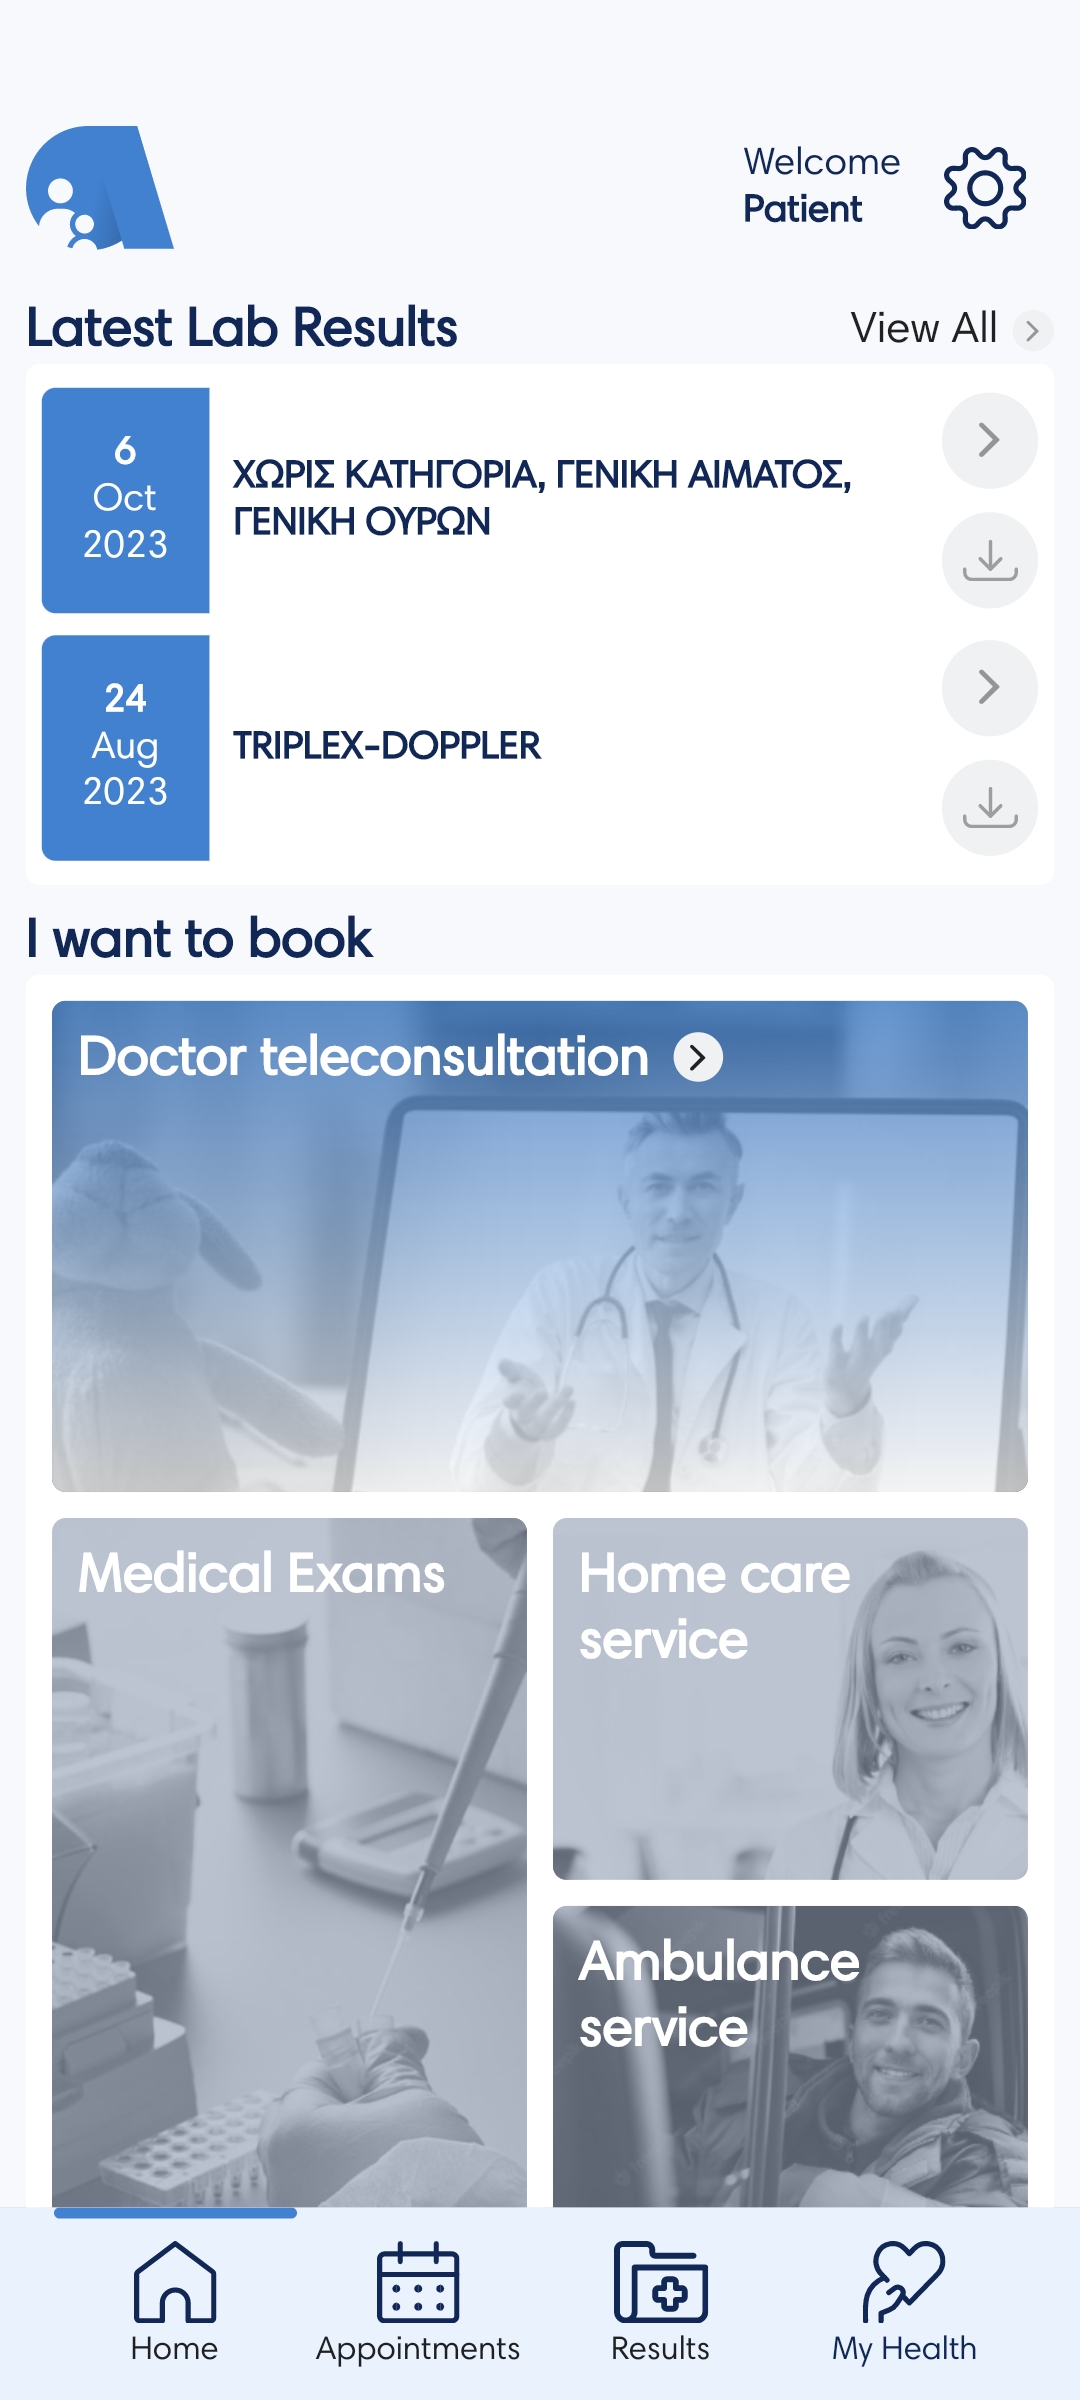
Latest lab results
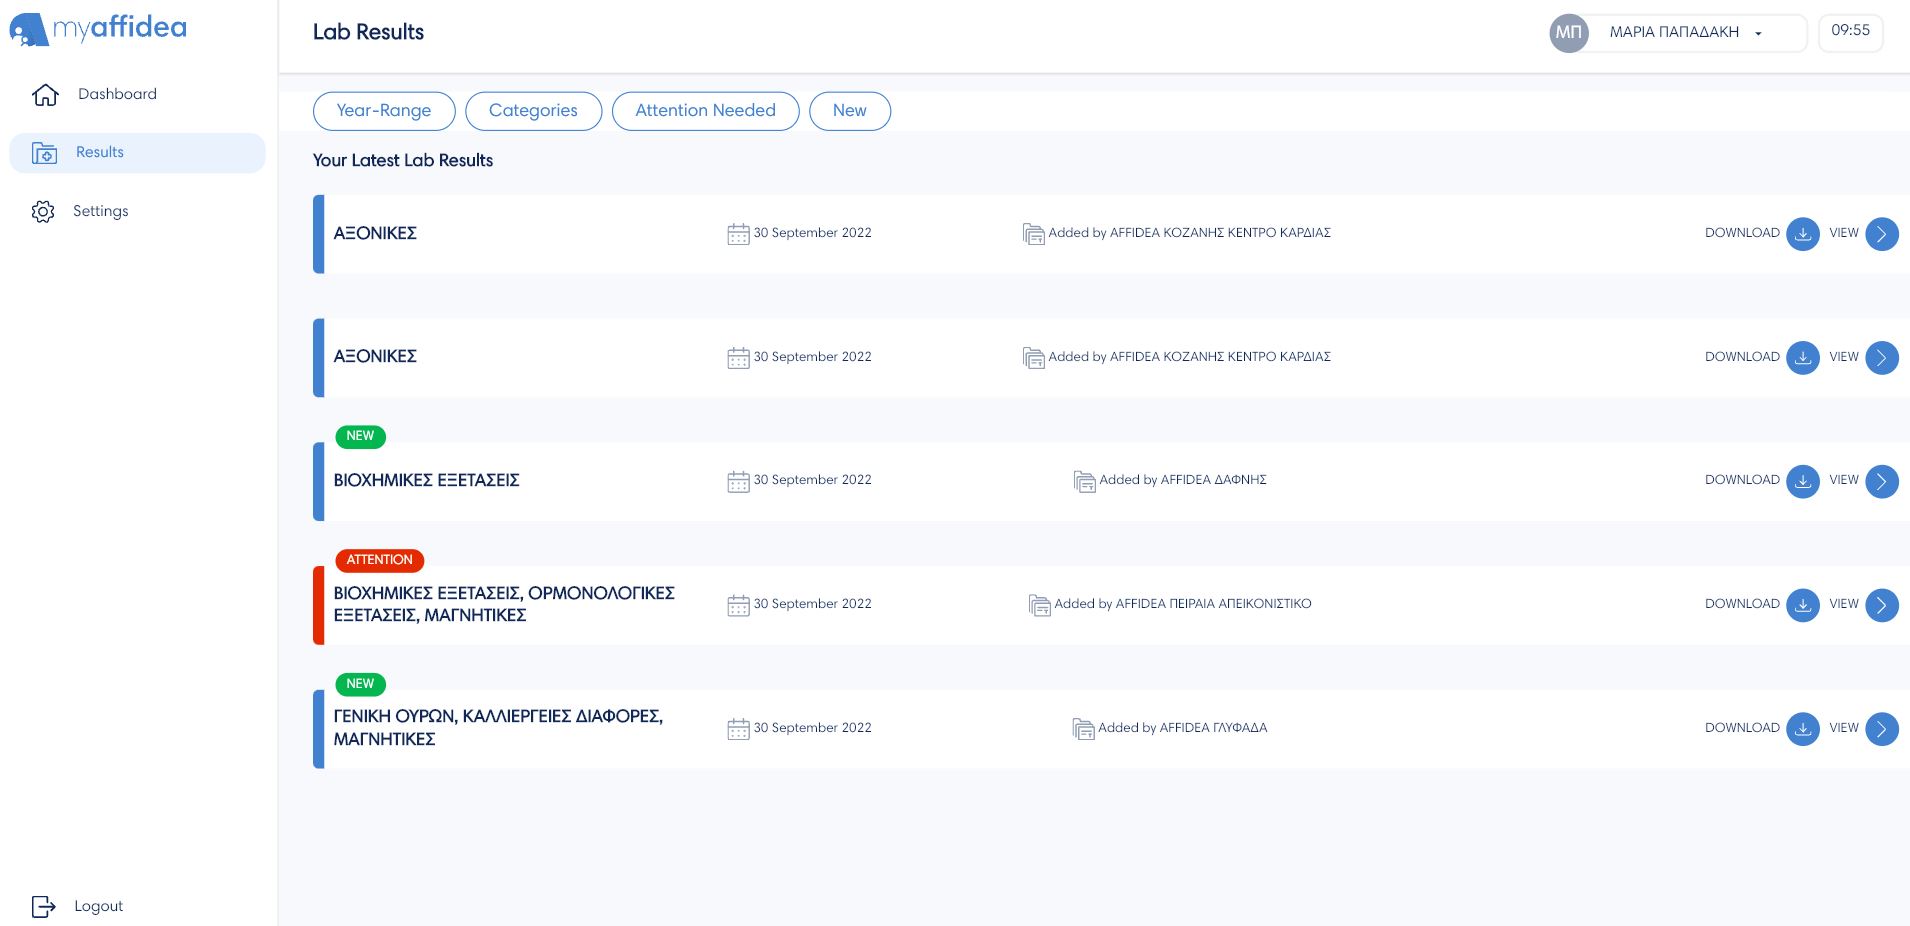
At the top of the page, under the user's name, the latest lab results are displayed chronologically. You can see more information by clicking the More button, which will take you to the Results tab. If you want to see the results or information of each result individually, press the View button.
In the browser, you can view your results by clicking the View button or save the file with your results to your device by clicking the Download button. Above your new results is the green label New for easy access to the most recent results, and the Attention label to indicate that a measurement is outside the permissible limits, so that you contact your doctor.
On mobile devices, to identify the most recent results there is a green colon after the result's name and if a measurement is outside the permissible limits there is a red colon after the result's name.
I want to book
You can choose which service you want to book: Doctor Teleconsultation, Medical Exams, Home Care Service and Ambulance Service, the last three of which will be comming soon.
In the browser, you can see upcoming appointments and the calendar of appointments you have scheduled. The black dot under a date means that there is an appointment on that day.
Πhow do I make an online appointment with a doctor at myaffidea?
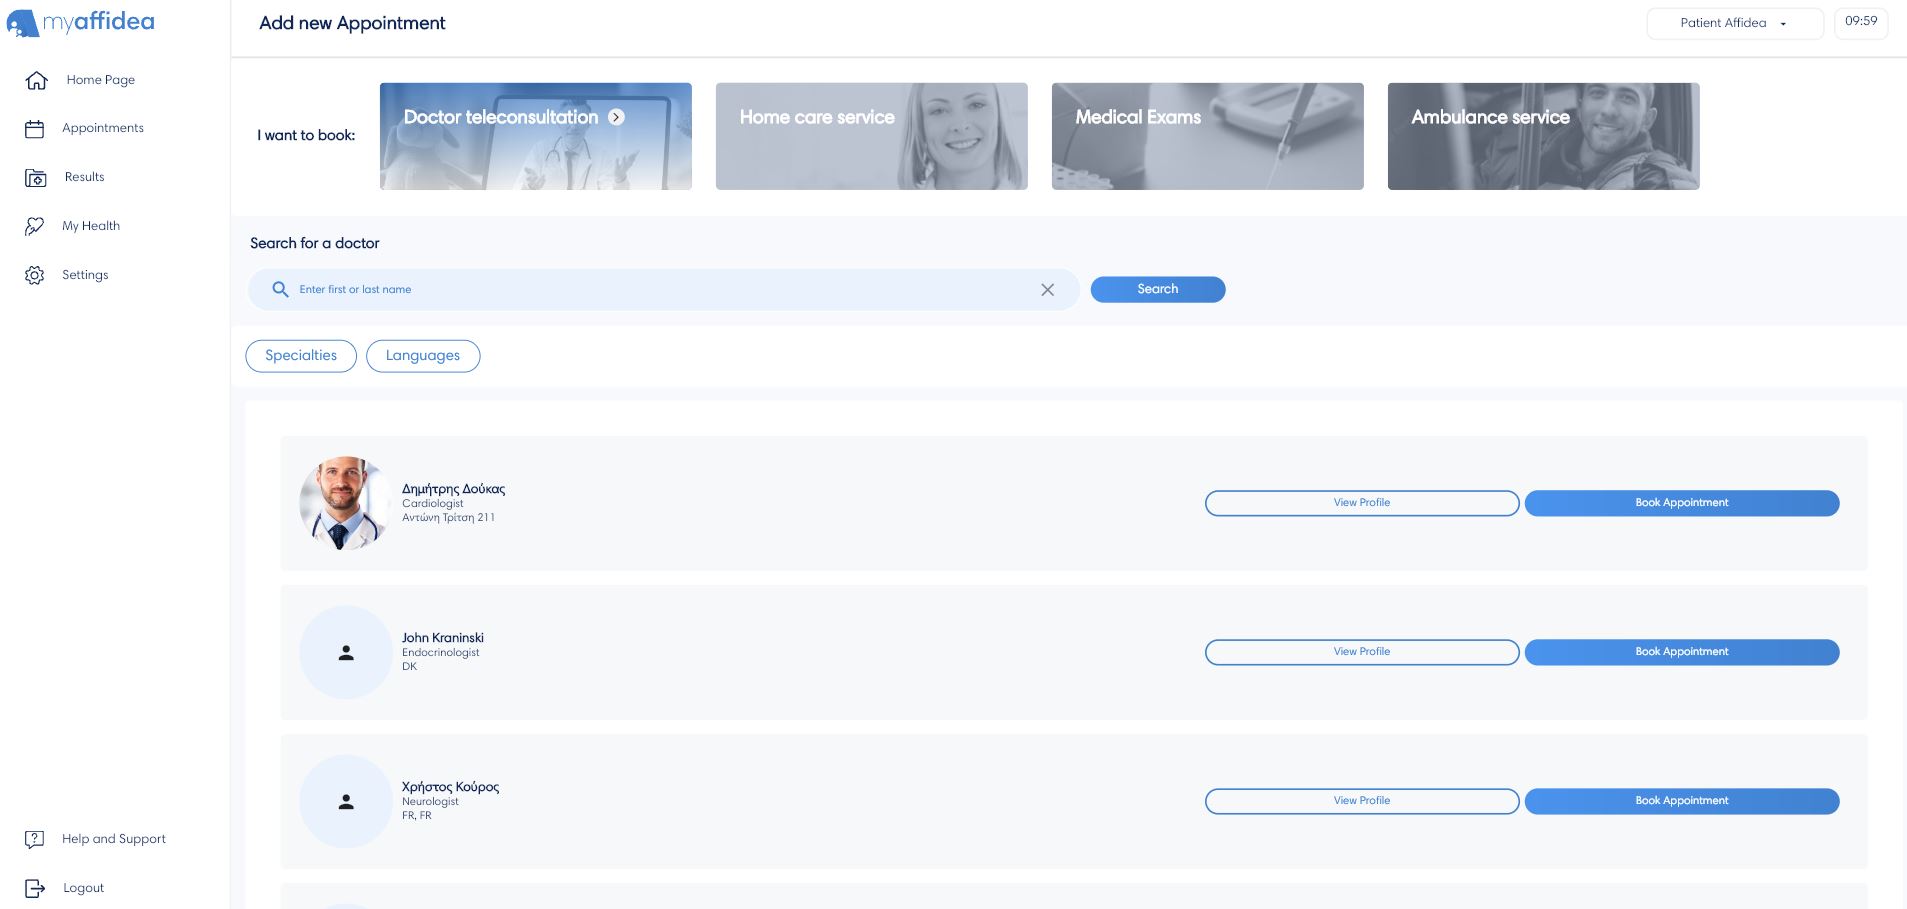
To make an appointment with a healthcare professional go to the Home tab by selecting I want to book Doctor Teleconsultation or by pressing the same button from the Appointments tab and then Add New Appointment. Thus, the user can easily search for a doctor and book an appointment with them.
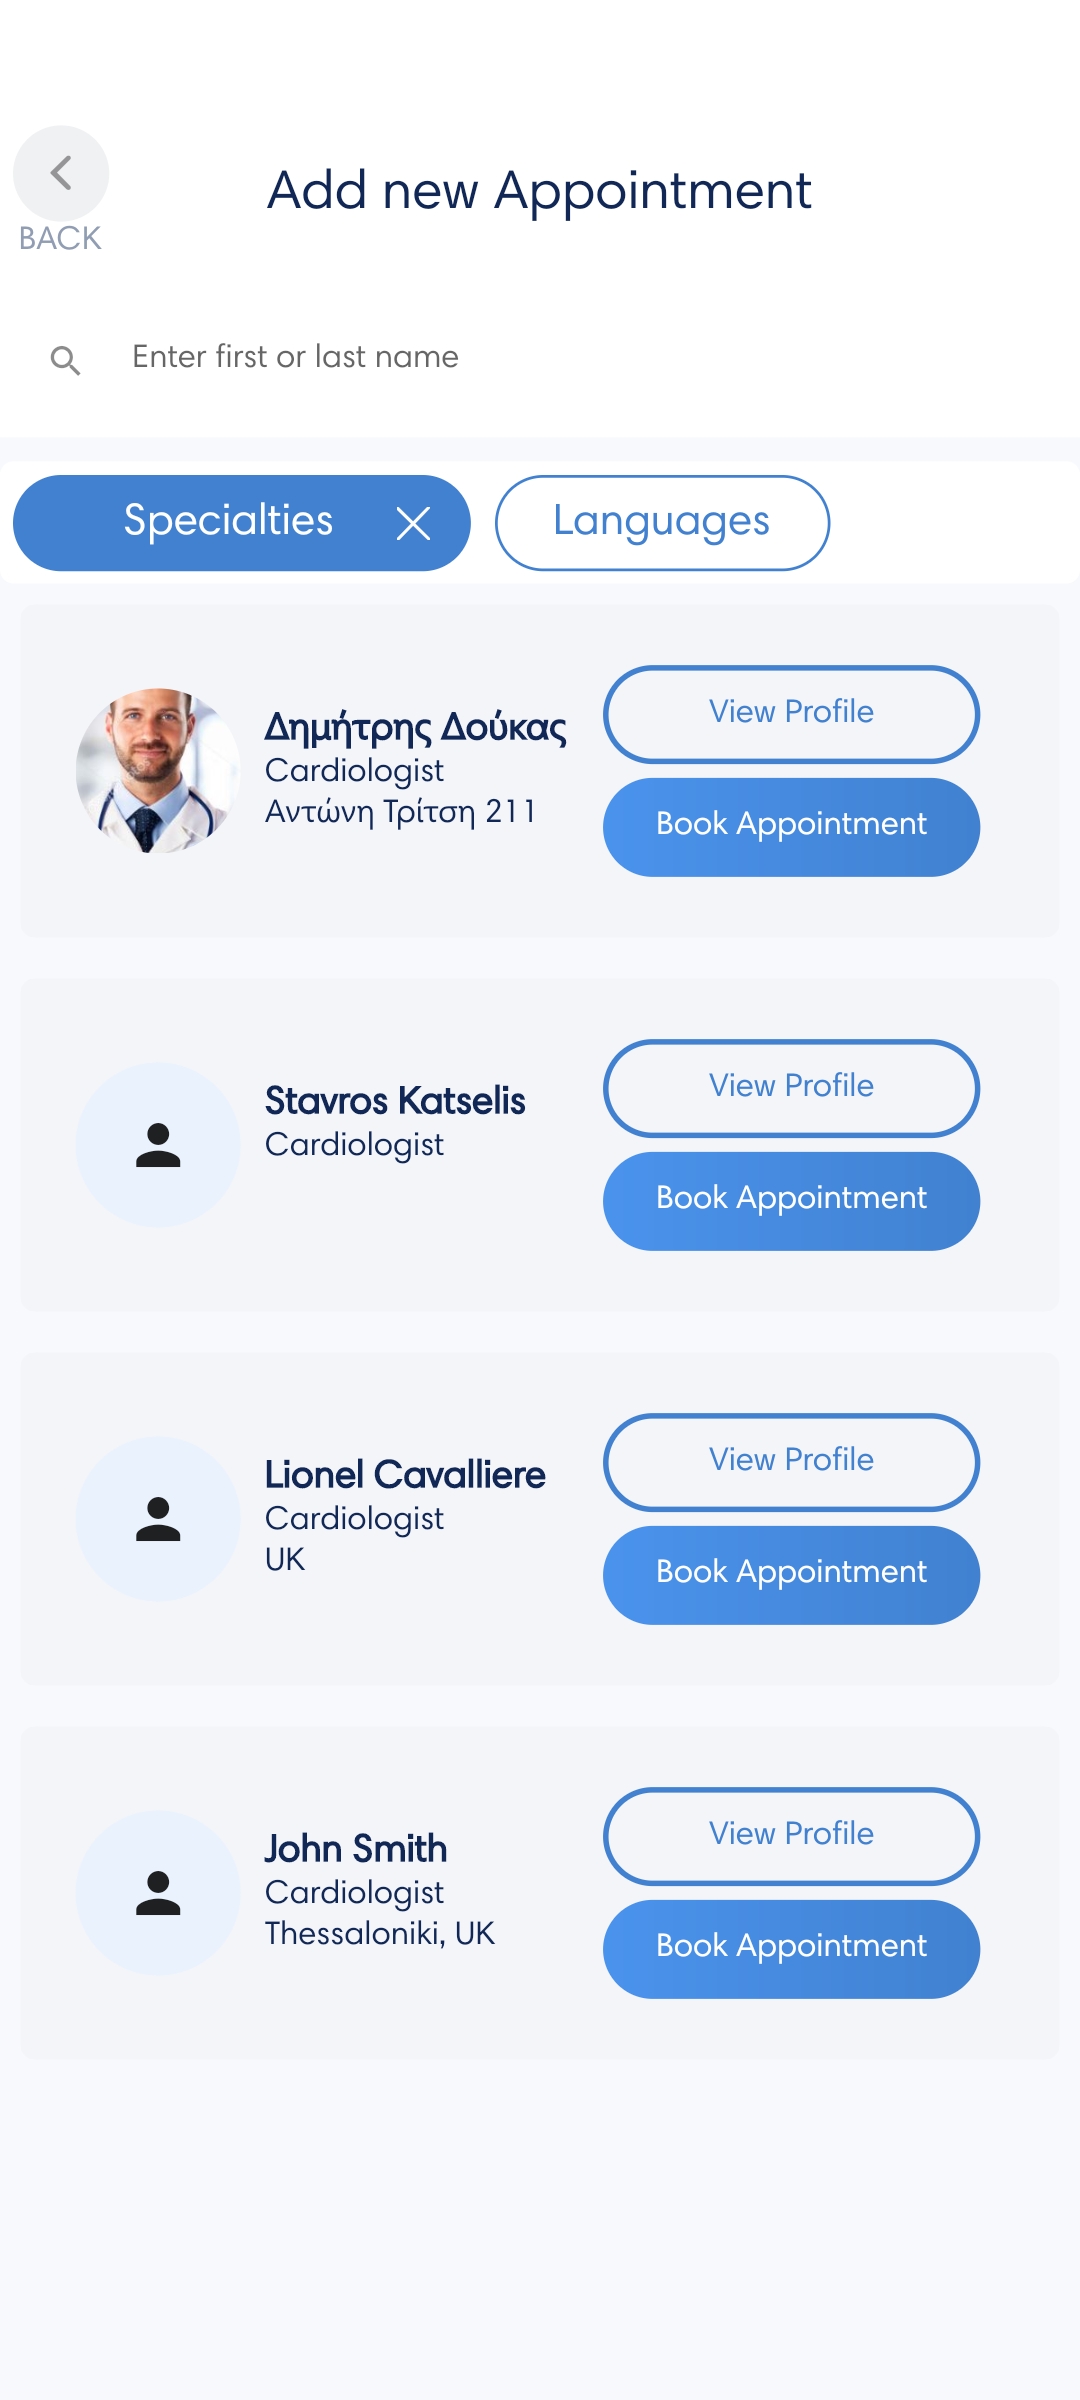
Doctor Search
You can search for a doctor by typing their first or last name and by selecting the filters Specialties, Languages. For example, if you are looking for a cardiologist who speaks Greek, select the specialty cardiologist and the language Greek.
Clicking View profile takes you to the doctor's profile, where you can see their availability, as well as information about them, such as their email and phone number. Then you can see their CV in brief, but also download the doctor's full CV to your device.
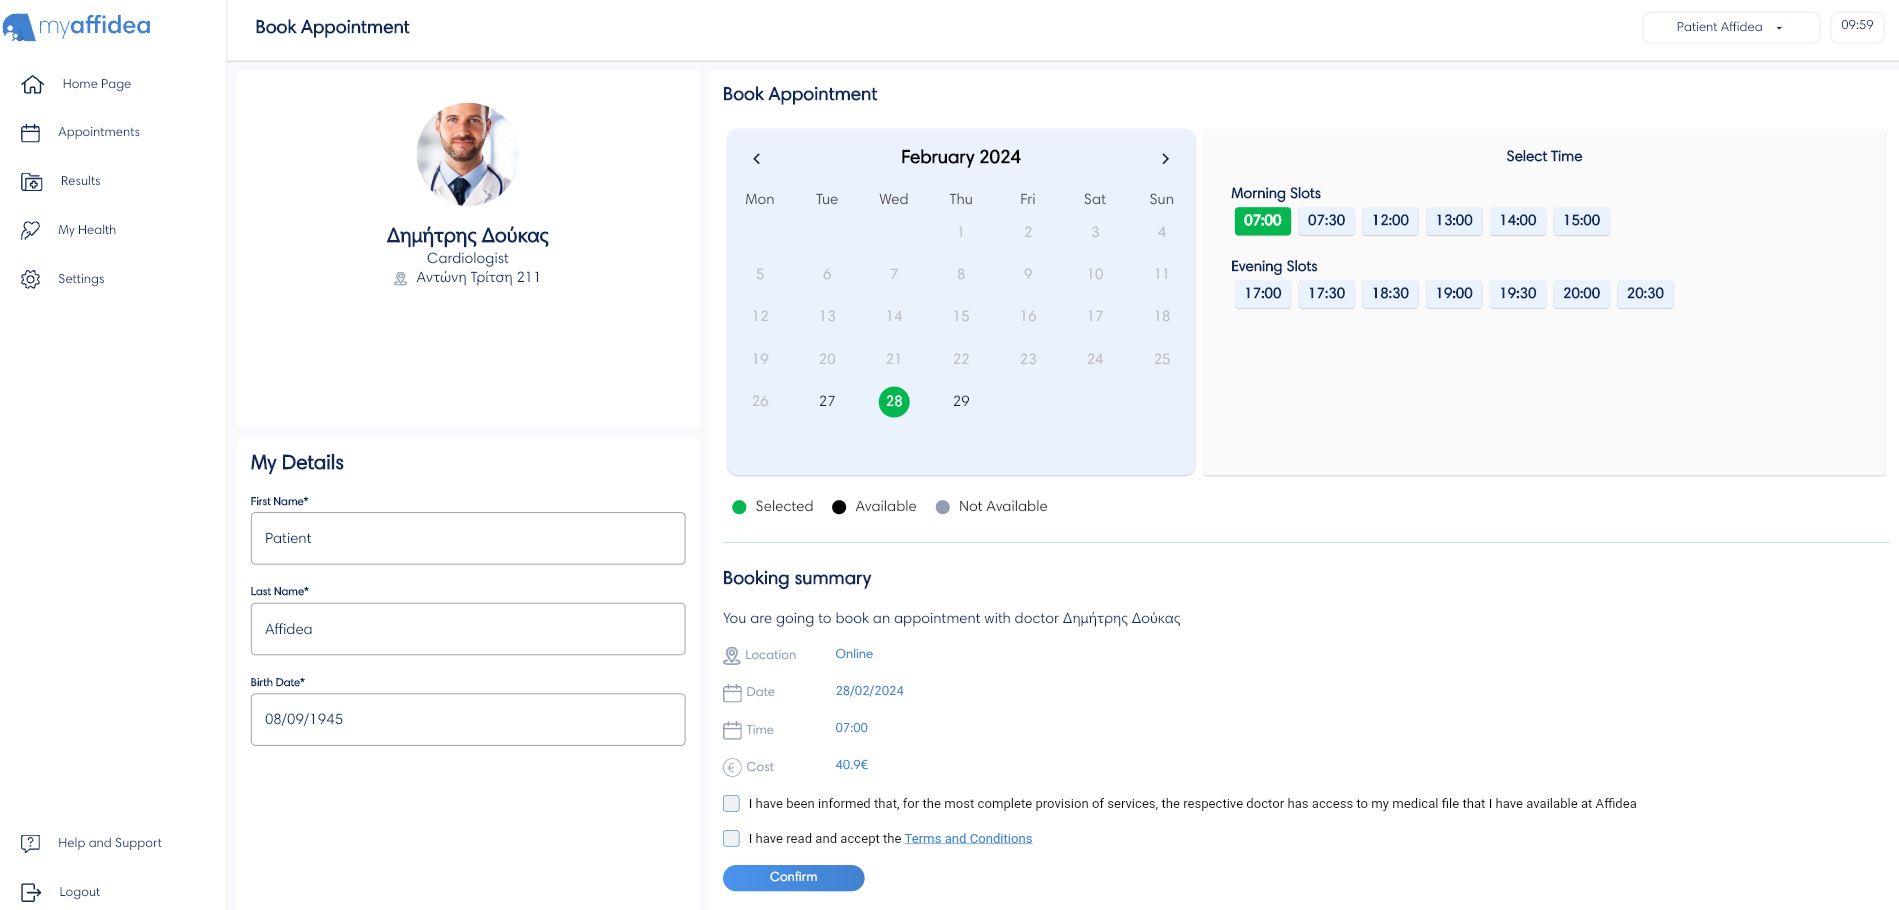
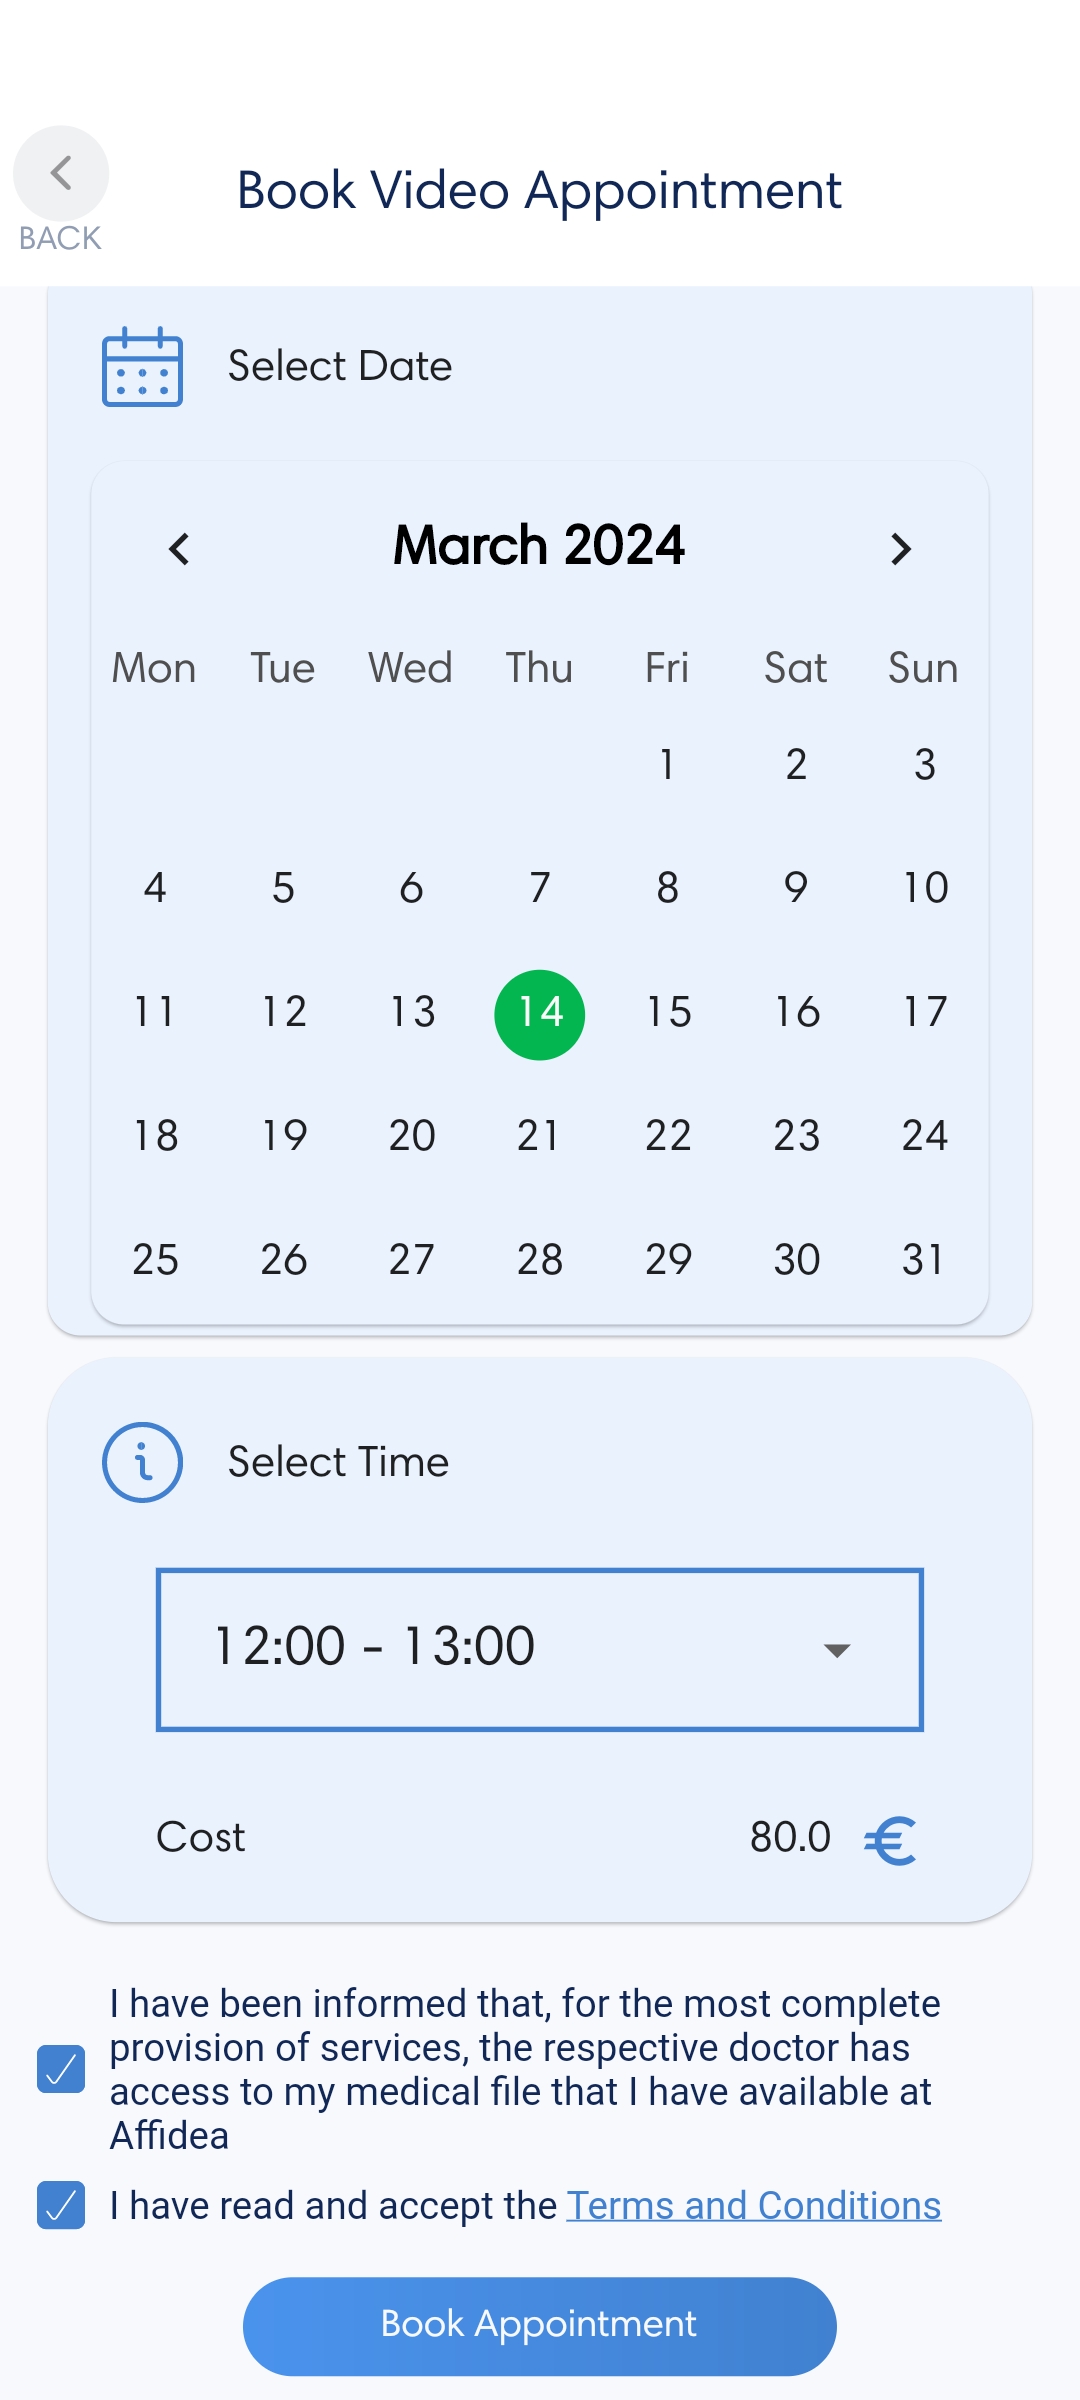
Book an appointment
On the Book appointment tab, select a date and time to book an online appointment with the doctor of your choice, depending on his availability. So, in the last step, please, read and accept the terms and conditions, and that you have been informed about access to your medical file by the doctor. This means that the doctor can see your medical history and lab results. The doctor has access until the end of the day on which the appointment will take place. If your appointment is canceled for any reason, then access is immediately revoked and the doctor is no longer able to see your medical history. Finally, wait for the confirmation of your appointment, where you will be informed via the email you provided during registration.
All the appointments
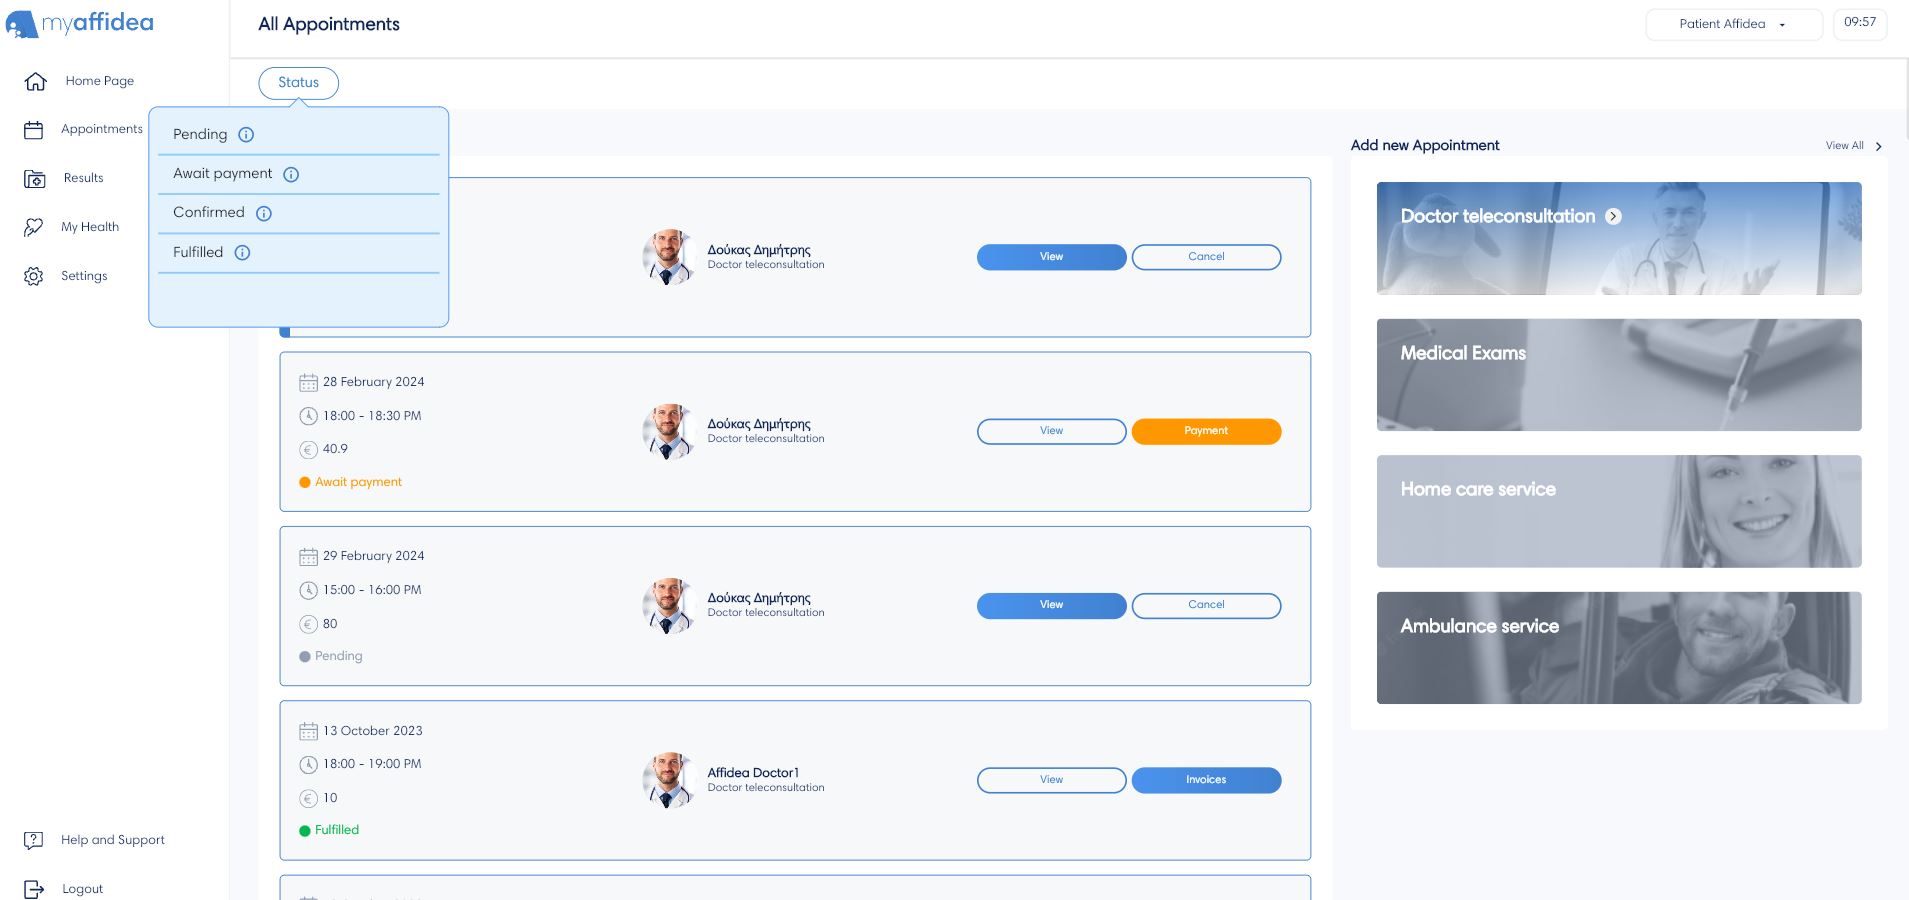
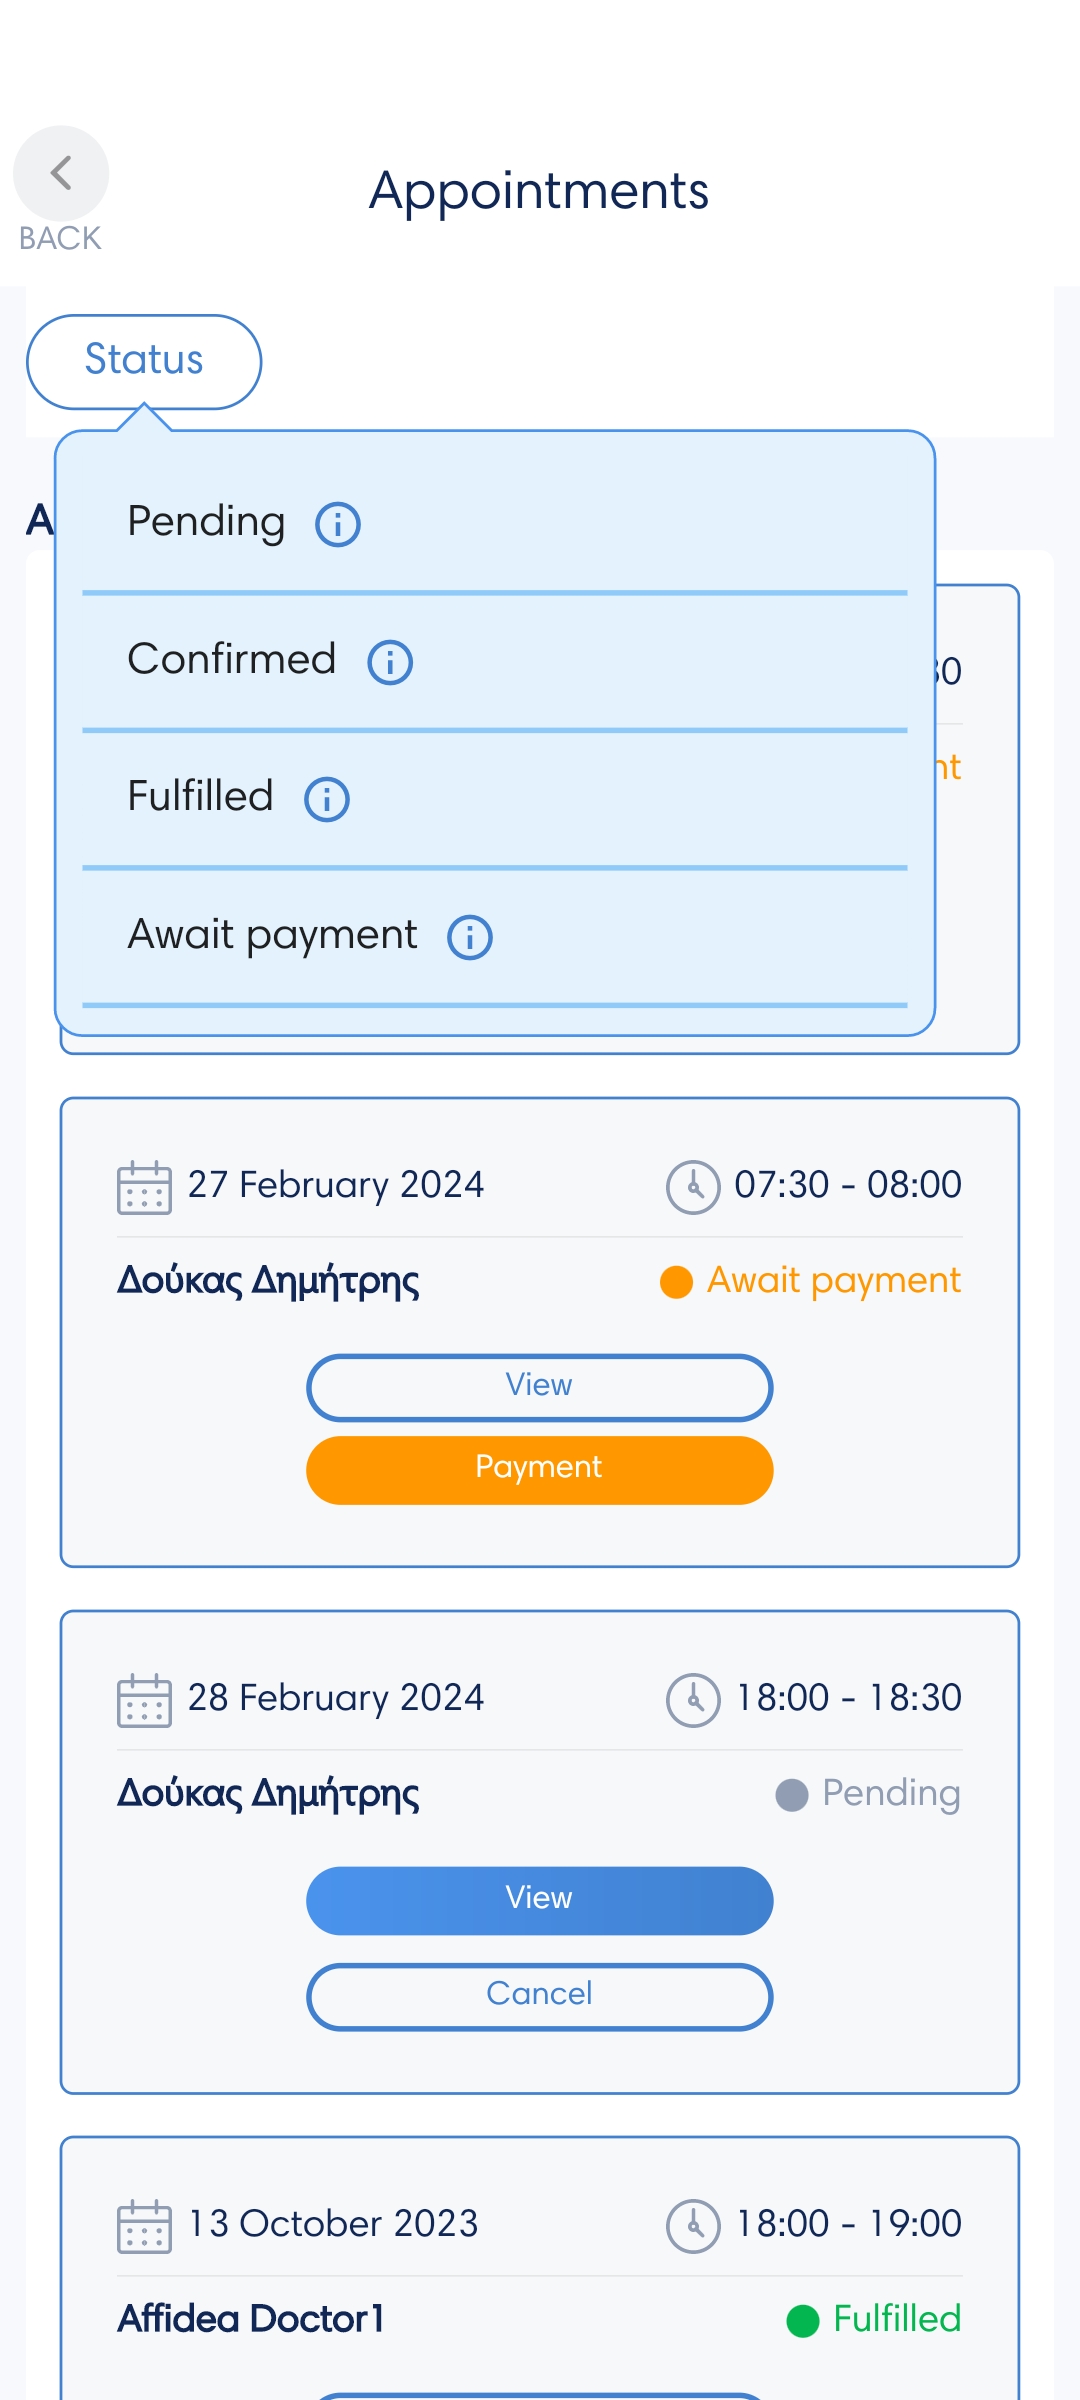
On the Appointments tab, by pressing All appointments you can see all your appointments according to their status. You can view each appointment's information, such as date, time, doctor's name, cost, and location, by clicking View.
Status types:
- Pending, the appointment has been registered and requires confirmation.
- Await payment, appointment is accepted and requires payment.
- Confirmed, the appointment is accepted and will take place on the specified day and time.
- Fulfilled, the appointment has already taken place.
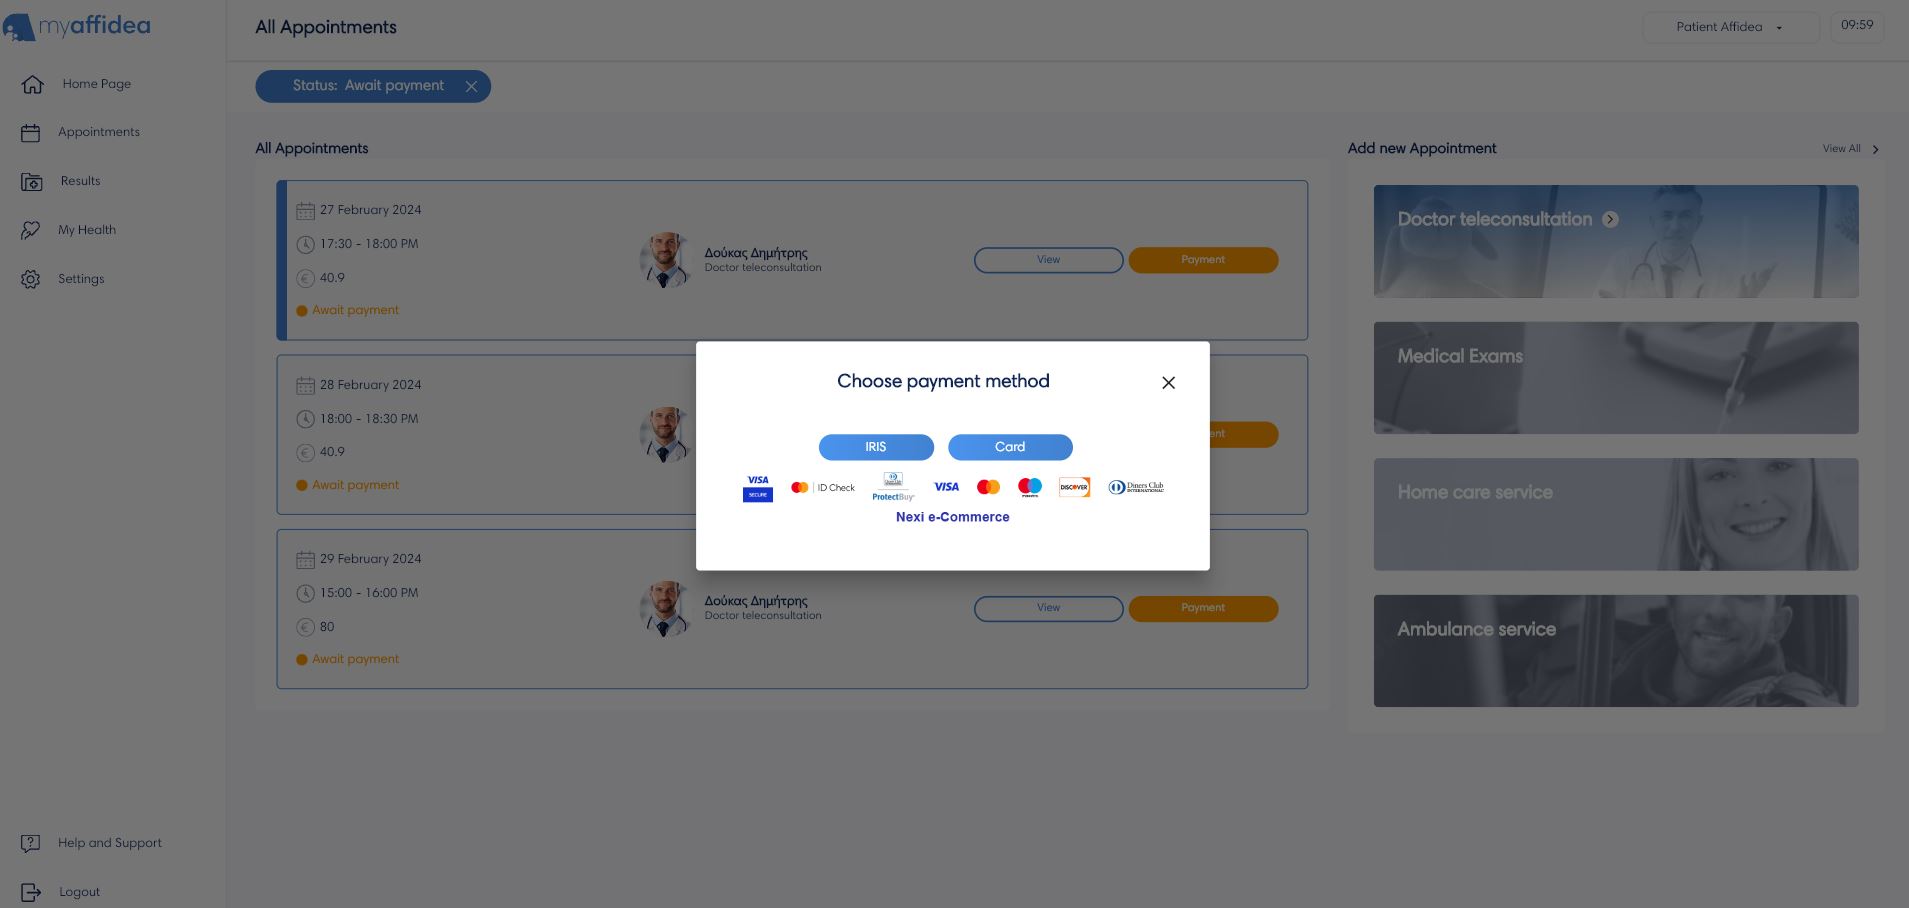
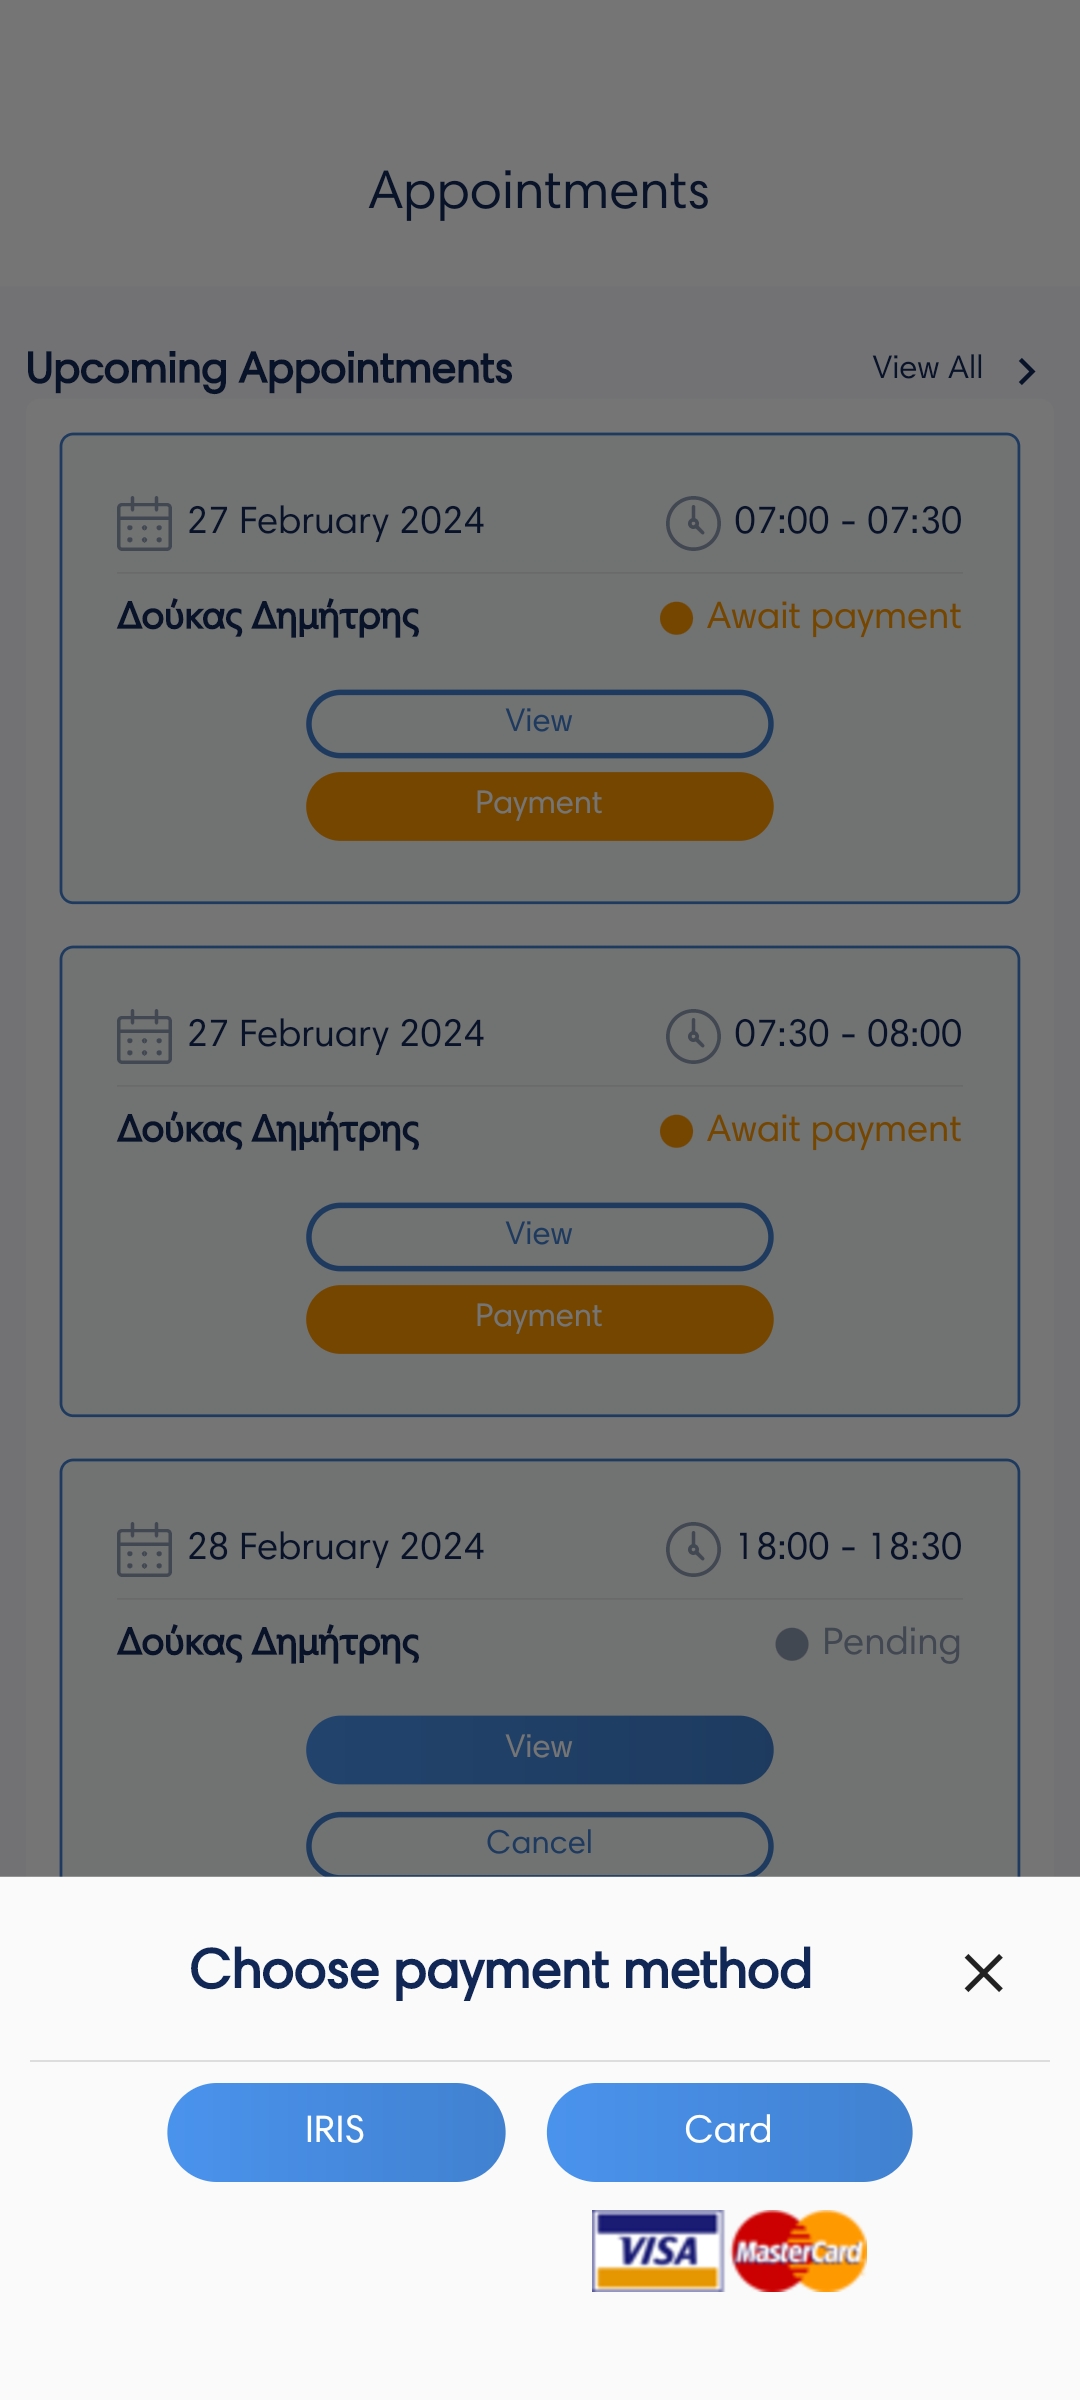
Payment method
In the Appointments tab, by pressing All appointments, choose Await payment filter and you can see all your appointments with pending payment status. By pressing the Payment button you can choose to pay with IRIS or by card. A new window will open where you can complete the payment process by adding your details.
Cancel an appointment
On the Appointments tab, by pressing All appointments you can see all your appointments according to their status. To cancel an appointment press the View button and then the Cancel button. If the appointment has a Confirmed status, so the appointment payment has been made, then the money will be returned to your account if the appointment has been canceled by your doctor or if you yourself cancel the appointment up to 4 hours before its start time.
Join a teleconsultation with a doctor
When your appointment day and time arrives, go to the Appointments tab, tap All Appointments to view all your appointments and select as status Confirmed. You will see all confirmed appointments sorted by date, the today's appointments are first, otherwise your next appointment. By pressing the View button, you will find the Join Call button, which will activate a few minutes before the video call time.
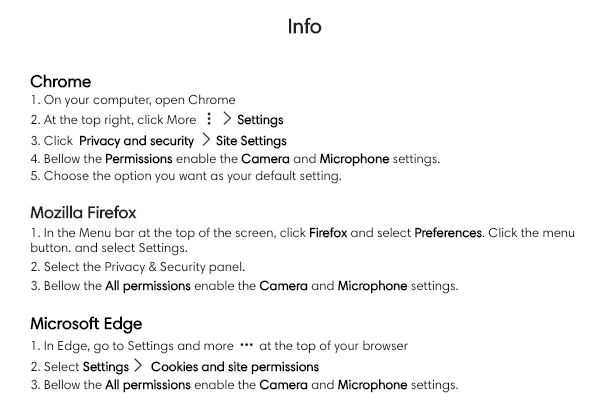
How do I grant camera and microphone permissions?
In the browser, first make sure your camera and microphone are connected and working properly. As soon as the video call window opens you will be asked to give the necessary rights/permissions to camera and microphone, where you will have to respond positively to this message.
If for any reason the doctor cannot see or hear you during the video call:
- In the browser, go to your browser's Settings and grant the necessary rights or permissions to camera and microphone, as you will see in the picture below.
- On your mobile device, go to your device's Settings, then Apps/Manage apps, find myaffidea and select App Permissions, where allow access to camera and microphone .

Appointment invoices
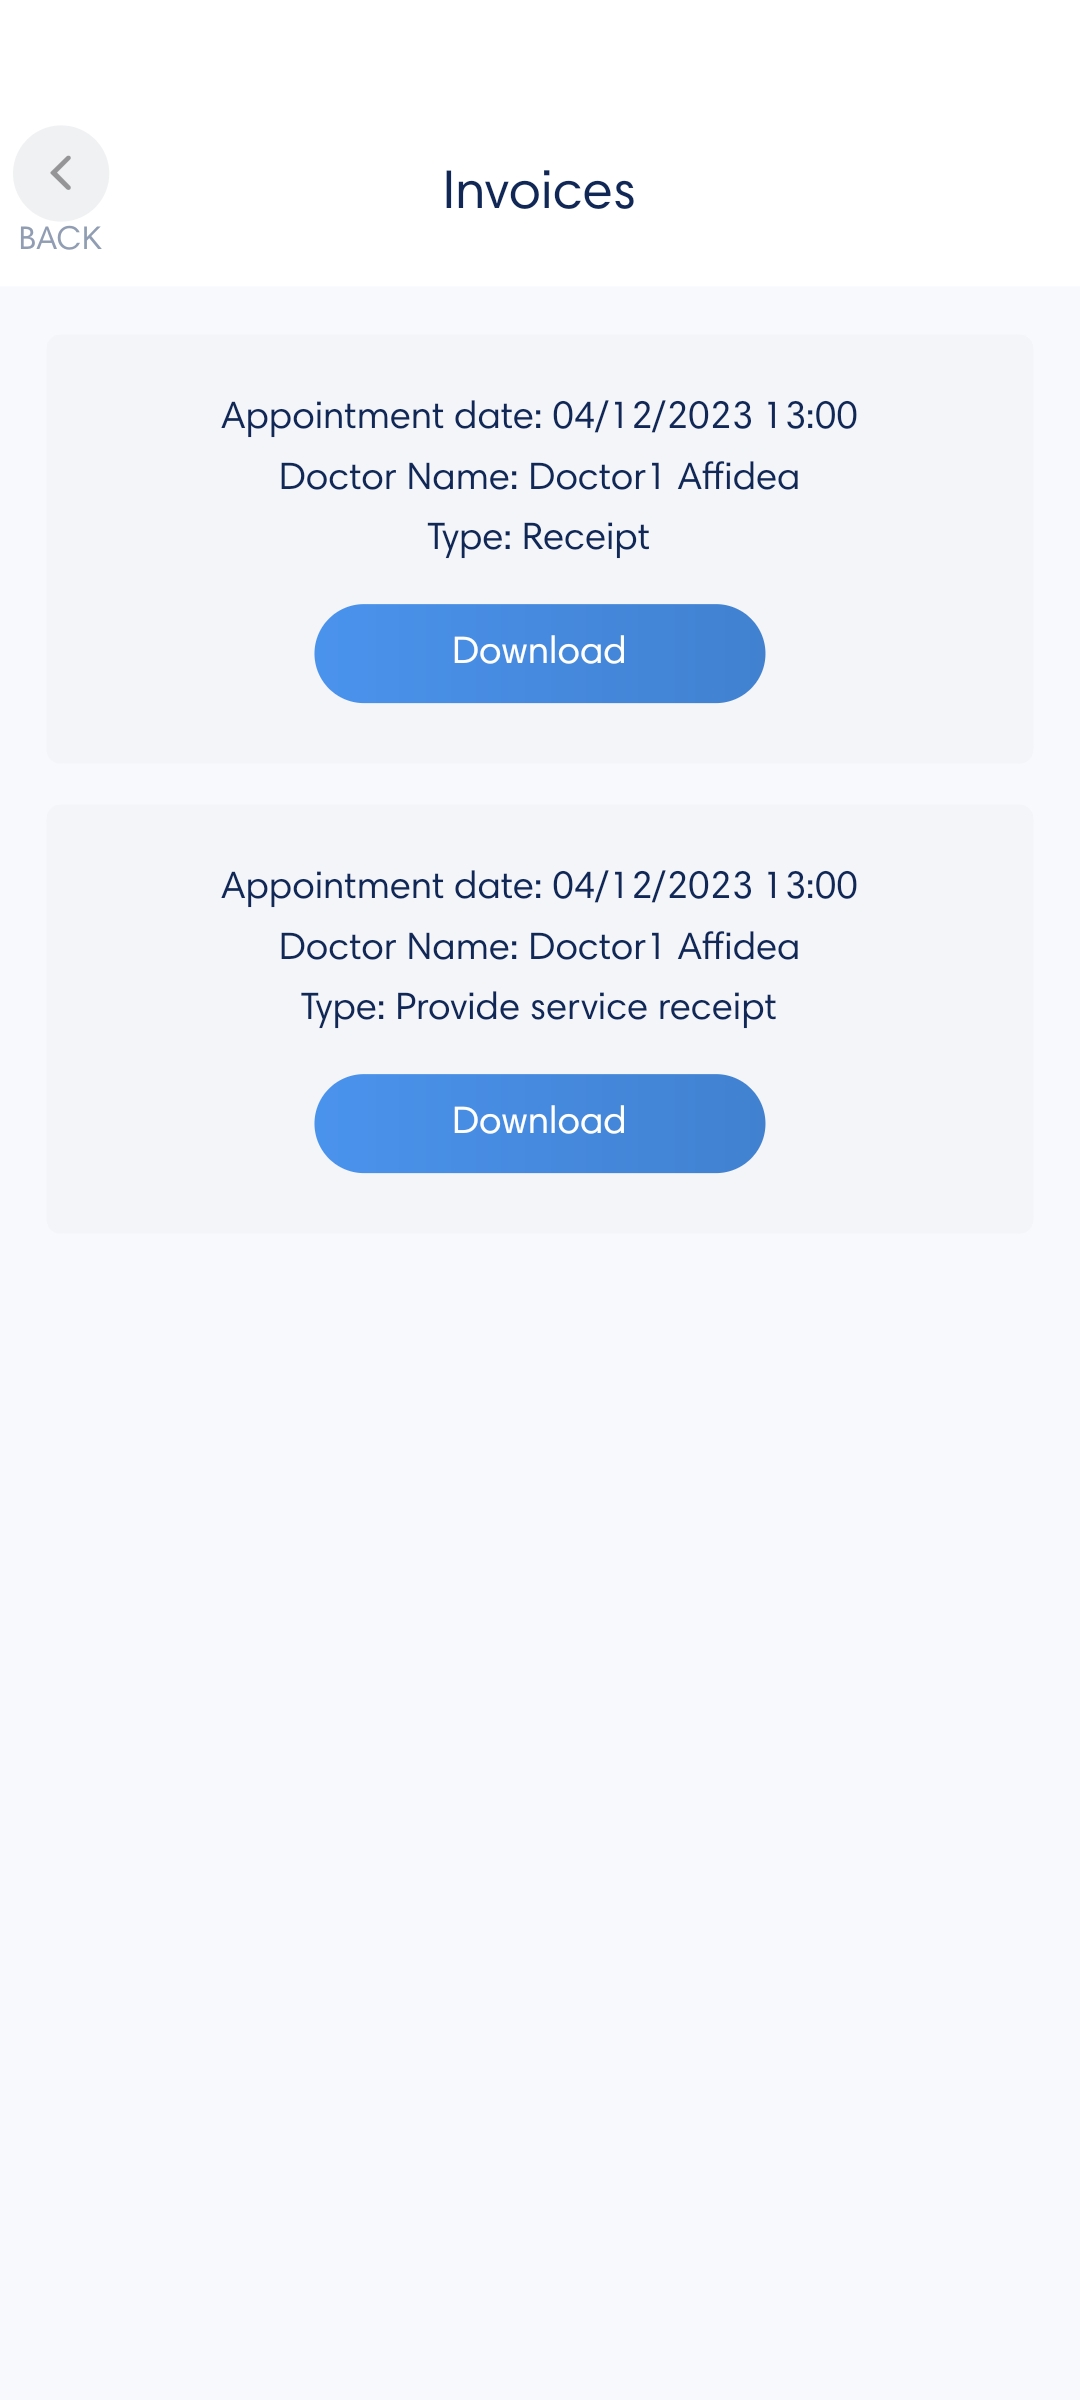
You can view your receipts in two ways, aggregated and individually for each appointment. In the Appointments tab, by clicking Appointment Receipts you can see all your appointment receipts. Whereas, in the All Appointments tab, in each appointment with status Completed you can find the receipts by pressing the Receipts button. To download the receipt files to your device press the Download button.
Types of receipts:
- Receipt, printed as soon as appointment payment is made.
- Provide service receipt, issued when the pre-arranged appointment is completed.
- Payment receipt, printed the appointment is canceled and the refund is accepted.
- Credit provide receipt, printed when the confirmed appointment is not completed, for example due to technical problems leading to a refund. To issue this receipt press the button Create.

Where will I find myaffidea results?
On the Results tab, the user gains access to the results of their lab exams. The user can search for a result based on some options, these are the following:
- Year Range, where the user can search for results by time period of their choice, for example 2020-2021,
- Categories, where the user can choose between some exam categories, such as magnetic, blood results etc.,
- Attention needed, where the user can view the most critical results,
- New, where the user can see their latest lab results.

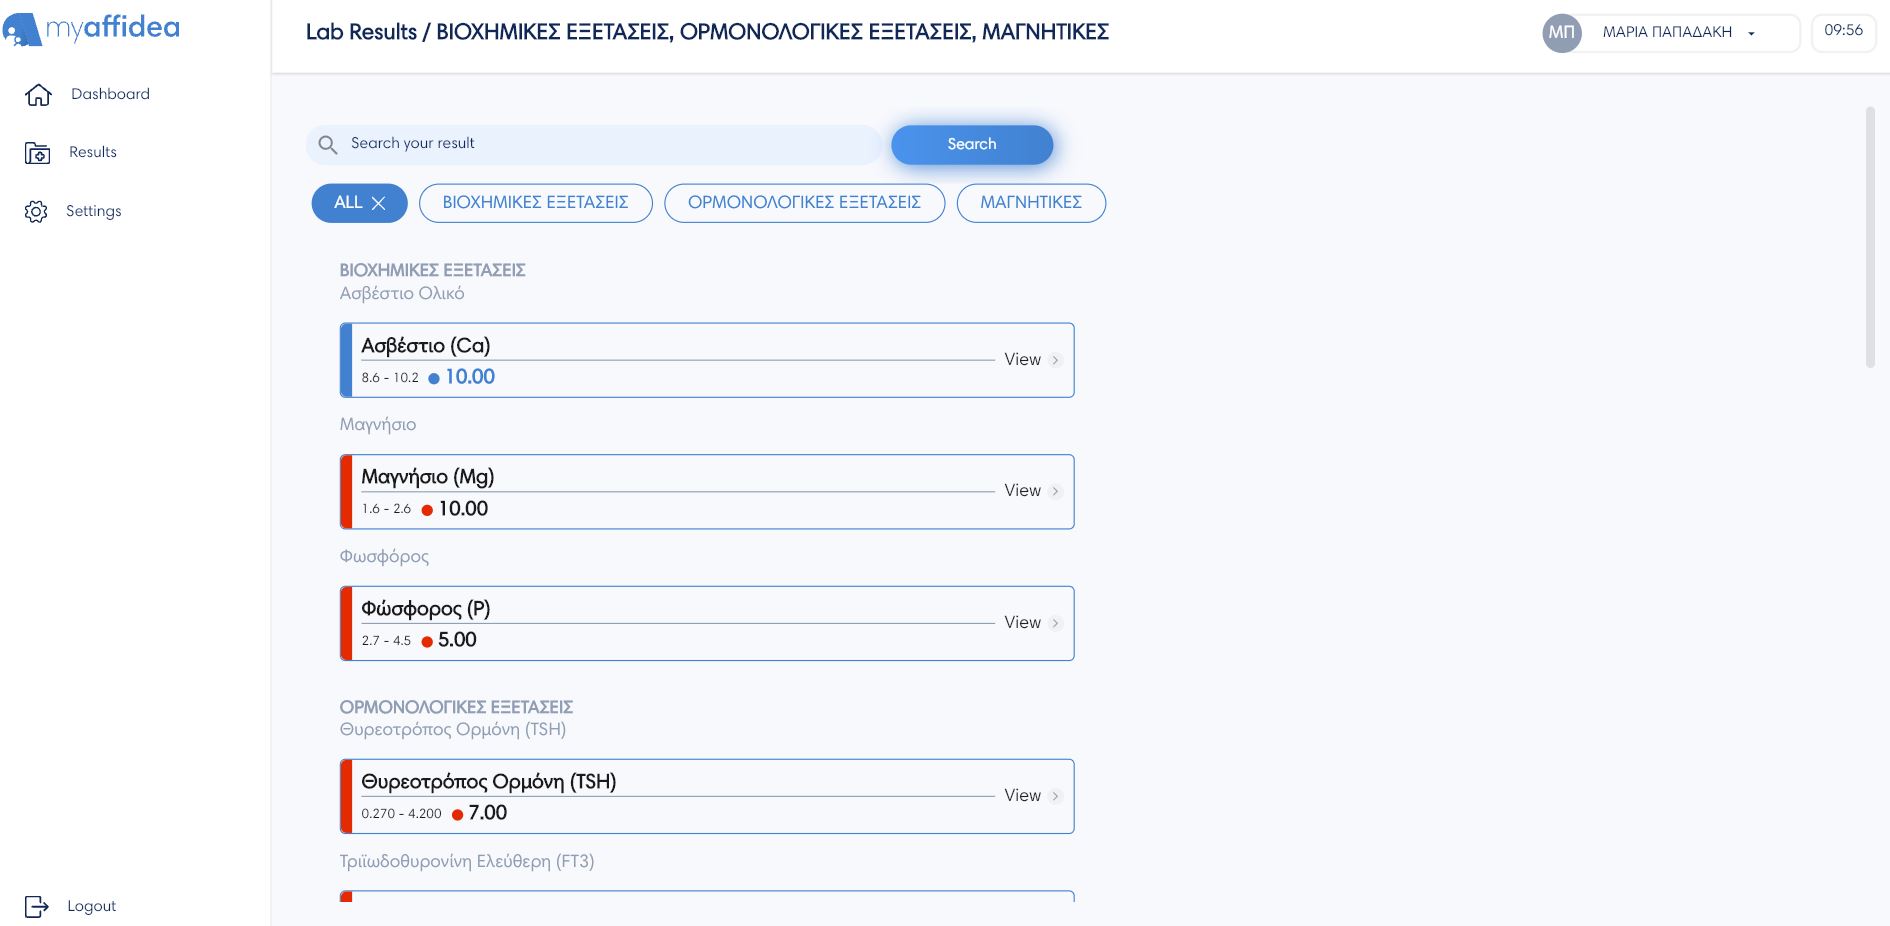
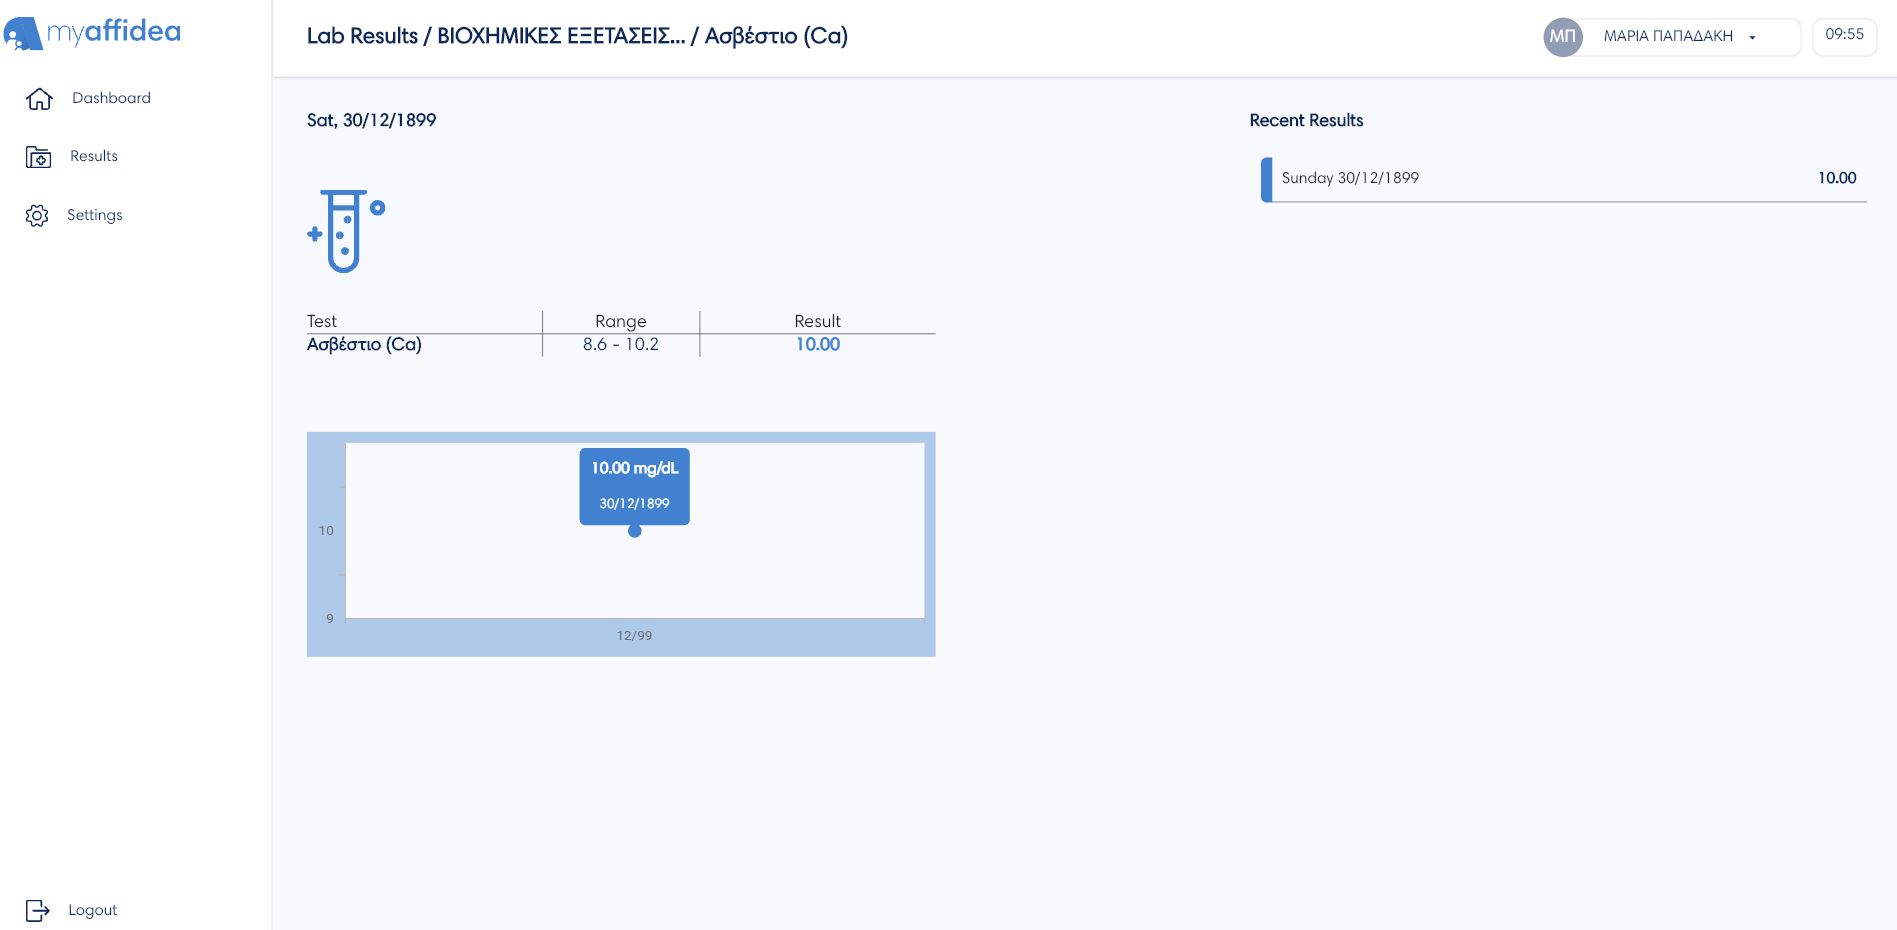
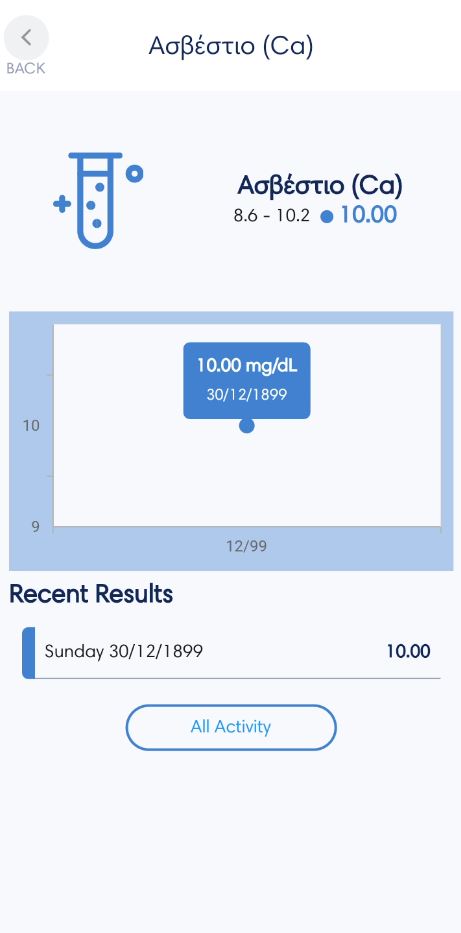
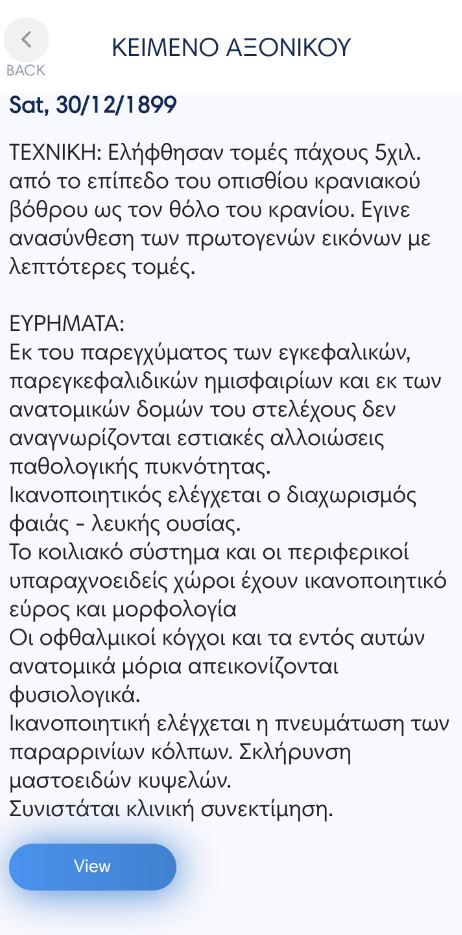
View results
To see more details of a result press the View button. By clicking on a result the user can see all its information and measurements separately. That is, the date, test name, range, result, chart and a list of the measurement's recent results. In each measurement the interval of permissible limits is in front of the user's value. In blue are the values that are within the permissible limits and in red are the values outside the permissible limits.
How can I download or view online my result from my device?
Each result can be saved to your device by pressing the Download button and opened as a portable document format PDF.
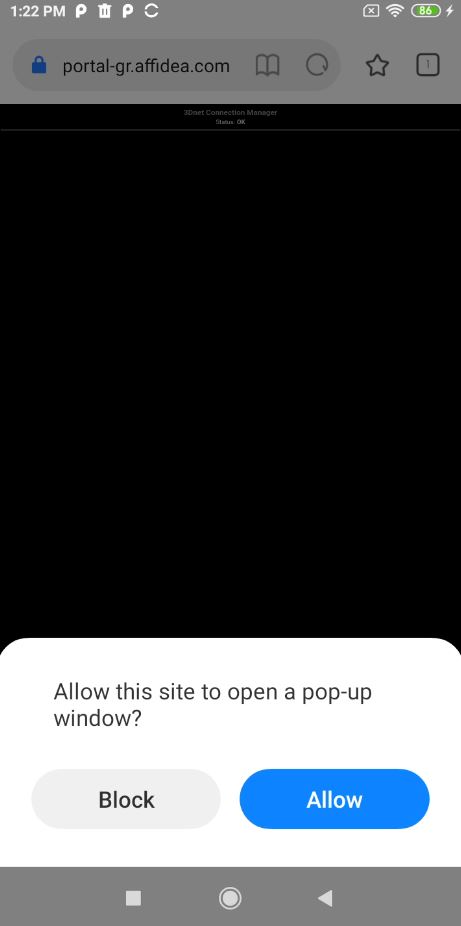
If the user presses the View button on a specific result, he can see the result file in 3D format, automatically with the 3Dnet viewer program, for example the magnetic, the ultrasound etc.
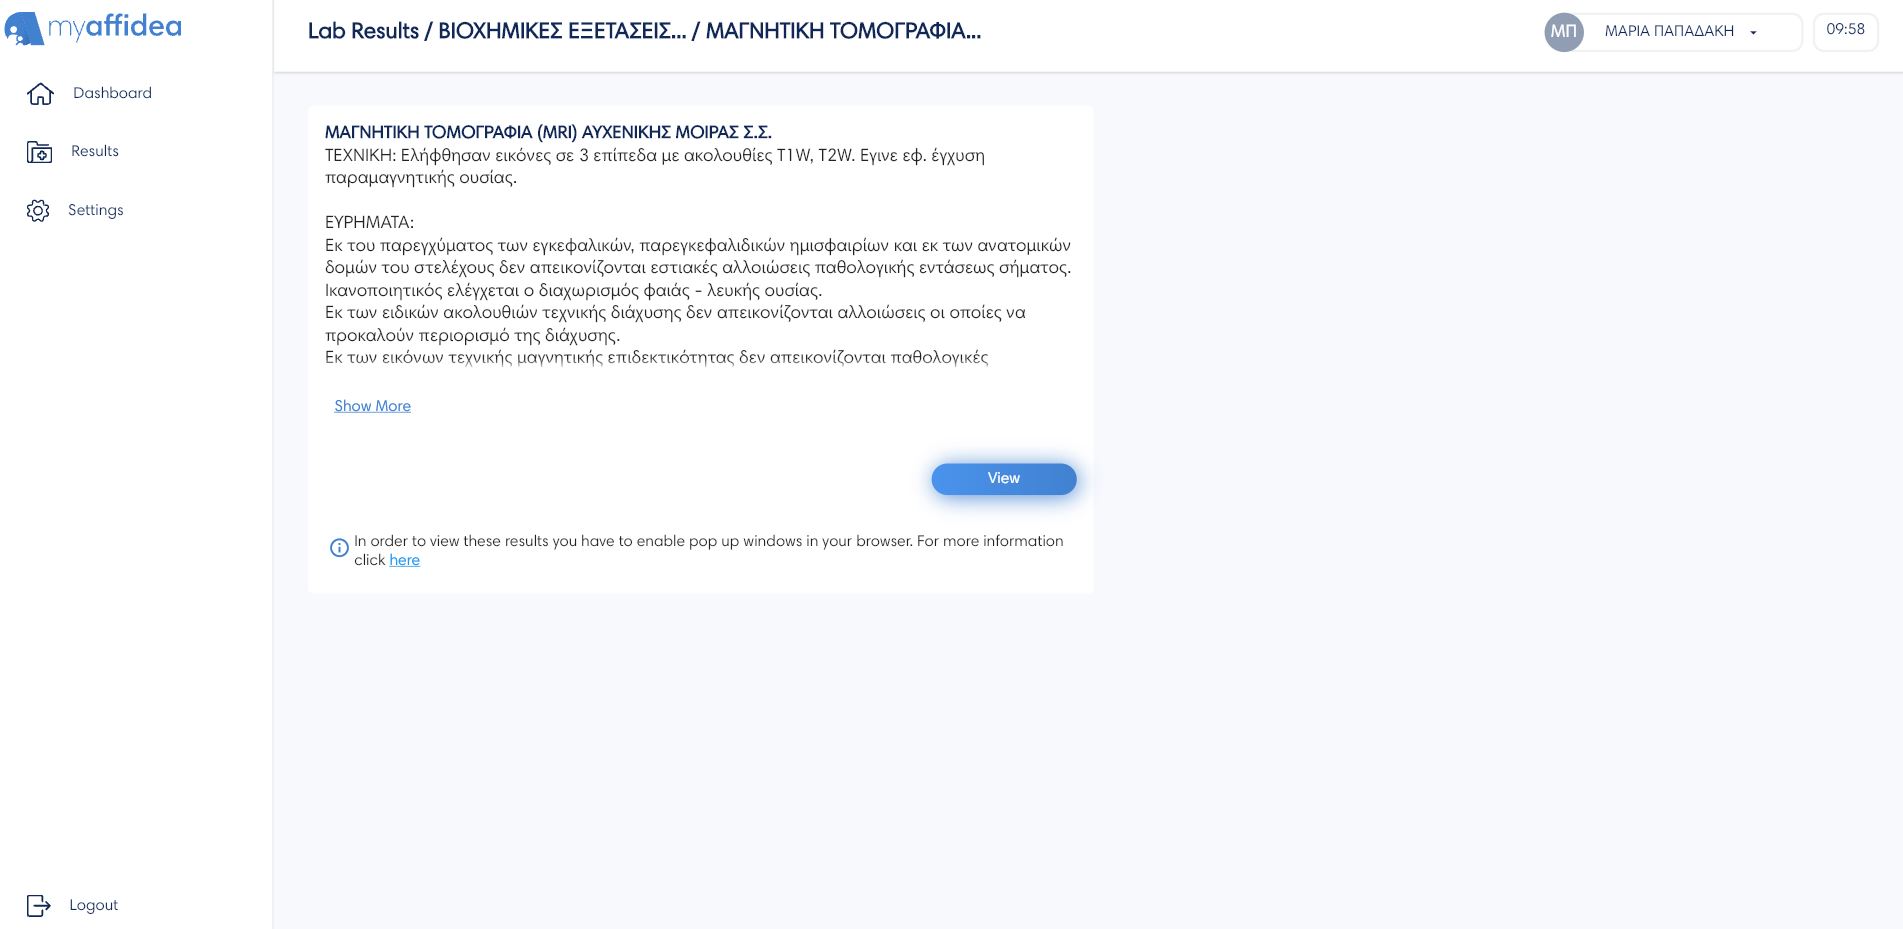
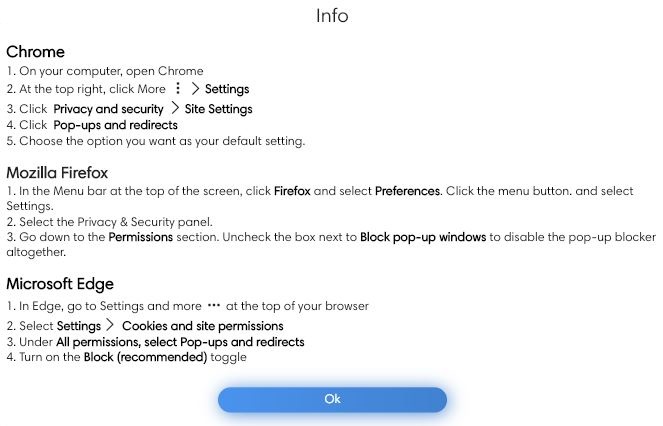
Attention: You must allow pop-ups in your browser to be able to view the result's file.
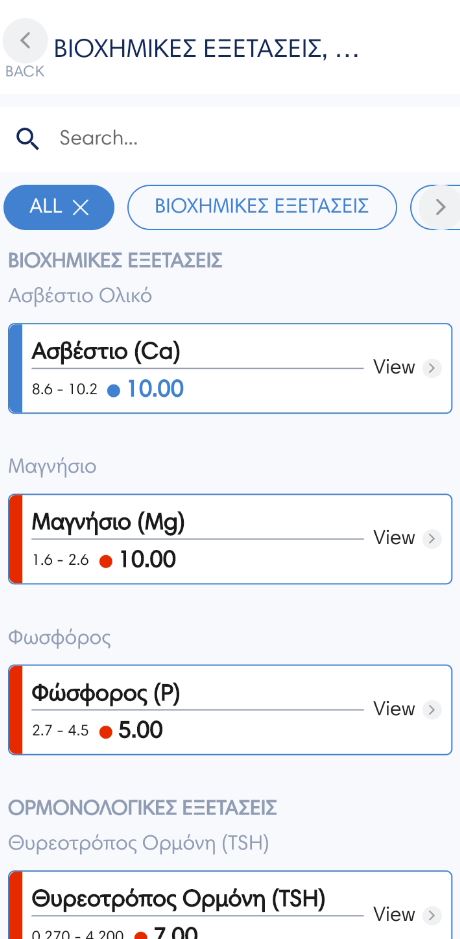
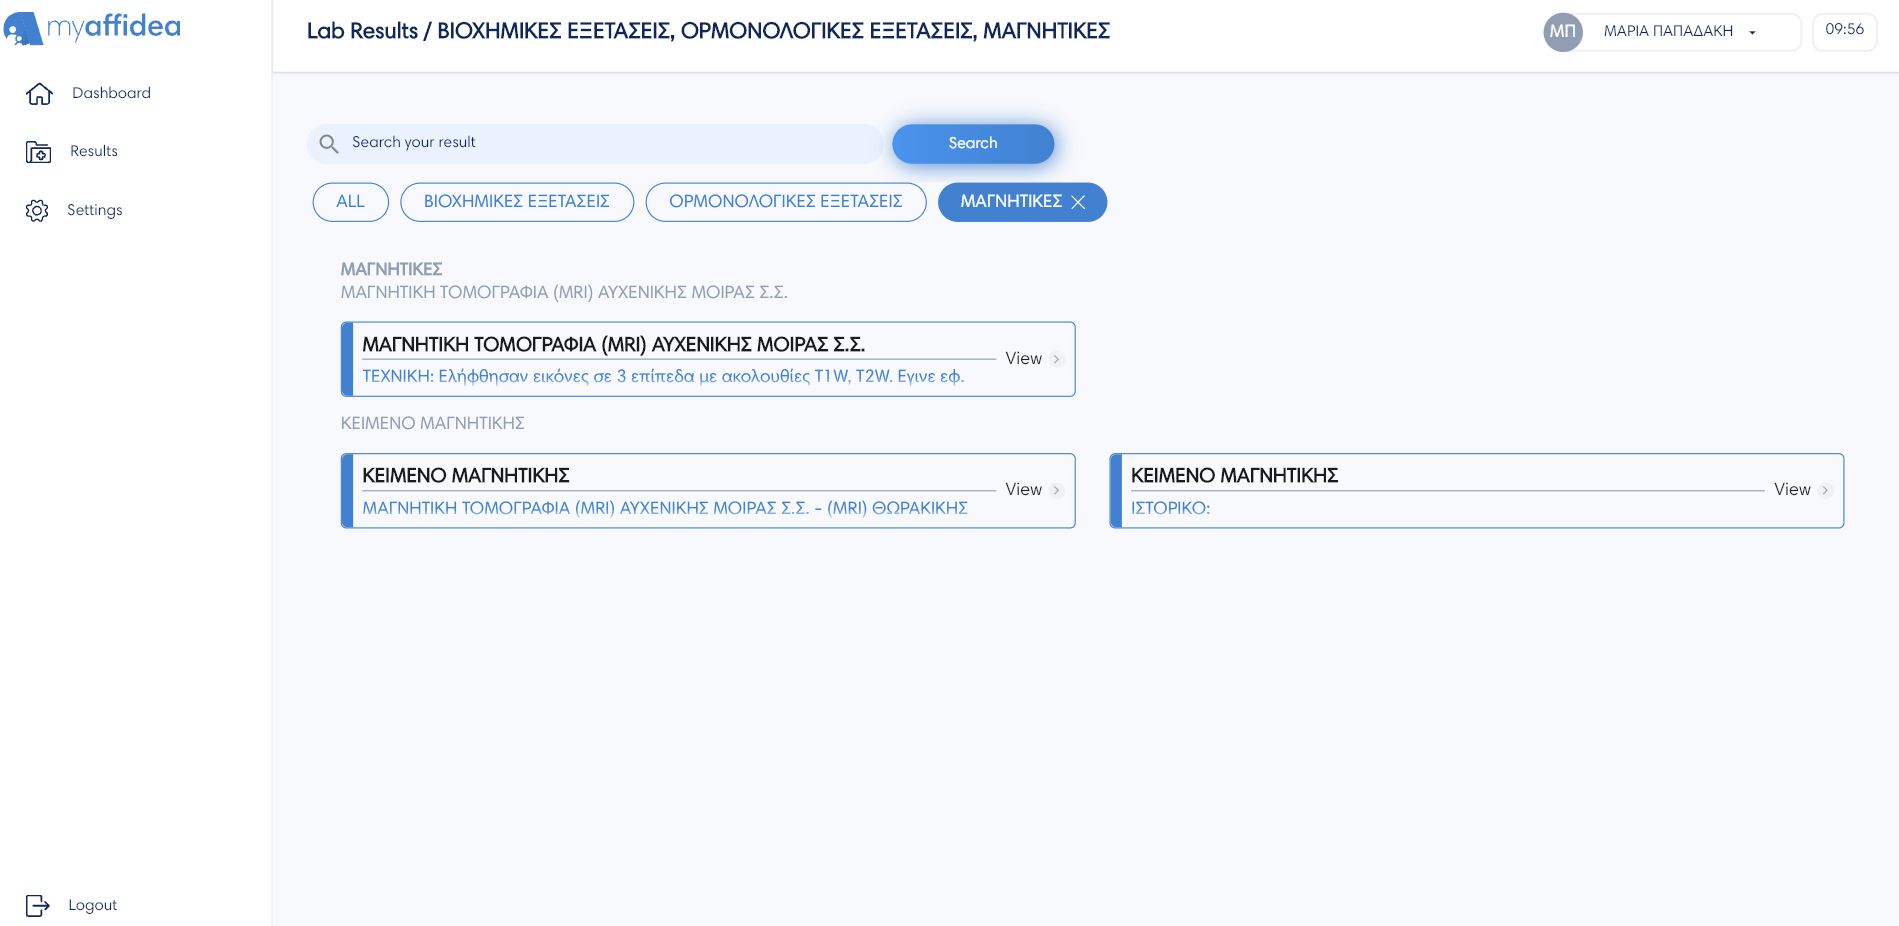
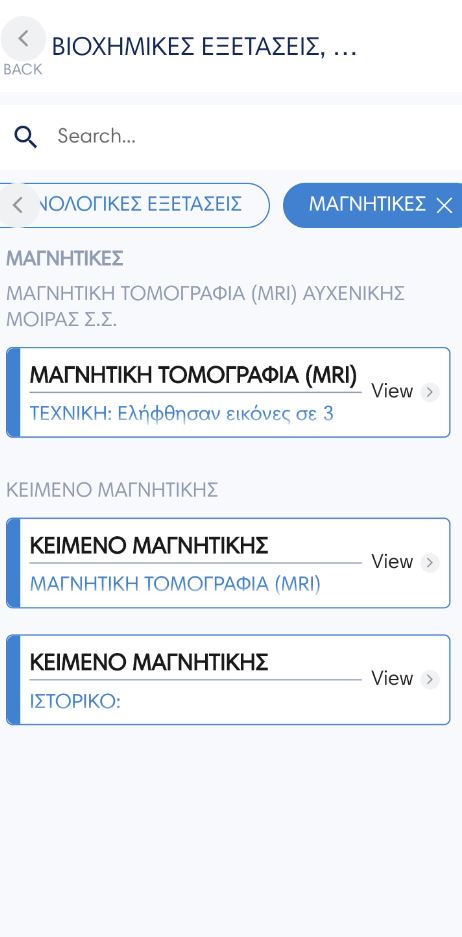
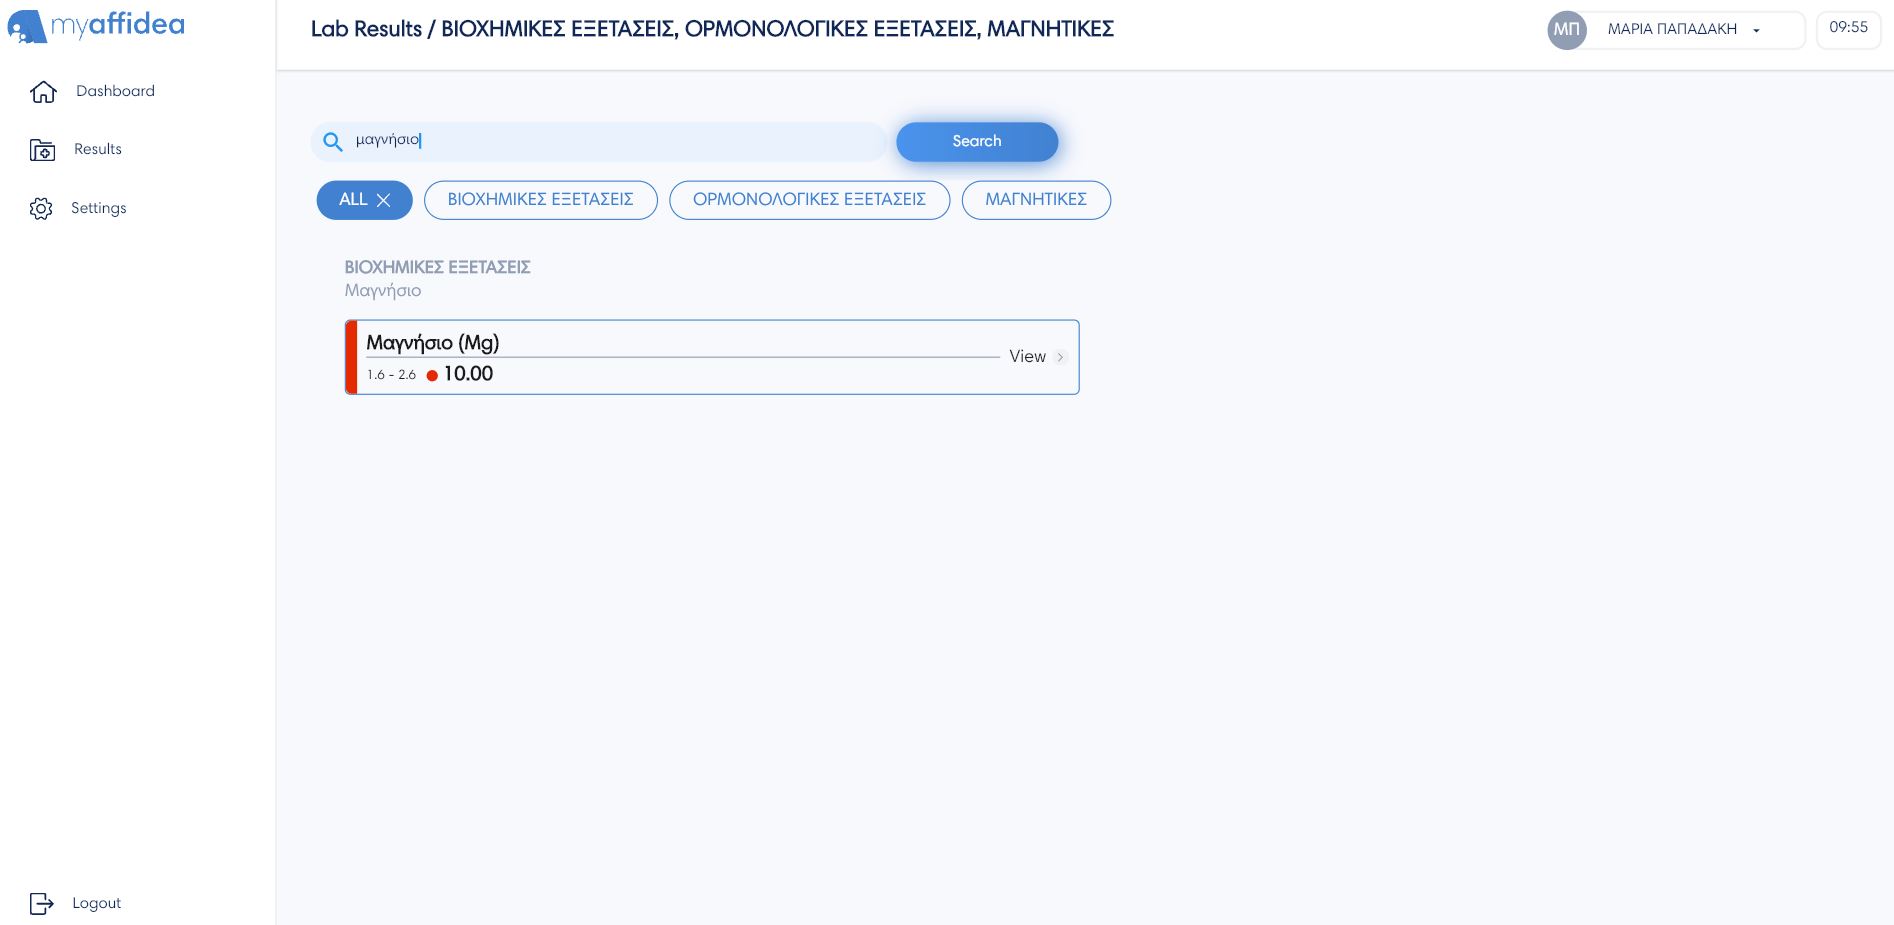
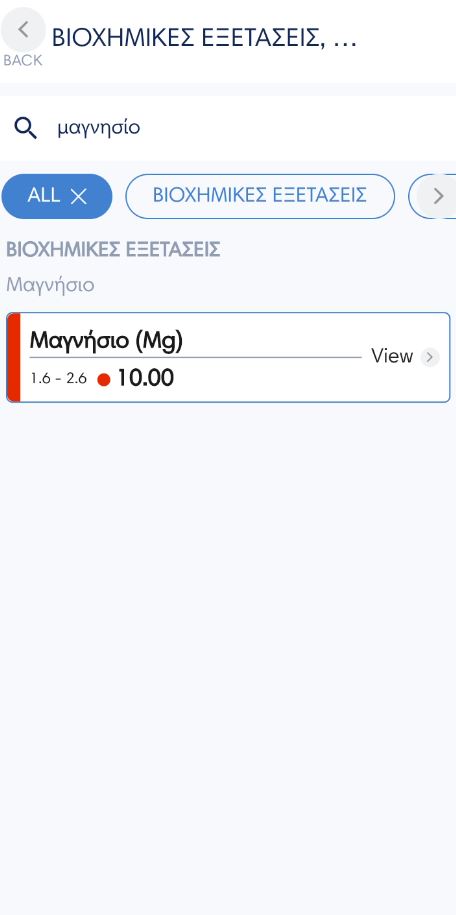
Search results
The user can search by name for the result they are looking for by pressing the Search button, for example calcium, red blood cells etc. Then there are the filters for easy access to specific results, such as general blood, biochemical tests, general urine and magnetic etc.
How do I add my medical history to myaffidea?
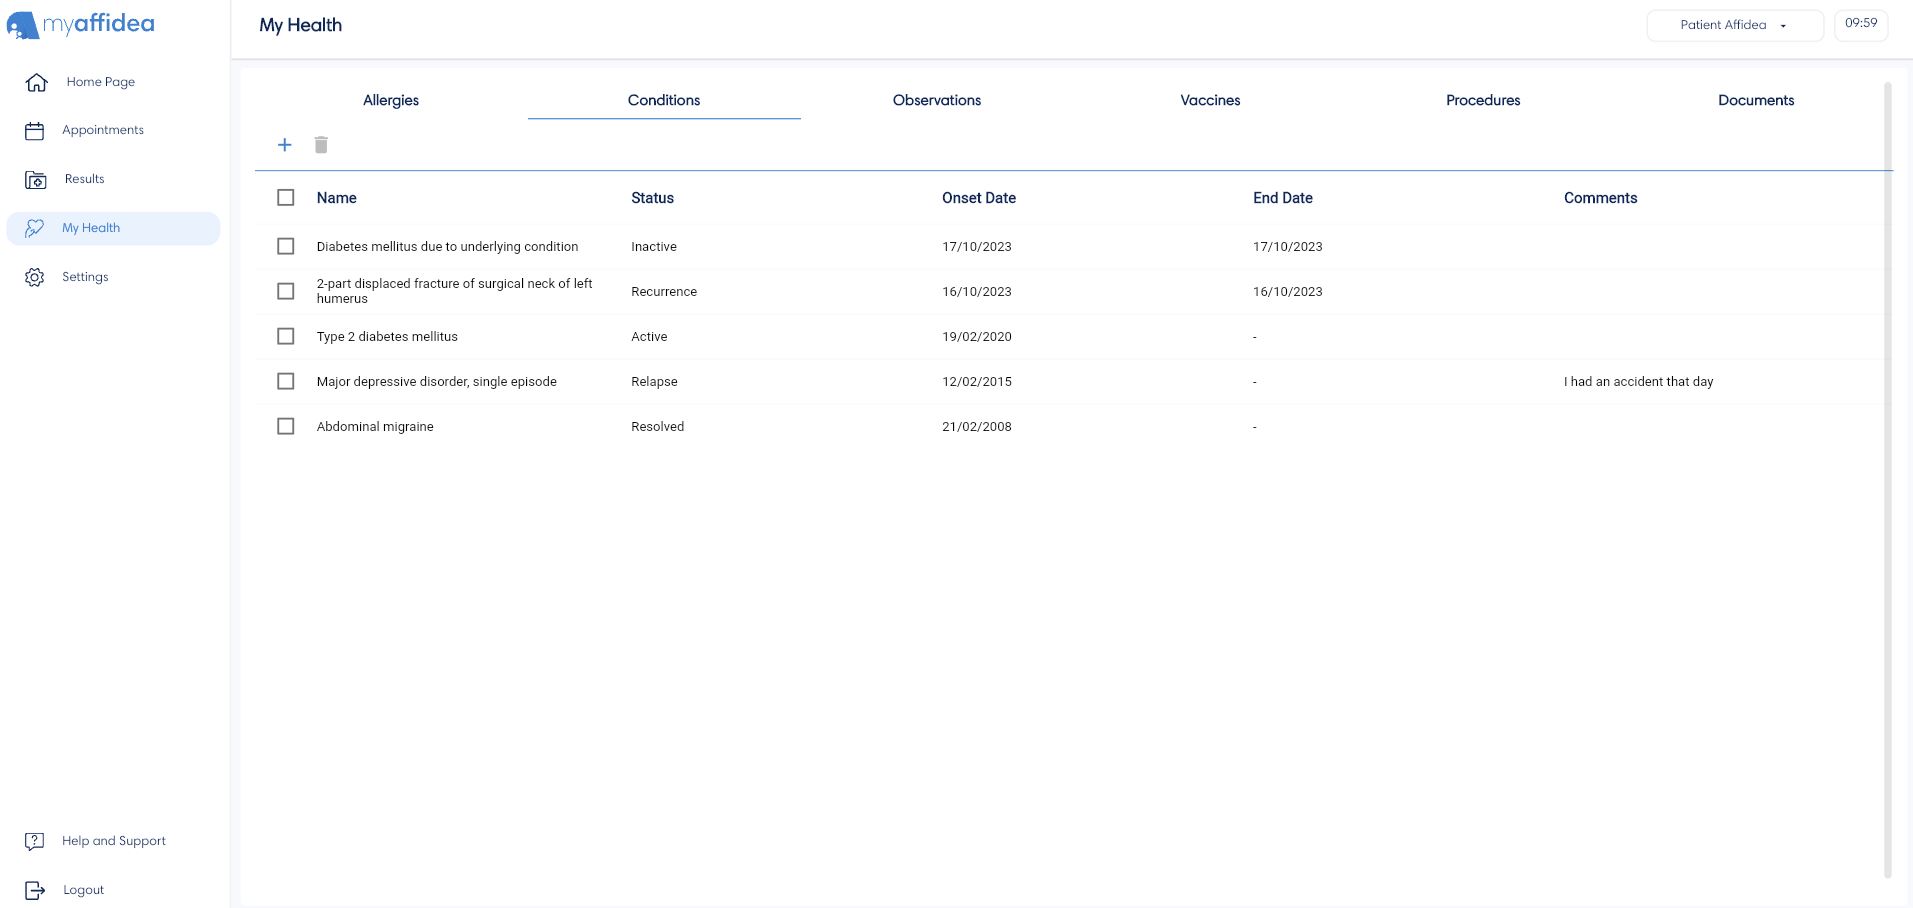
On the My Health tab the user can see their medical history and all the measurements they have registered. You can add a category or metric by pressing the + Add button and delete it by pressing the Delete button.
This tab is divided into the following parts, where you can add:
- Measurements, such as cardiac rate, blood pressure, steps, calories, drink intake , weight, blood glucose.
- Conditions, with information such as name, category, condition and date of onset, etc.
- Allergies, with information such as name, critically, category, status, etc.,
- Vaccines, with information such as vaccine name, target disease, status, doses, etc.,
- Procedures, with information such as description, category, status, etc.
- Documents, with information such as description, category, file type and actions, where he can download the documents to your device.
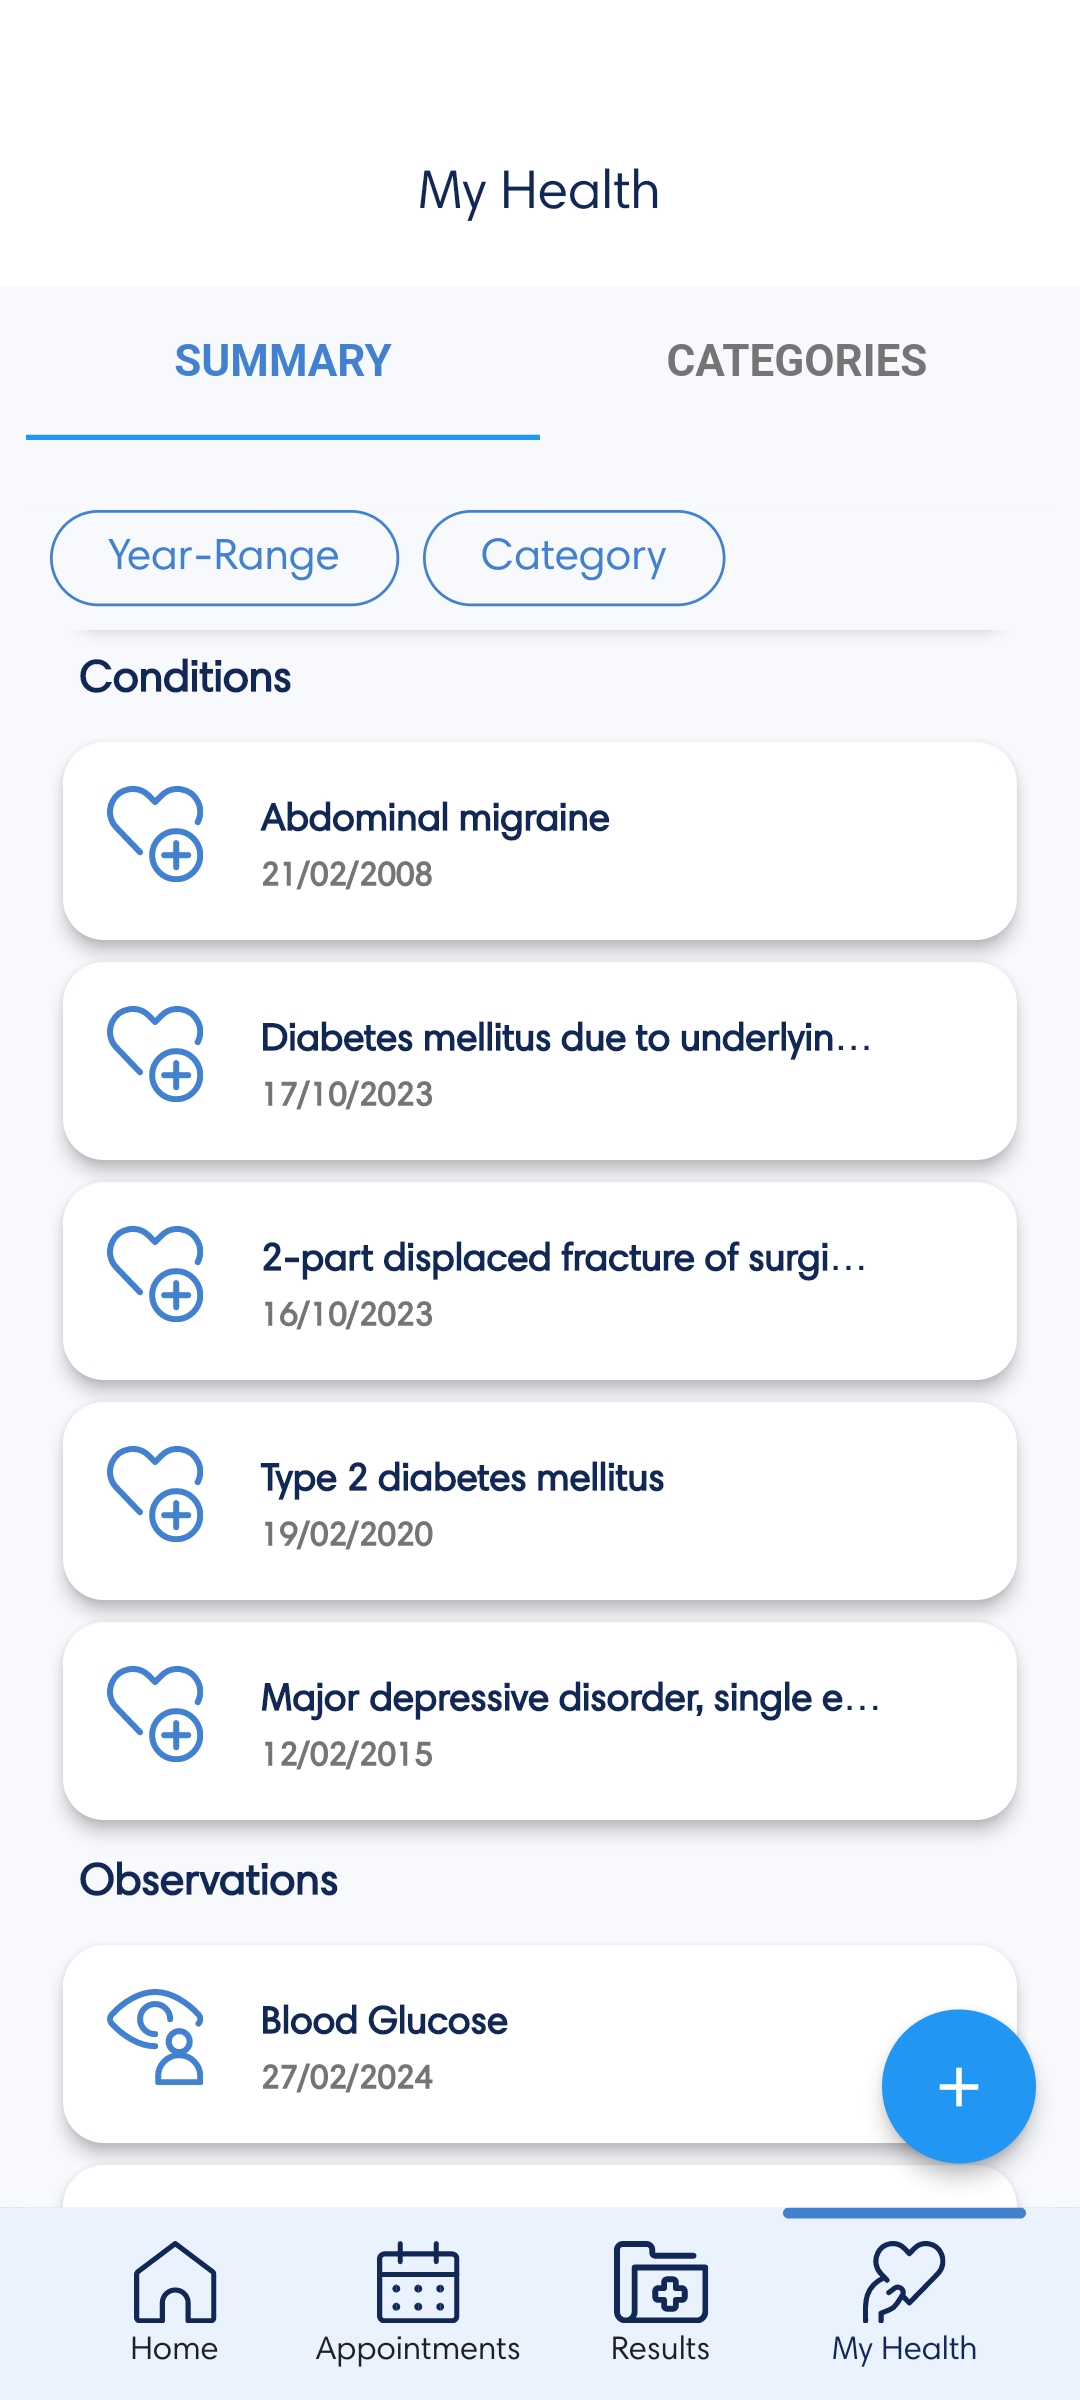
On mobile devices, by tapping on the My Health tab, you will see two sections, Summary and Categories . Clicking on the Summary tab, there are Year Range and Category filters. The first filter allows you to search the results according to the year of your choice, while the second allows you to select the categories you want to search according to the type.
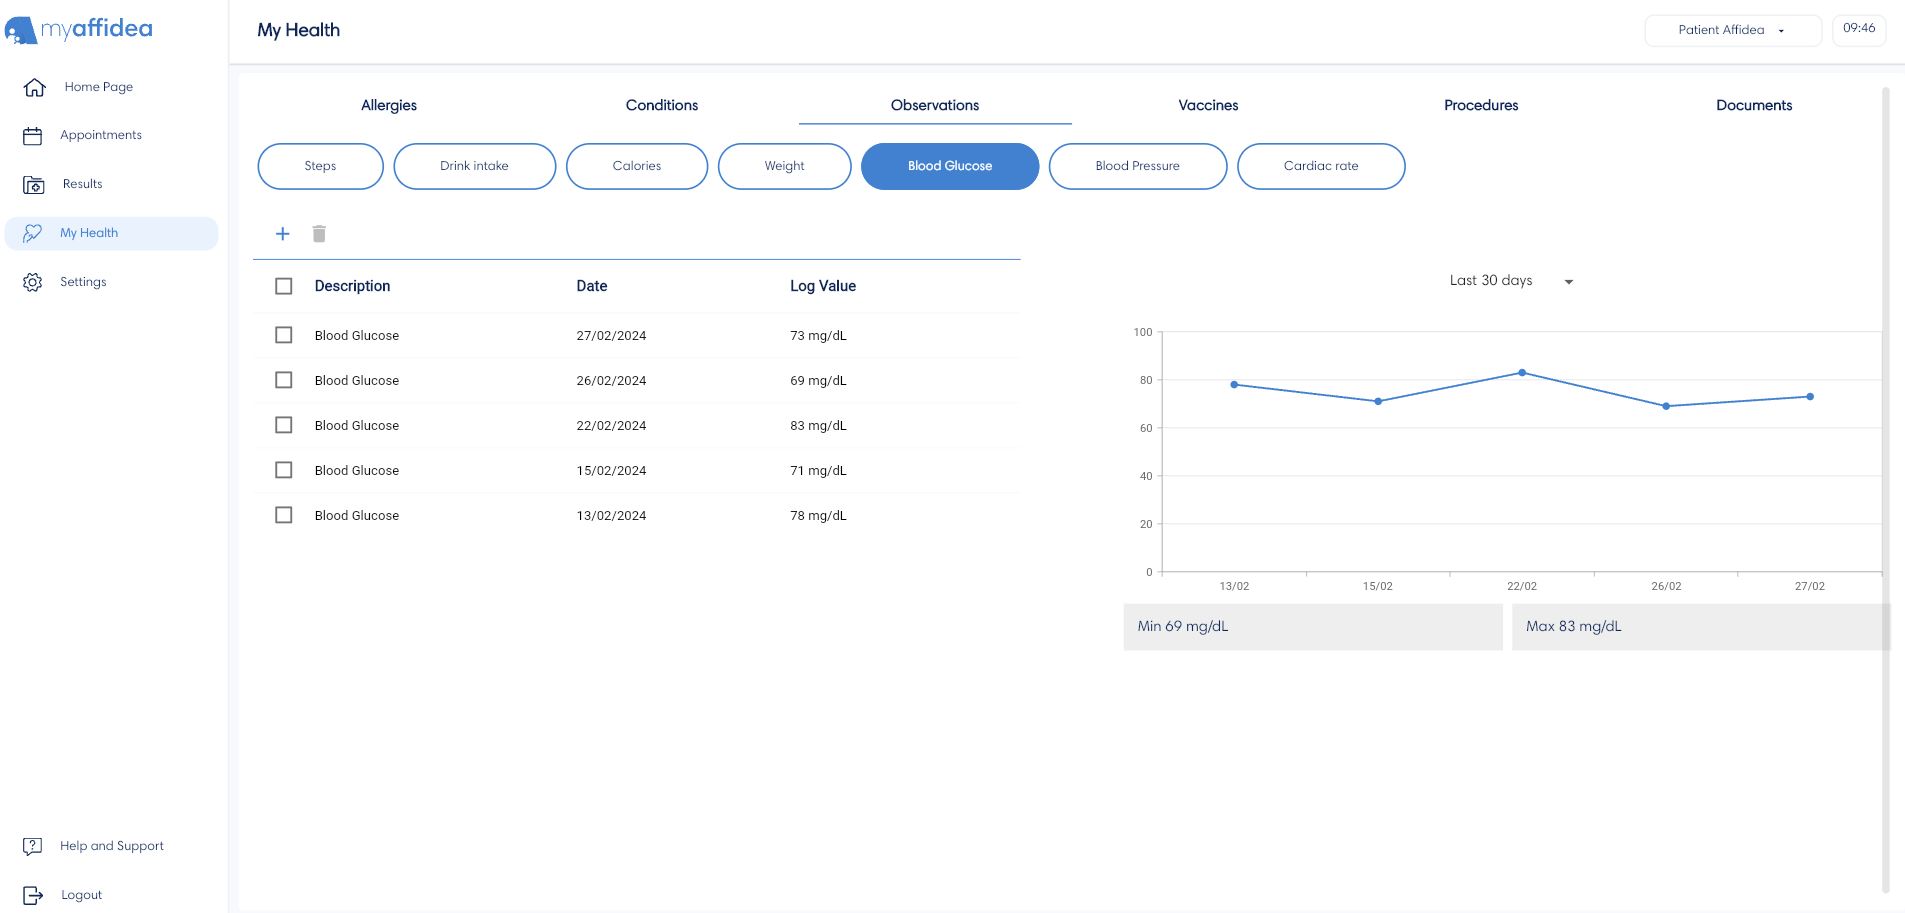
Measurement charts and details
In the browser, by pressing the Measurements tab, each measurement along with its corresponding values can be visualized as a chart. You can select the desired type of observation, such as blood pressure, cardiac rate, steps, etc., the date range, i.e. last 30 days, last 3 months, last 6 months, last year, total, and view the readings in a graph.
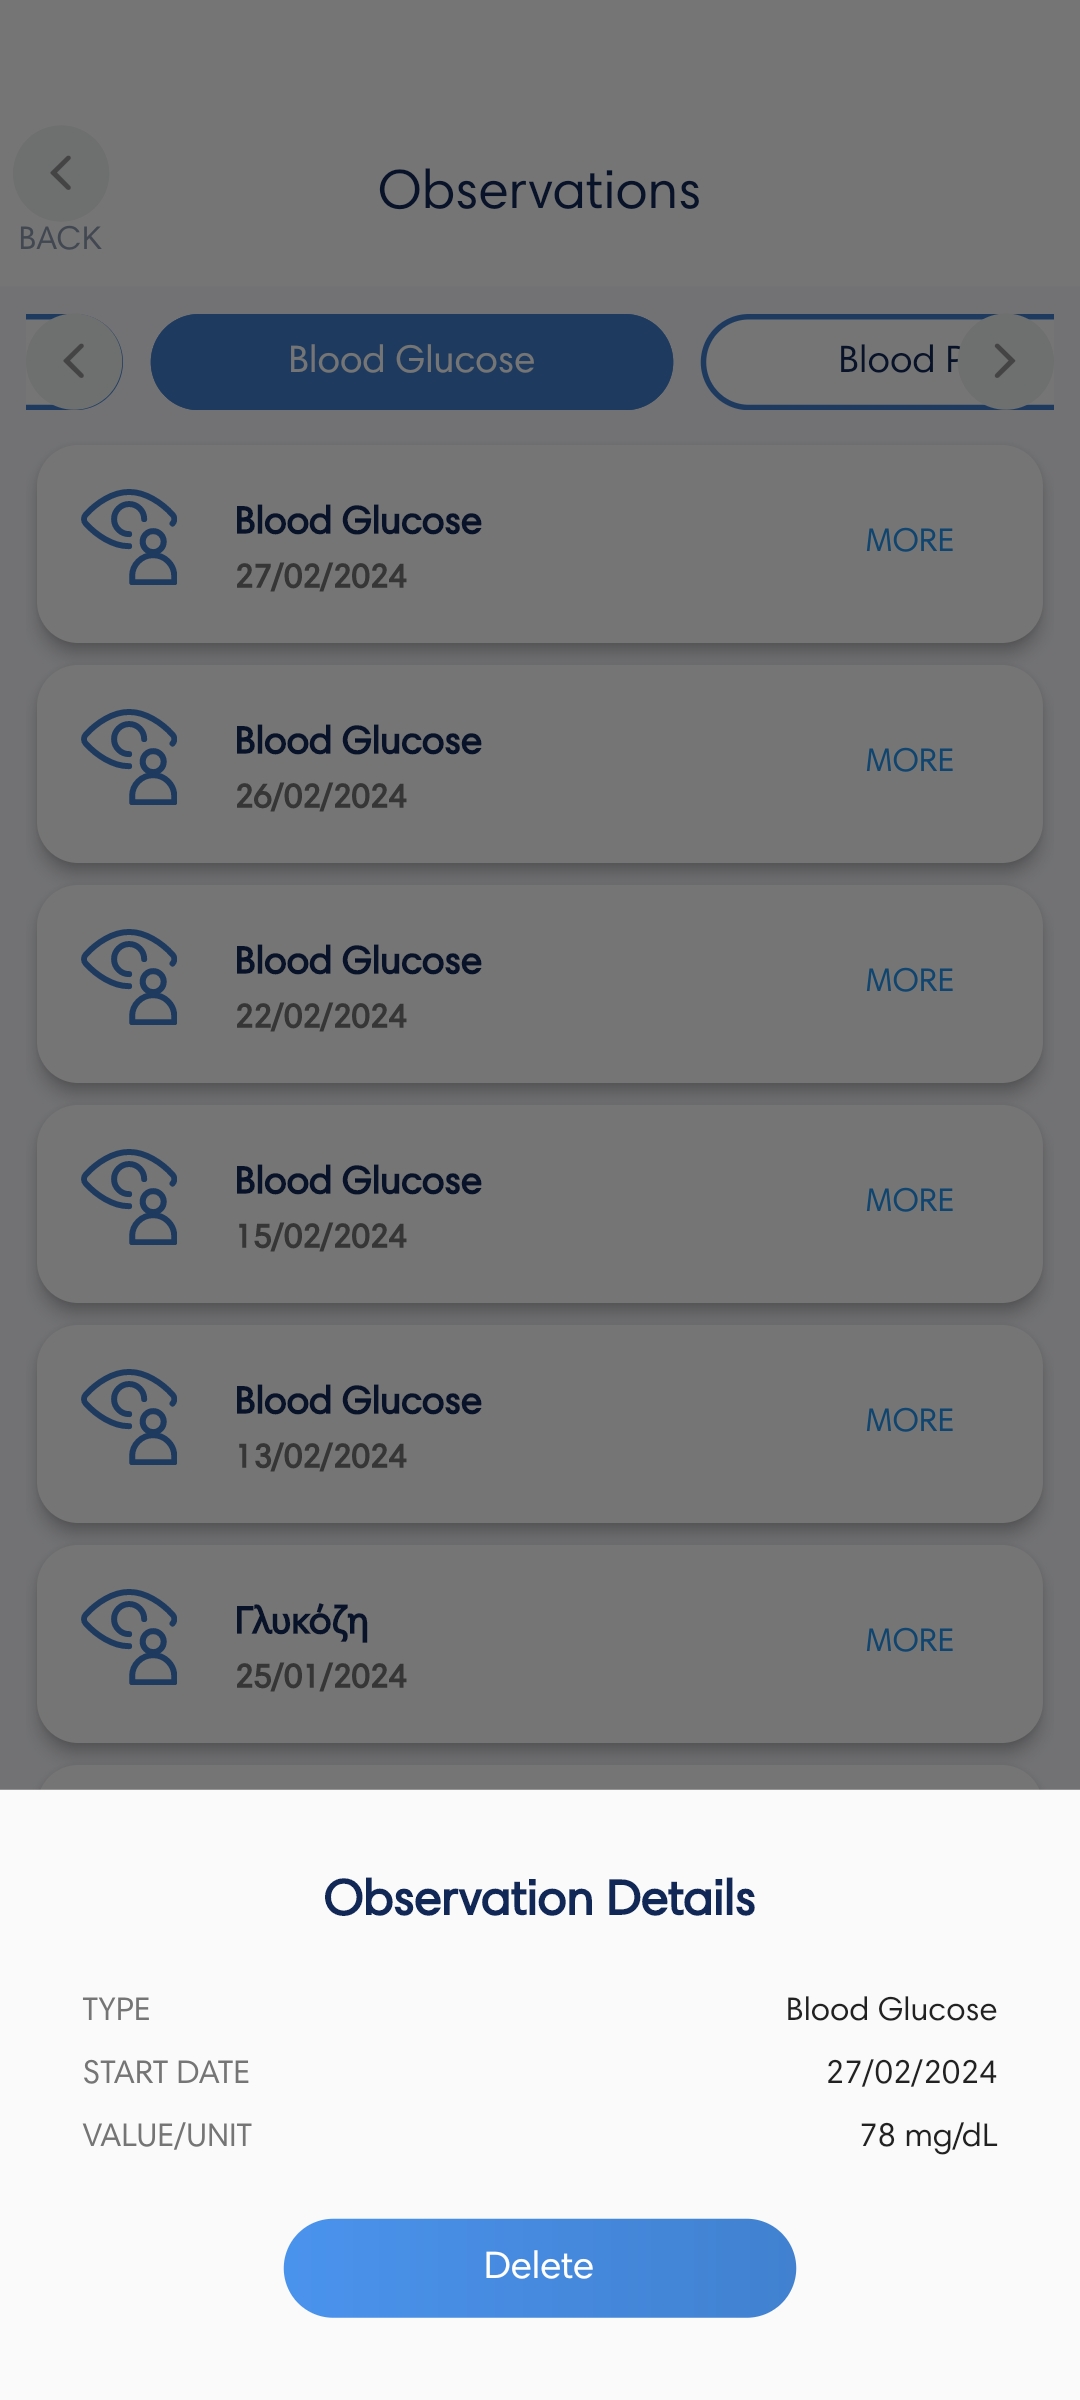
On the mobile device, the user by tapping on a measurement or a category can see its details by pressing the button More and delete this record by pressing the button Delete.
Where can I find information about myaffidea or my account?
In Settings tab, the user can find information about the account settings, about myaffidea help and support.
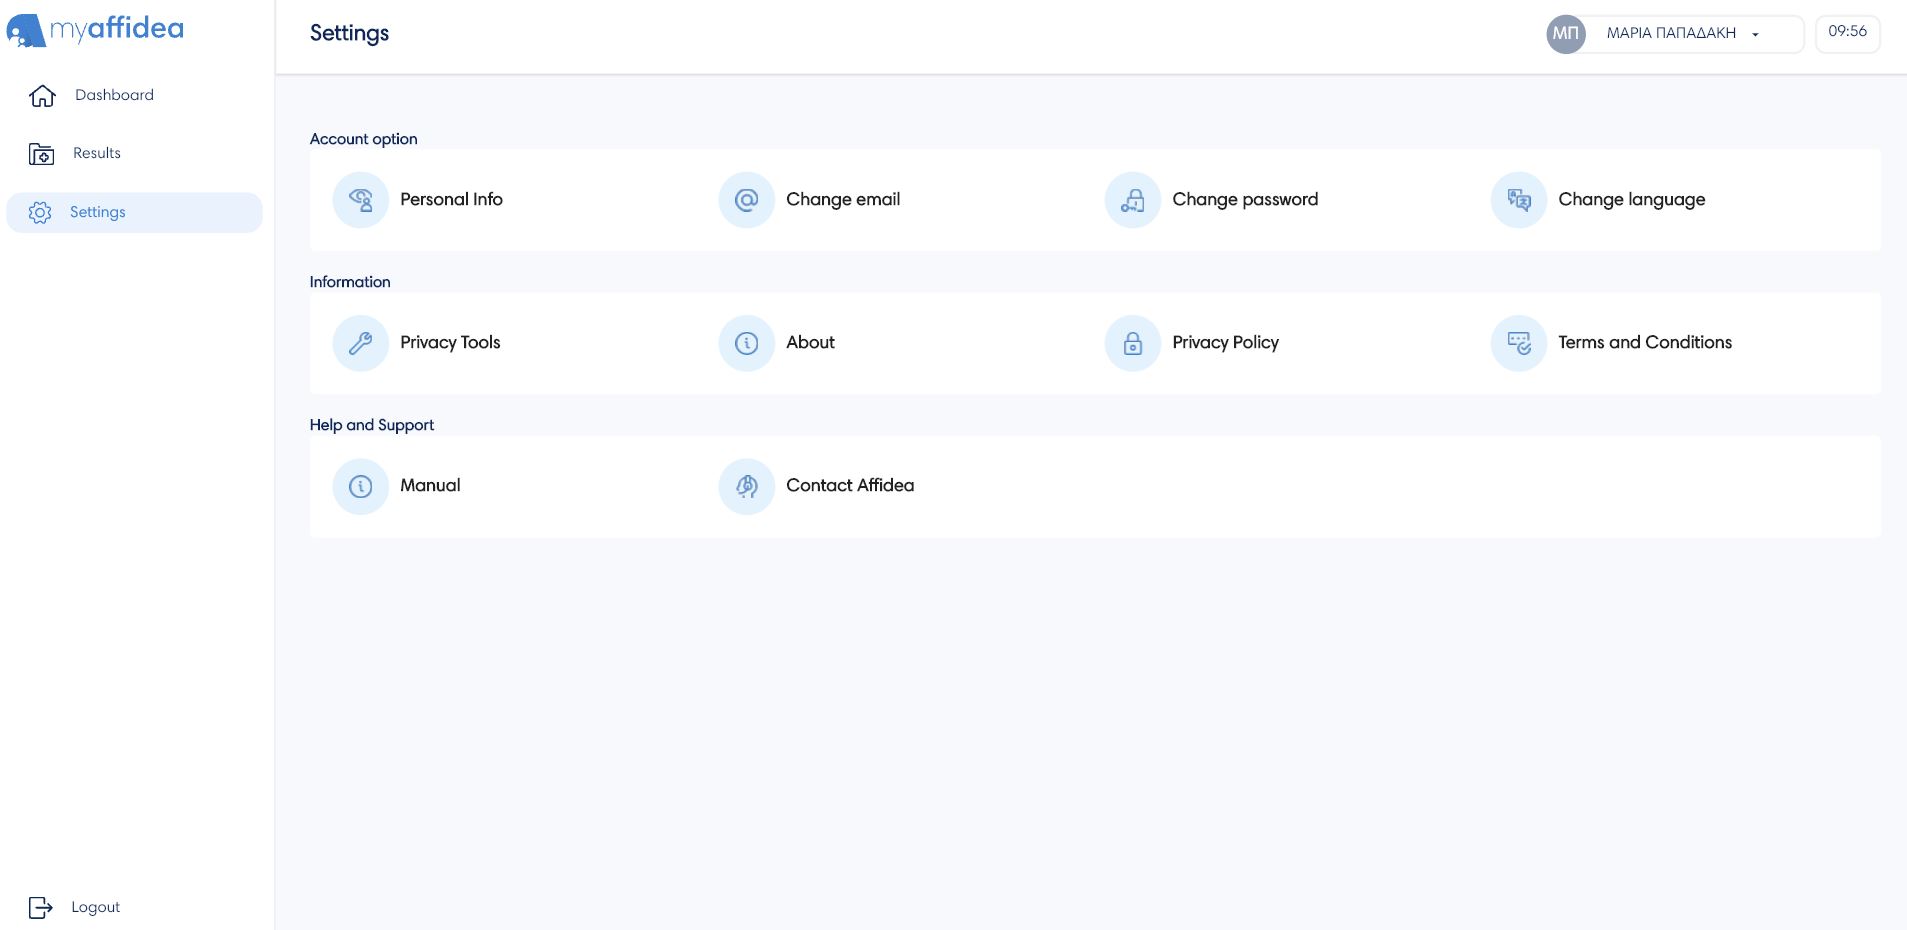
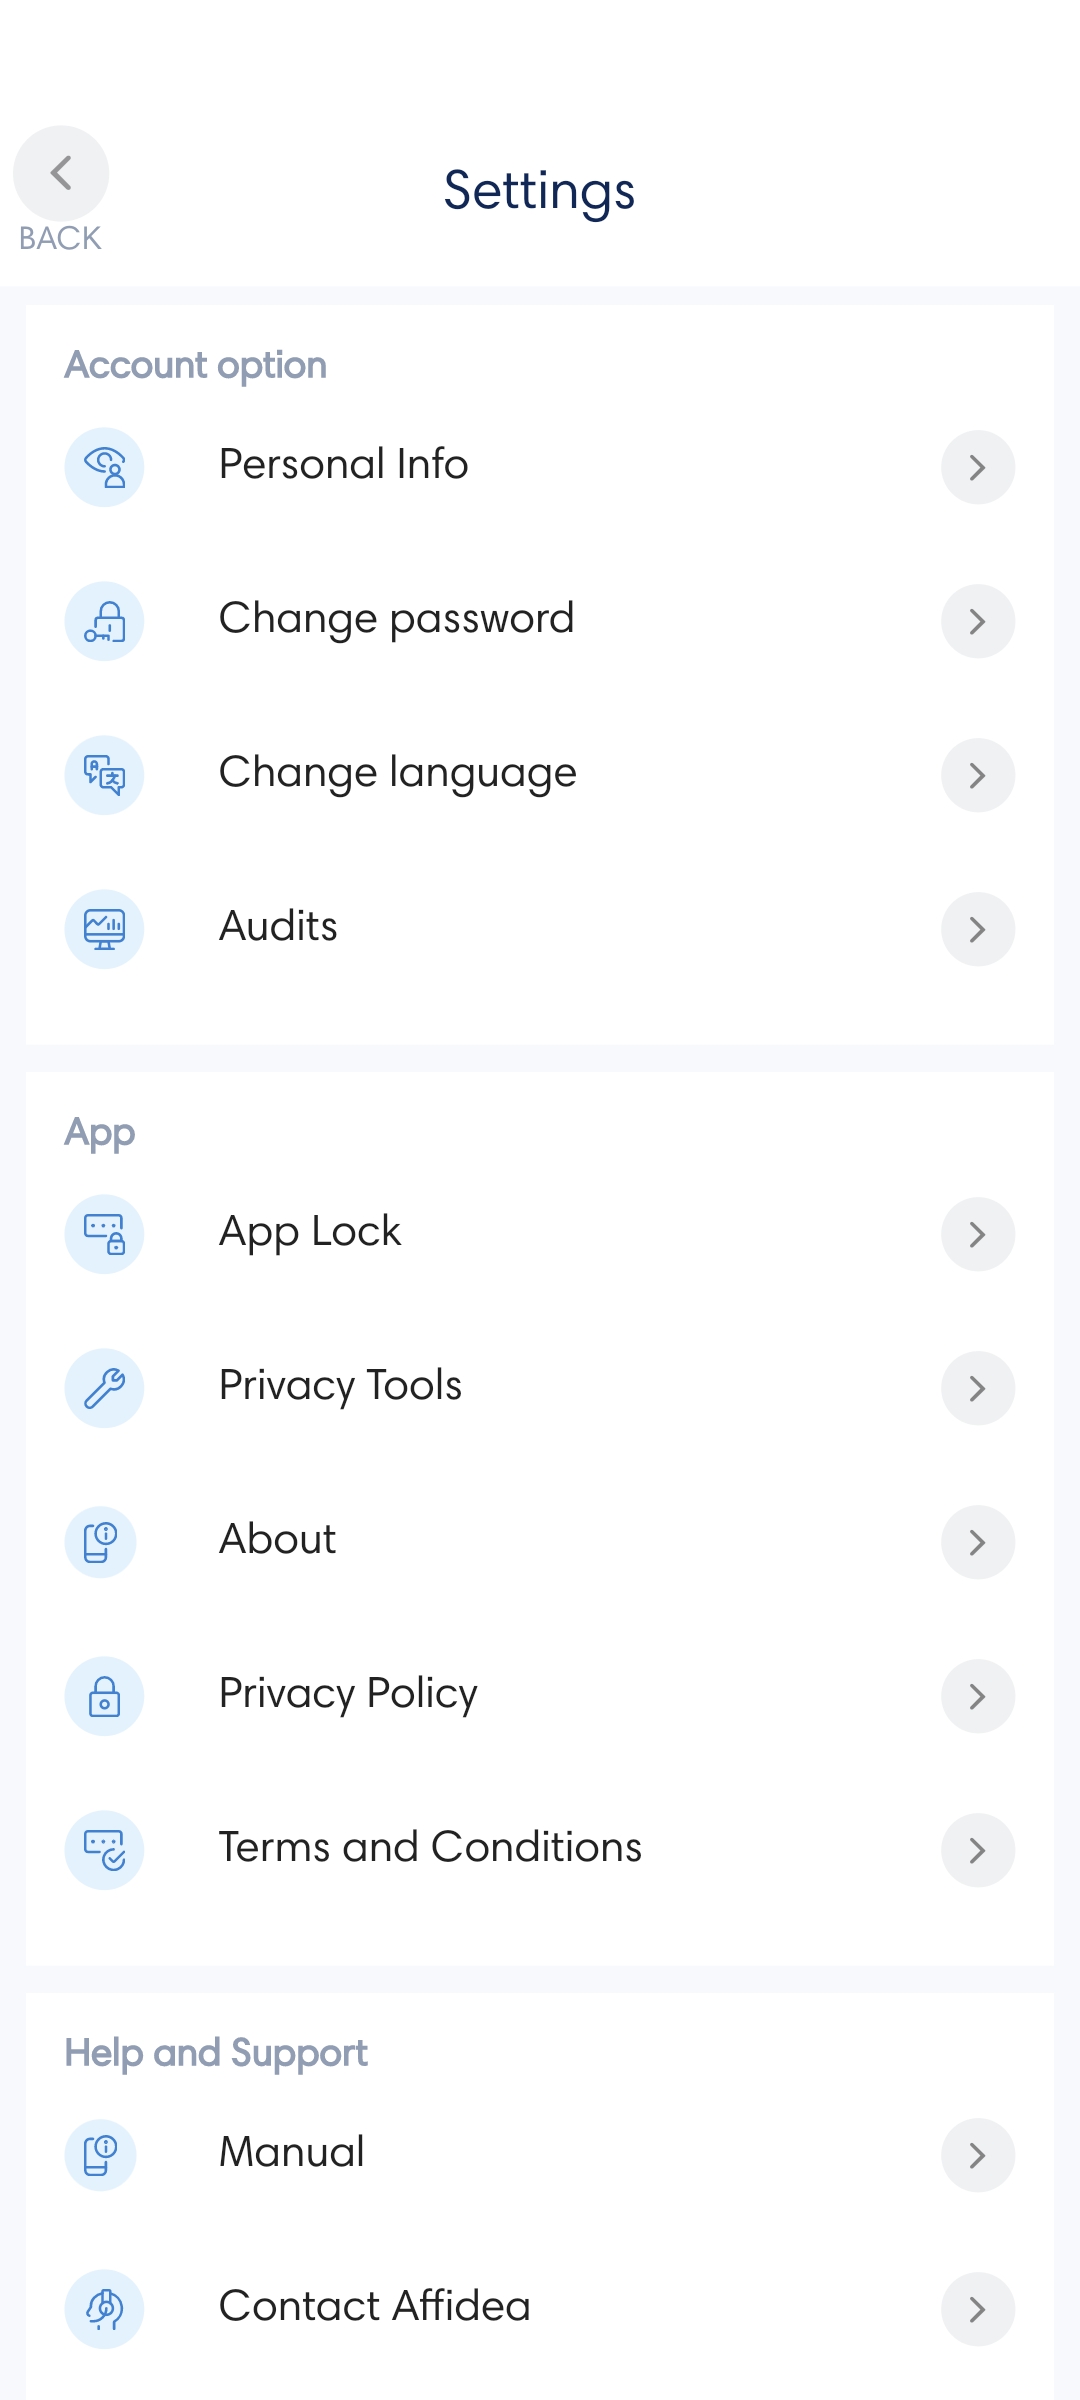
Account options
To view information about your profile, click Settings. The Account options menu appears with your personal information and other account settings, such as change email, password and language.
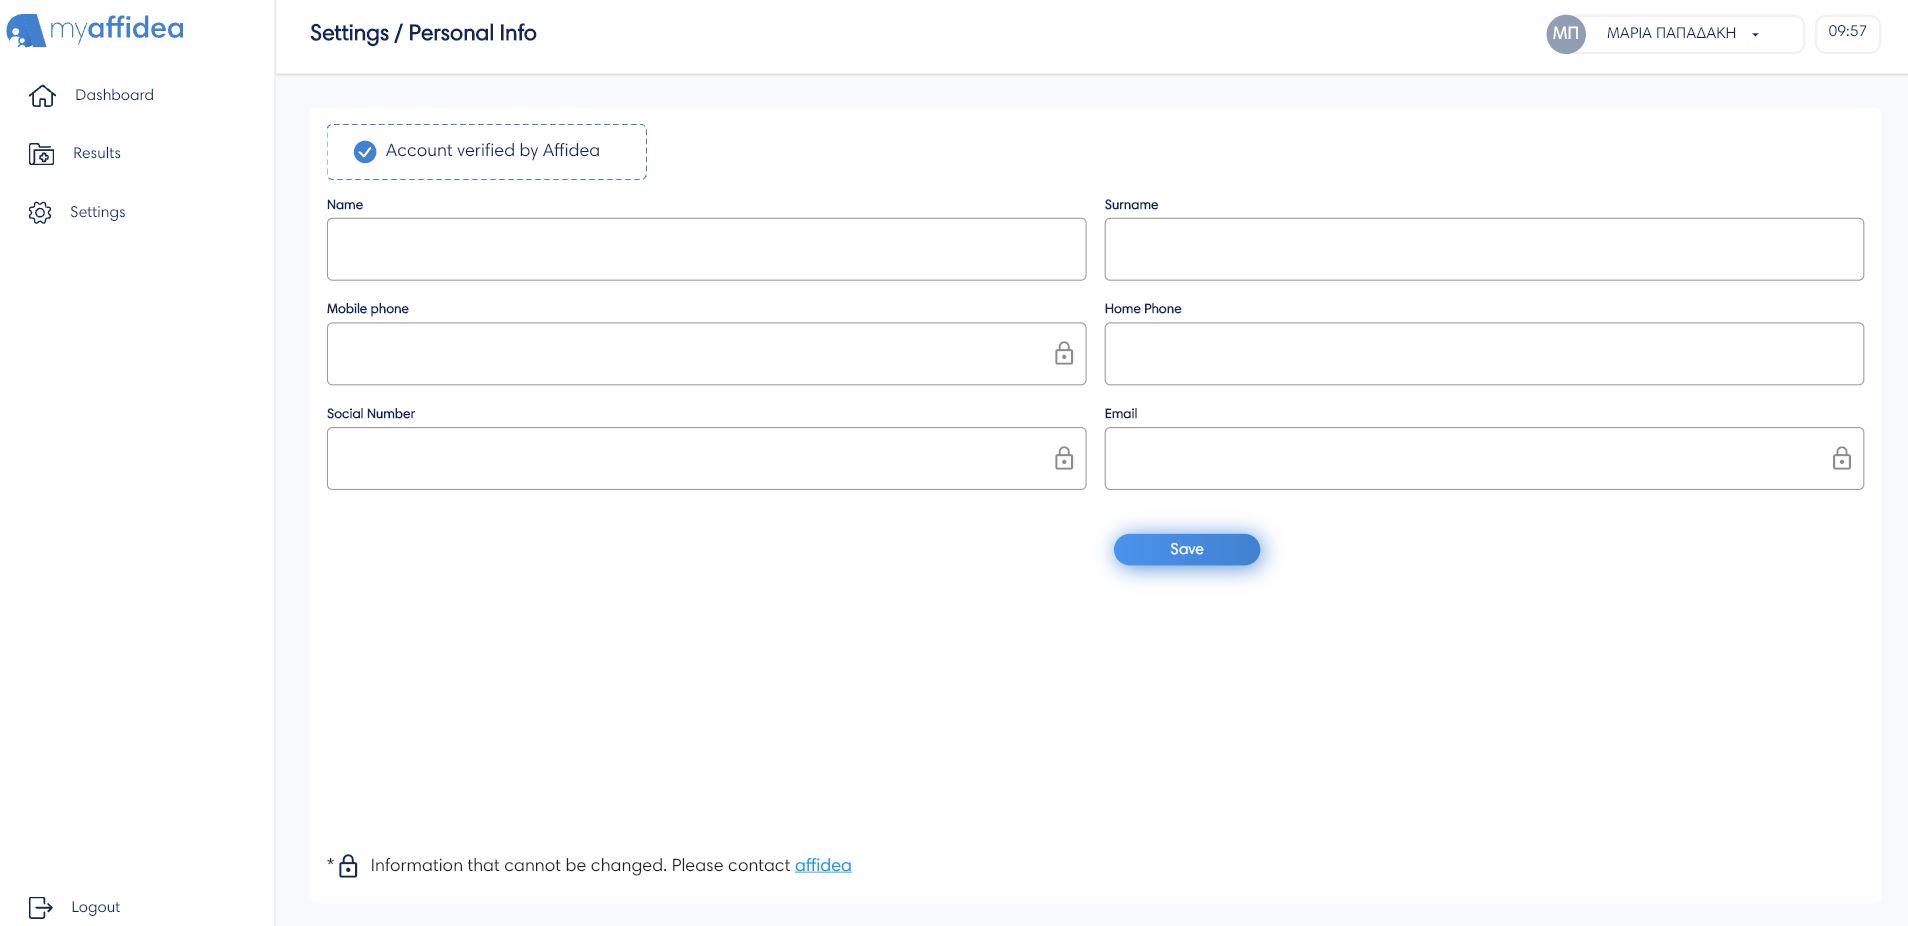
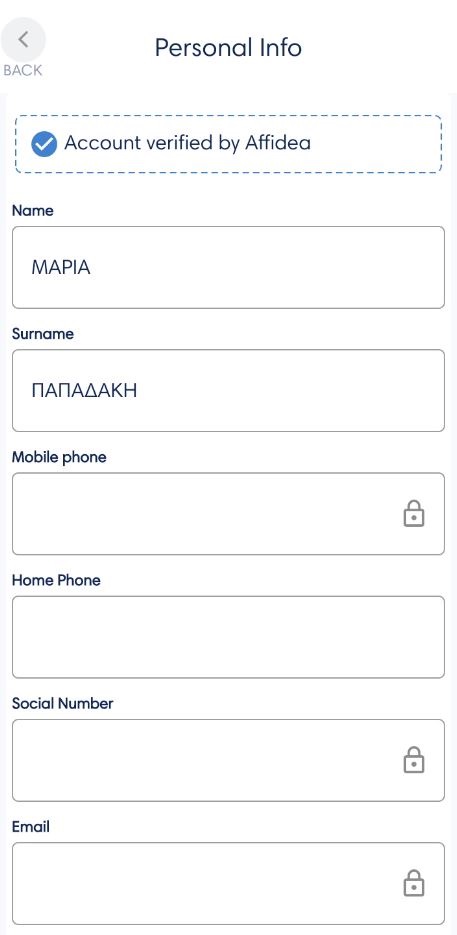
Personal information
In the Personal information option, the user can change their personal settings, such as name, surname, mobile phone, home phone and more. Then, the user must click Save to save the changes.
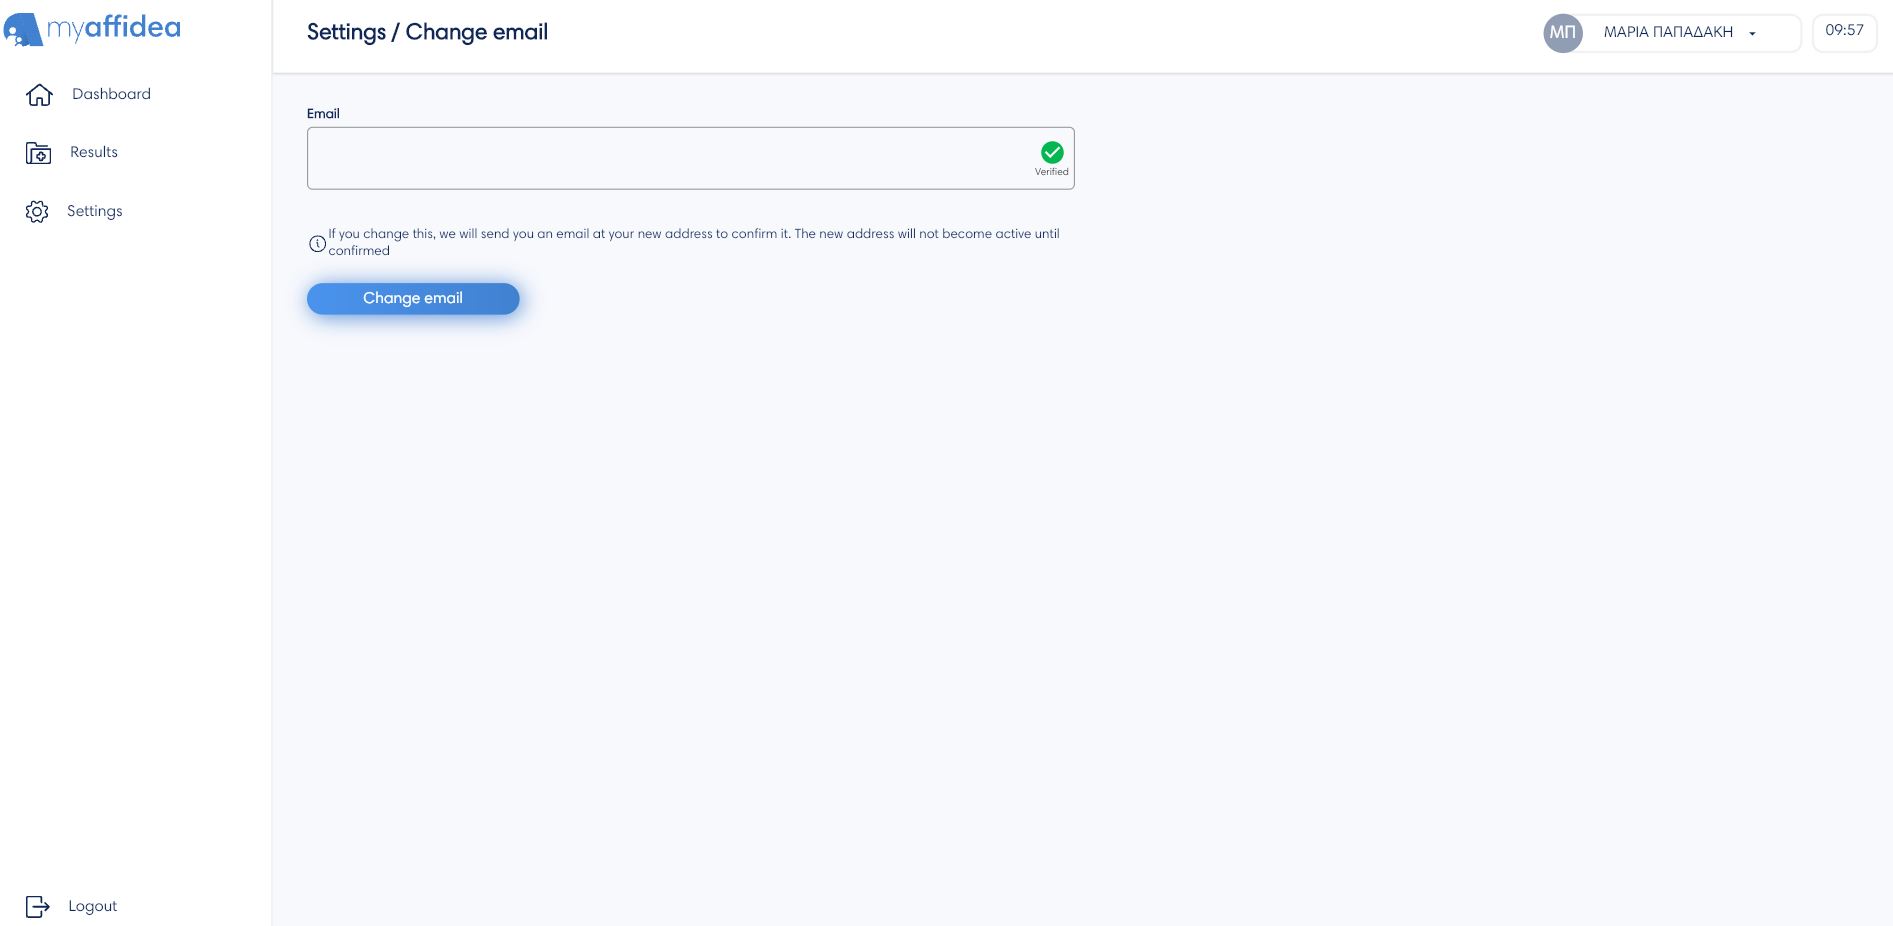
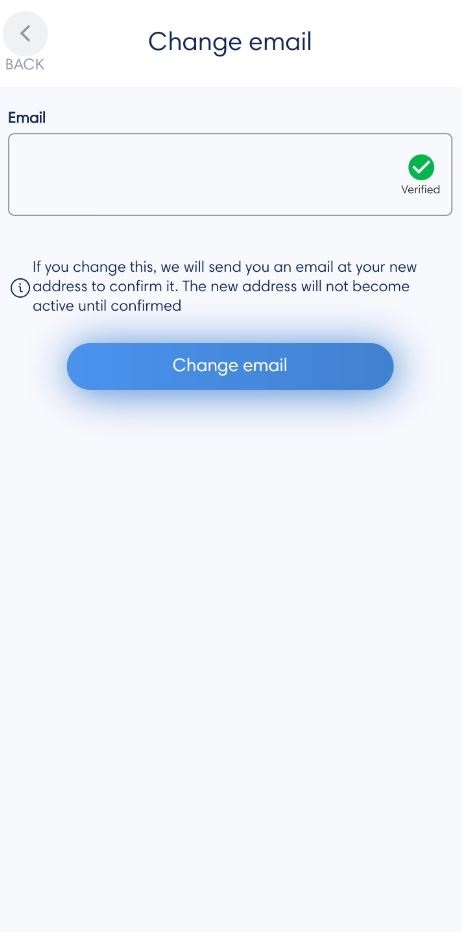
Change email
The user can change the registered email by clicking Change email. Then a verification code will be sent to the new email and once verified it will be activated.
Change password
The Change password option, where the user can change the password. The user must type the current password and then the new password twice for verification. Finally, press Change password to save the changes.
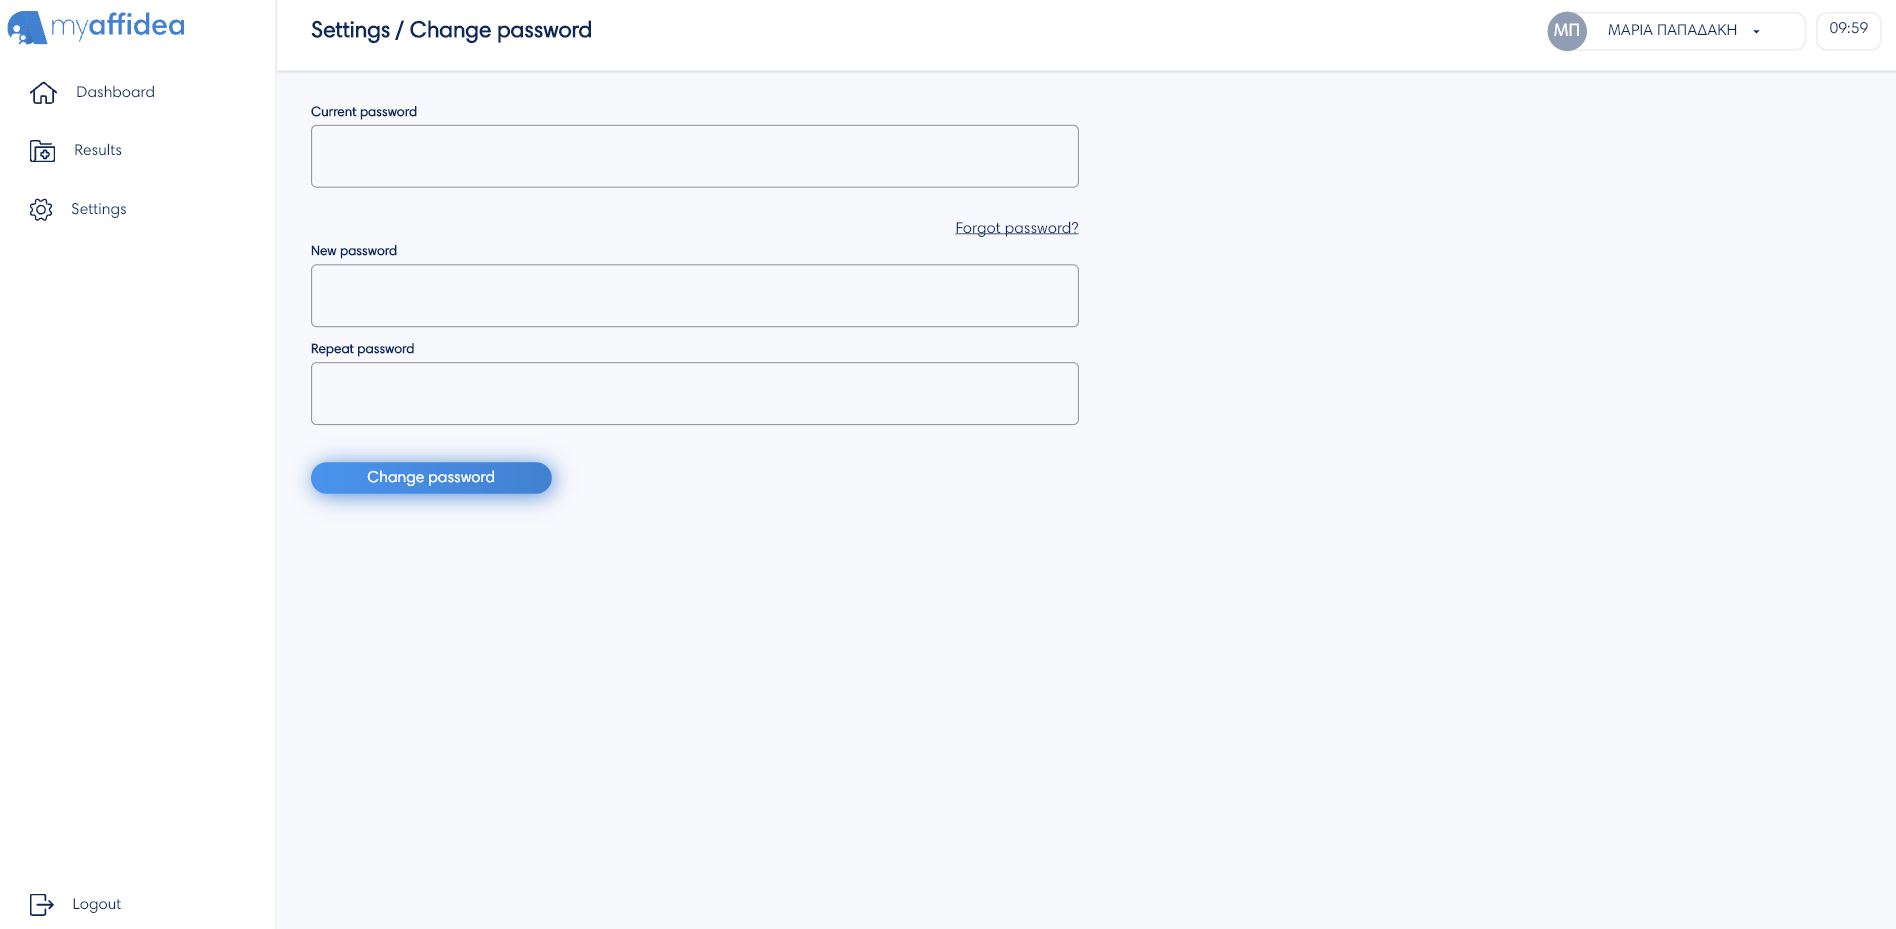
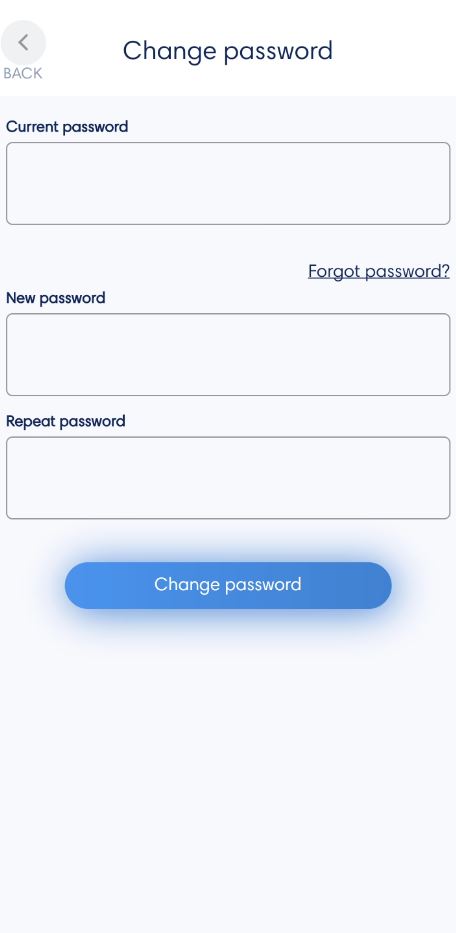
If, for any reason, you do not remember your myaffidea's account password, you can press the message Forgot password?. The screen, you are directed to, has a field where you can enter your email and a button to press Submit. A new email is sent to your registered email account. There will be instructions and a link to start the process of changing your password.
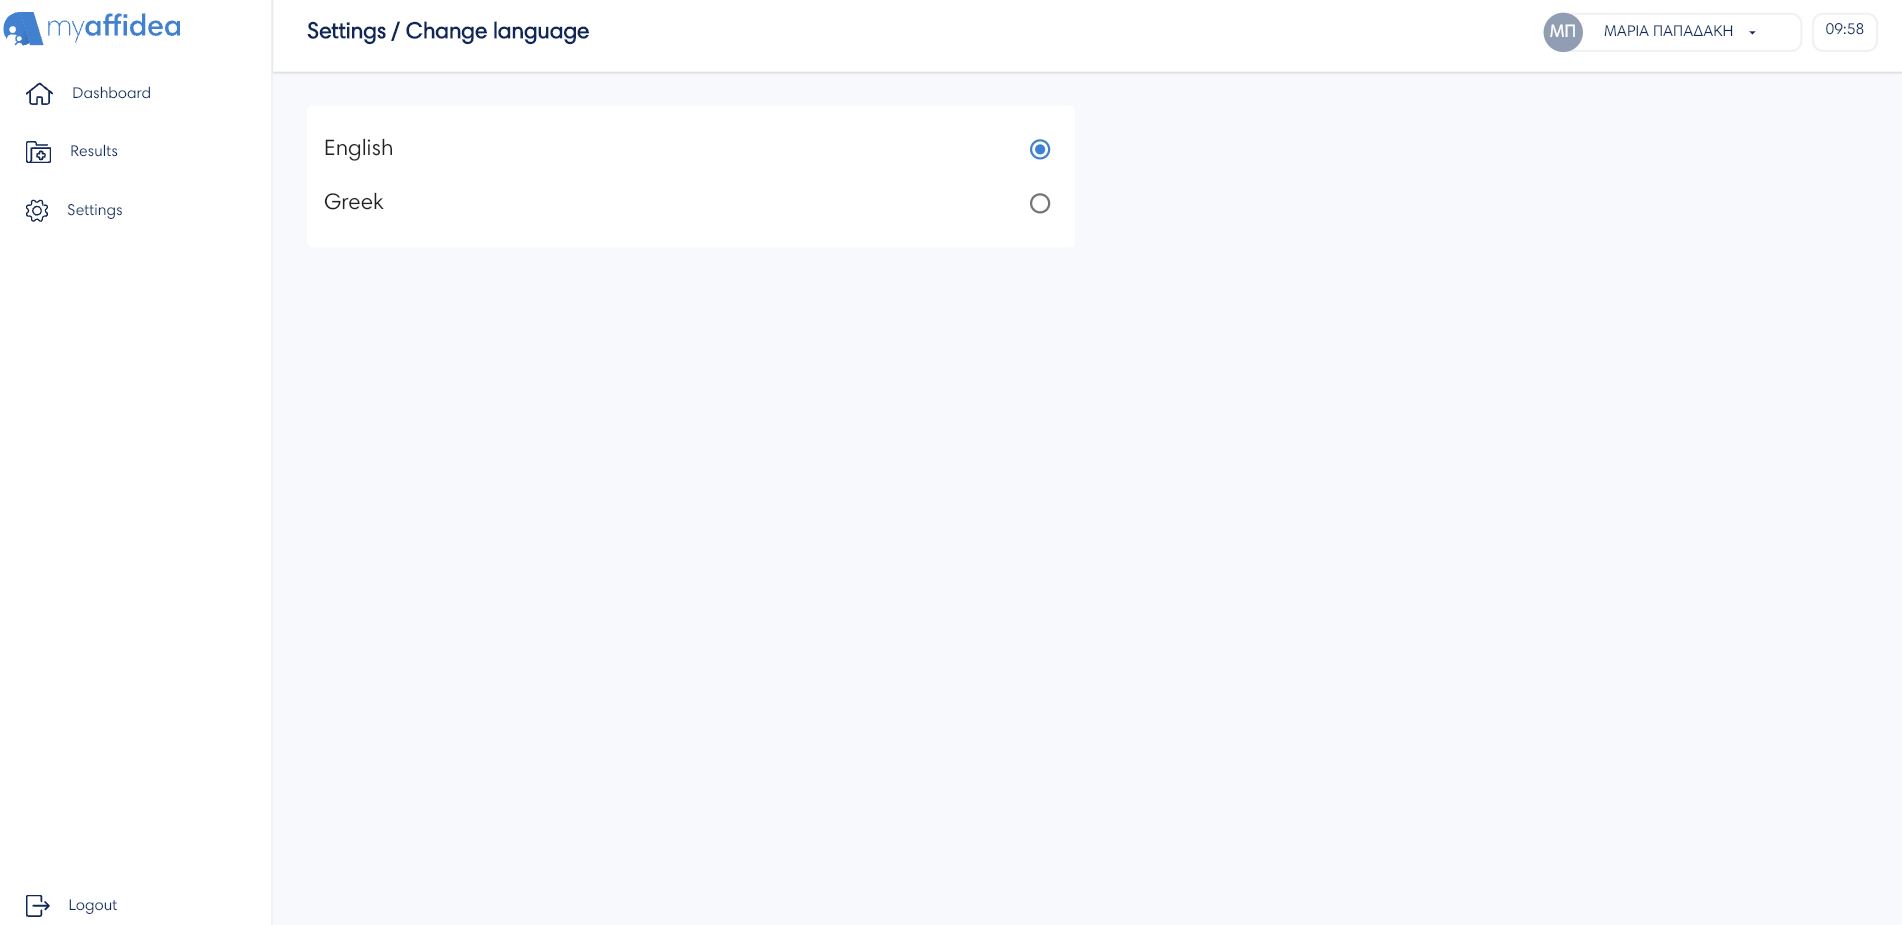
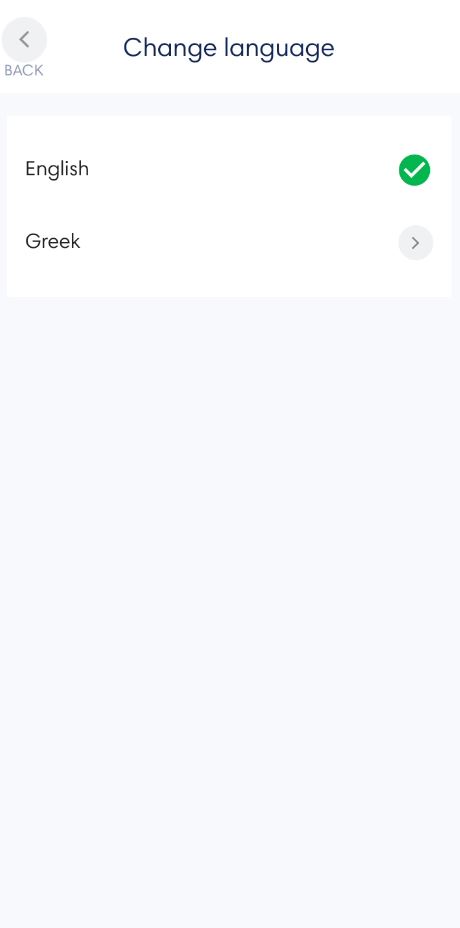
Change language
By pressing the option Change language the user can change the language of myaffidea.
App Information
To view information about privacy tools, click Settings. The App information menu appears with information About Affidea, Privacy tools, Privacy policy, Terms and Conditions. Only the mobile device shows the App lock menu as you can see below.
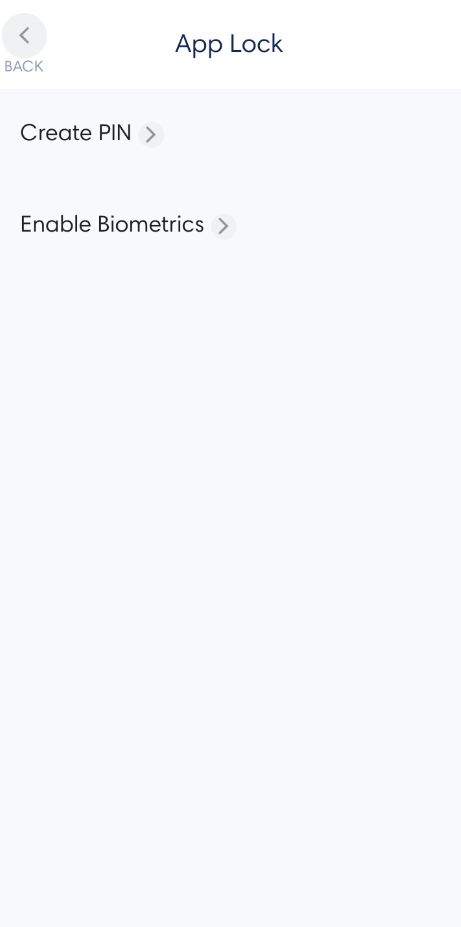
App lock
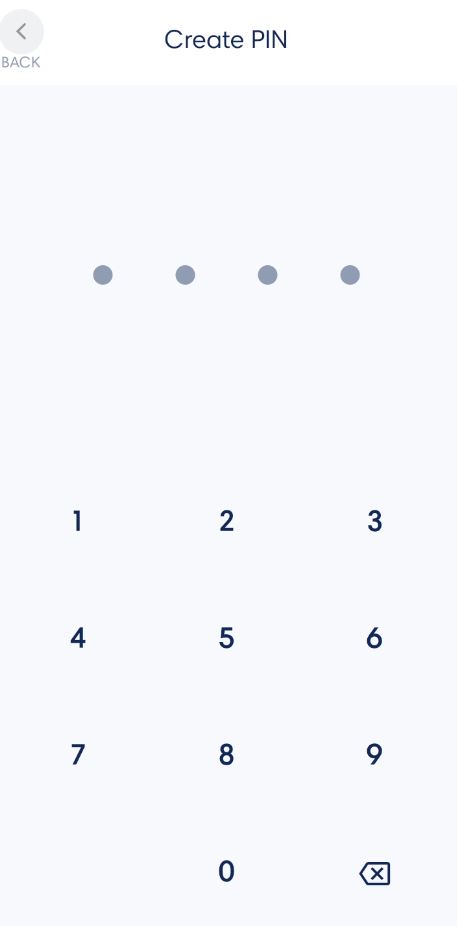
1. Create PIN
For security reasons only in mobile devices, for example your mobile phone, as a screen unlock method you can use the PIN feature by pressing the button Create PIN. Choose a four digits code PIN, then confirm it and you will see a message that the PIN created successfully.
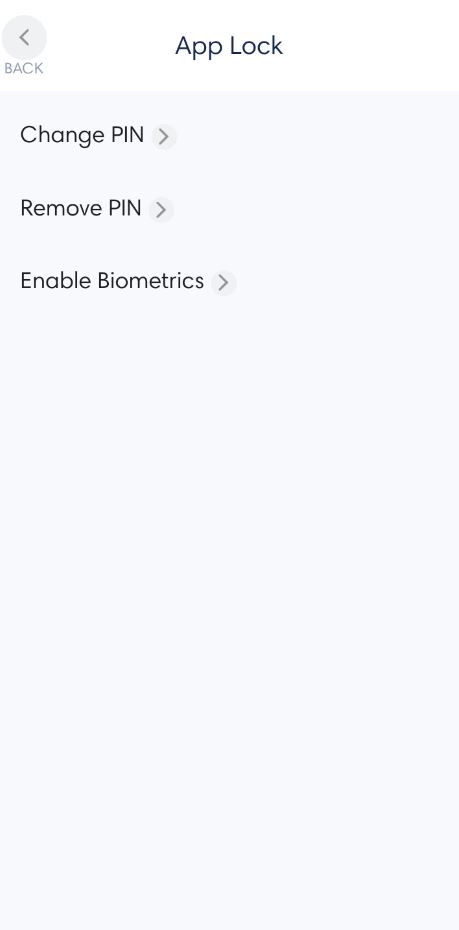
Once you created a PIN you can change it anytime by pressing the Change PIN button. It will appear in the App Lock tab in place of the Create PIN button
2. Delete PIN
Once a PIN has been created a new Delete PIN option will appear under the Change PIN option. If you want to delete it, you will be asked to confirm your current PIN and then a security message will appear. Press the Remove PIN button to finalize the deletion of the PIN.

Privacy tools
The user has the ability to delete myaffidea account,and get or transfer their account data by entering in the Privacy Tools menu.

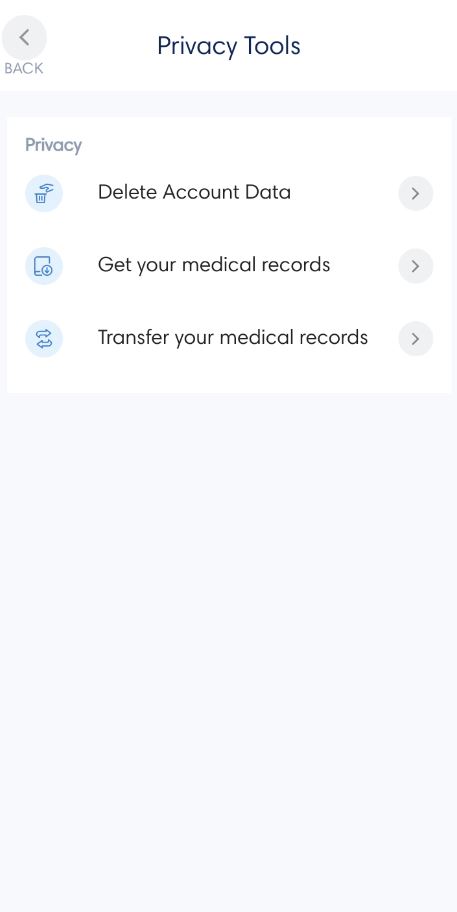
1. Delete account
You can delete your account by clicking the "Delete Account" button, where you will be logged out of your account. To re-view the exams you took in the Affidea group, through the myaffidea app, you will need to re-create an account with your details.
2. Get account data
You can get your data to your personal email by clicking Get your medical records. You will be sent an email to download the file, which is locked for security reasons, and a message to your mobile phone with the security code* to unlock it.
3. Tranfer account data
You can transfer your data to an email of your choice by clicking Transfer your medical records. A message will be sent to the email you entered with a portable document format PDF file, which is locked for security reasons. A message will be sent to your mobile phone with the security code* for the unlock.
*Important: Without the security code that will be sent to you as a text message on your mobile phone, your medical data file cannot be opened.
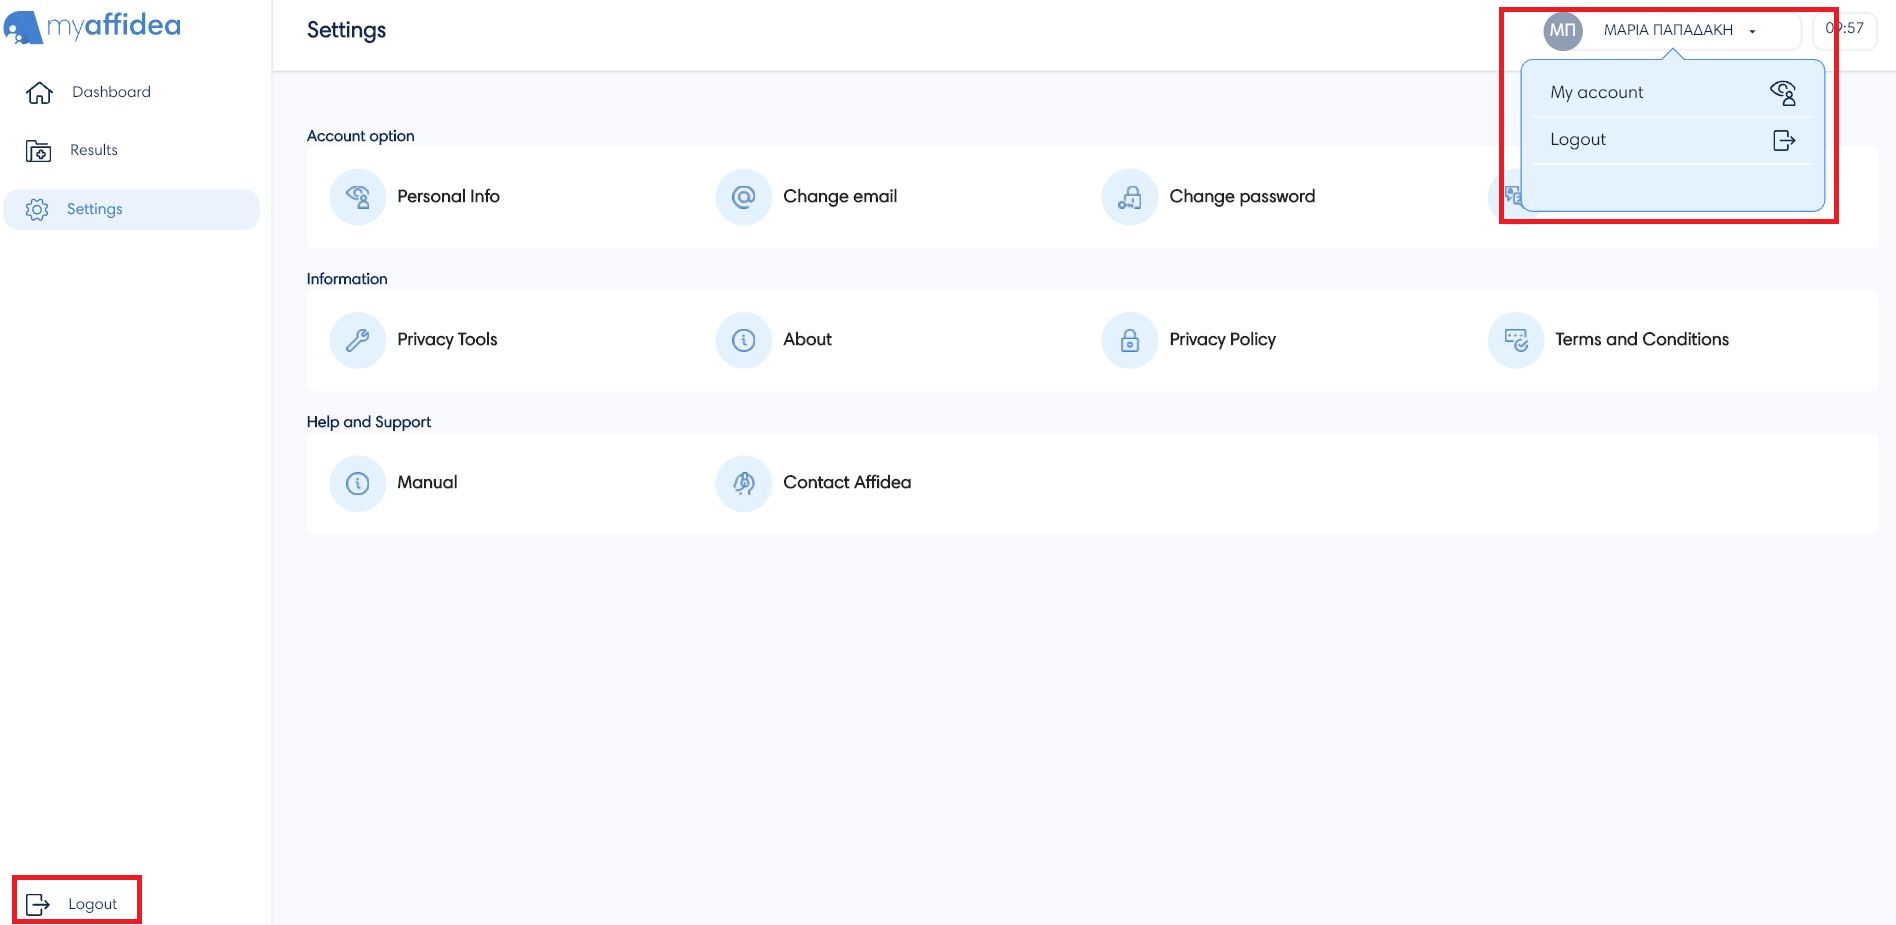
Logout
To log out of myaffidea, via a mobile device, go to Settings and then tap Logout.
To log out of myaffidea, via a browser, tap on your account name or tap the Logοut button in the bottom left menu.